Dan and I are at that age where he has worked the same job long enough to have built up a decent amount of vacation time... but not enough to be a millionaire and buy me a private jet to fly to see our grandchildren every time he has time off. Welcome to the empty nest years.
Now it sounds like I'm whining a bit, but we are ridiculously blessed (just not financially wealthy), and we DID manage a trip earlier this year to the grand canyon, and to visit our grandchildren, and Dan even managed to get some time off when the kids were all home to visit this summer. So this last week of vacation... I'm unsure why exactly he scheduled it. I think he thought some of the children would be home, and then their plans all changed.. but I'm unsure. No matter his reasoning, he had a full week off, 5 days in a row (although he HAS a good bit of vacation time, when he can actually take it is limited) with two week-ends - for a total of 9 days. Nine days, but with our vacation budget already spent on his February vacation, and a farm that we really don't like to leave for too long, too often.
Mini trips it is. Mostly day trips to hike to waterfalls we haven't yet explored, a geocaching event in Letchworth Falls NY, knocking out some geocaches in the state gamelands... and a two day trip to Erie and back. Two days for Erie sounds like a lot of time. It's a 4 - 4 1/2 hour drive. But I managed to make it take 14 hours, one way. Because I like to see EVERYTHING along the way. :-) Below is how I plan these trips, with all the websites and tools that help me find all this really cool stuff. In case you are as insane as us, and want to try to pack 2 gazillion things into one road trip. :-)
The first thing I do is go to https://www.google.com/maps/
This is not the same as the google maps you pull up for directions. But it's similar. My Maps by google allows you to create your own maps. In my opinion, it's one of the best services google offers, and I am a big fan of google products. On this map you can create layers (think of them as categories) of places. I typically add the following layers:
- places to eat
- things to see
- geocaches
- Route
Mapping A Basic Route
Route is the only different one here. For the others, I simply add places and add them into the categories I want them in, and I color code them. All geocaches are green, things to see blue, etc.
To add a route layer, just click on the direction arrows second from the right, under the toolbar.
That will add a box like this to the bottom of the layers panel on the right.
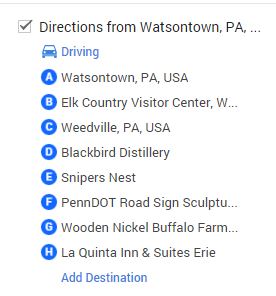
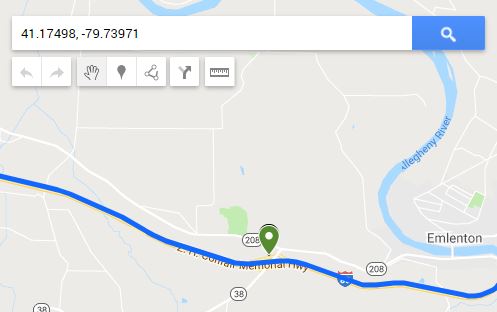
To start, I use our hometown as A, and our destination as B. Once I can see our basic route, then I can figure out what is nearby that I want to see. As I find things that are a bit off of our immediate route, I add them to our route list. I don't bother adding every single stop to our route, just the ones that will change the "basic" route. For instance, on this trip, I added these items:
There were a LOT of other stops on this trip, but these are the ones that got us to the right areas.
Adding "Things To See" & Places To Eat
Next I open about 20 different websites. No joke. It's somewhat ridiculous. But this is how I find all of the fun things!
The most important, for me, is Evernote. You can use any note taking app, I just happen to like evernote, and it's easy to share with Dan. This ends up being, essentially, the map in list form, with extra notes.
On the map, it simply shows that we went from Watsontown to Benezette. Evernote is where I list when things are open, where we want to park, how long it will take to get to the next stop, places we could choose to eat, etc. I could print the note when done, and I have for some of our trips - but usually it's enough that Dan and I can both see it from our phones.
I do have a "My Map" Of "Pennsylvania Road Trips". This is my personal map where I pin every fun thing I see on instagram or facebook , etc, that I want to see someday. Although I call it PA road trips, I do add things in neighboring states as well. I throw everything on this map. If a friend stays in a really nice (or uinque) hotel, I add it. Someone posts a weird diner or restaurant, I add it. Every waterfall I know the location of is on this map.
So when I plan a road trip, I open this map, and see if any of the things I have saved are along, or nearby, our planned route.
Then I go to these sites, and see what else might be "along the way":
Adding Geocaches
Once you add a geocache, or thing to see, on your map, you can type whatever you named that item into your route, and it will be added without you needing to add an address.
The really nice thing about adding geocaches to the map is that you can just copy the cache coords from the geocaching page, and paste them into the search bar in my maps. Add to map, then click on the pencil to edit, and rename the gps cords to the name of the cache, if you want. Often I will add a description - like 166F for 166 favorite points, so I know WHY I specifically listed that cache. I usually do not list every cache we want to find on the map - just the ones we really don't want to miss. Once in the area, we can decide how many other caches we want to find there. But before we leave, I go over that route and look for towns - then I type a few of the towns along the way into geocaching.com and sort by favorite points.
For this trip to Erie, I knew we wanted to stop in Benezette to see the elk, and that the best time to do that is sunrise (or sunset). That meant getting up at 4:30am, and driving straight to Benezette. So no caching along the way - I didn't want to get up any earlier. :-) So looking at my map, I searched geocaches by favorite points for Alaska, and Corsica, etc - working my way out the route. Default search radius is 10 miles, that usually is enough for me, but you can change it if you want a broader search.
For the corsica area, I end up finding two really neat things to see (that happen to be geocaches) and one really unique geocache (Snipers Nest). Normally all 3 would be added to my list... but we've already been to Scripture Rocks and the Helen Furnace, so for this trip, just Snipers Nest was added.
I repeat this for each area along the map.
Lastly, Pack An "Emergency Picnic"
One of the key ingredients to all of our road trips is ring bologna, smoked cheese, apples,drinks, nuts or cookies, napkins, and paper plates. I pack a small cooler and keep it in the back of the car.
When we arrive at an out of the way, unique, restaurant, only to find that it is closed and there is nothing else nearby..
Or when we find unexpected things, or things take longer than we planned and we don't want to leave an area "in time" to eat where we had planned..
Or when we spent more than we planned and eating out just feels like it's taking up too much of our budget...
Or when we just don't want to take the time for a sit down meal.
An emergency picnic, the way we travel, is often pretty great. We are almost always near great views for a picnic - but even in the parking lot of a gas station, it's a lot better than spending money we didn't want to spend on a meal (like McDonalds) that we really didn't want, without me being really irritable because I'm hungry.

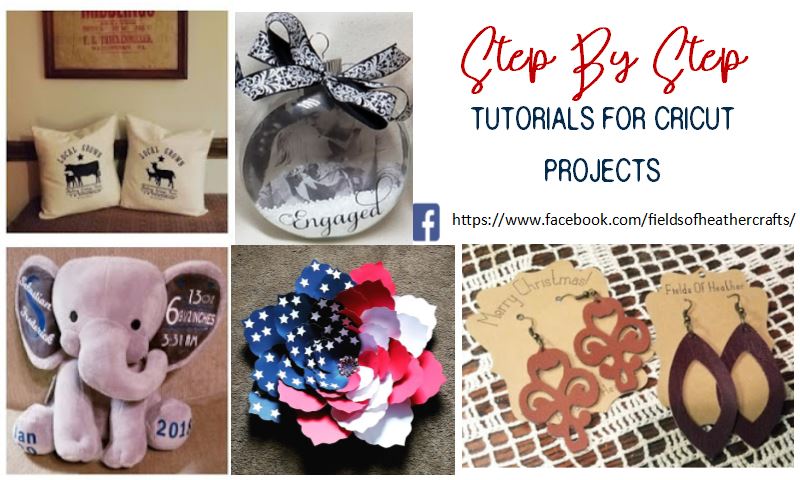


 Tips & Tricks For Making Faux Leather Earrings
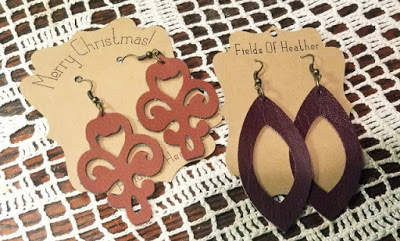


 This is a paid file, not a free svg. But it is less than $3 & it;s a great one!
 Step by step how to make a free 3d paper turkey
 Making a Print Then Cut Sticker Book


