


I chose a simple image to demonstrate this, I found it at


For a simple image like this, Simple is perfect. All of your white areas will turn light grey - don't panic, that's ok!

On the top right, the wand is usually selected by default. That's what you want. Click on the light grey parts.

See how you get a "grid" where you clicked? That's now transparent and will not be part of your image. Notice how I left the head unselected? If I do not select that piece, it will "fill in" and not cut. Choose preview at the bottom of the screen, and you'll see your new image:

I could use the image like this, but if I want the trunk piece to cut out, I need to select that too. Don't worry if you make a mistake and click the wrong area, there's an undo arrow in the top right- you an undo and redo!
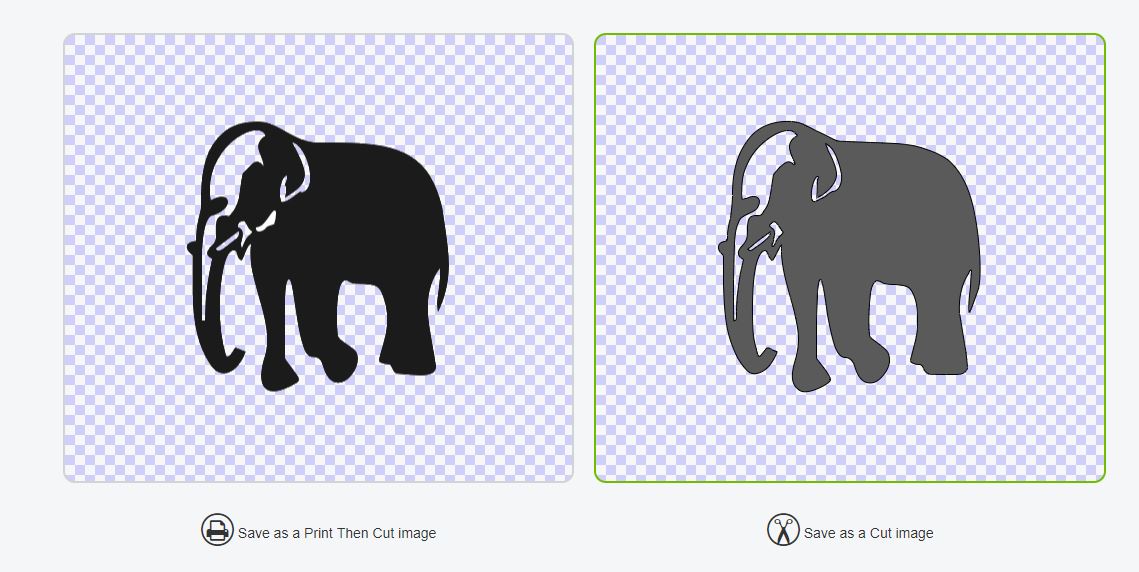
By default, the image on the left, save as print then cut, is usually selected. Go ahead and click on the one on the right, save as a cut image.
This is not critical. If you accidentally save it as a print then cut, simply switch it to cut in the layers panel once you have it inserted.
That;s all there is to it! But what if you are putting this on a red shirt, and you want the white parts on the elephants head to be white, or a lighter grey? That's easy too. Follow the steps above, and insert that image.
Then start from the beginning, repeating all the steps, but this time, erase the dark grey parts and leave the head parts - like this:

This time you will be left with a jagged outline after using the erasing wand, to get rid of that, click on the eraser tool that is right beside the wand. You can adjust the size of your eraser...

If you are having trouble working on the design because it is small, on the top right you can use the magnifying glass to zoom in.

After erasing the outline of the elephant, you are left with this. Click on preview to see how it will look on the next page.

Now insert both of your new images into your project.

Make sure there is a scissor icon beside each piece. Then you can click on the colors to change them, making the insert cut out of cream, and the body in grey, here.
That's all there is to it! Make sure it is set to cut, instead of print then cut, when you go to make it:

If you are looking to convert something a little more complex, I did a comparison of 10 different apps and websites that will convert a photo to an svg -

===========================

Facebook Page - For Tips, Tricks, & Free SVGS
https://www.facebook.com/fieldsofheathercrafts/
Facebook Group- For Questions, Support, Sharing Projects,
and LOADS More Free SVGS in themed posts with links in the comments
https://www.facebook.com/groups/1121399284857845
==================
Facebook Group- For Questions, Support, Sharing Projects,
and LOADS More Free SVGS in themed posts with links in the comments
https://www.facebook.com/groups/1121399284857845
==================

An Index Of All Of My Cricut Related Blog Posts
No comments:
Post a Comment