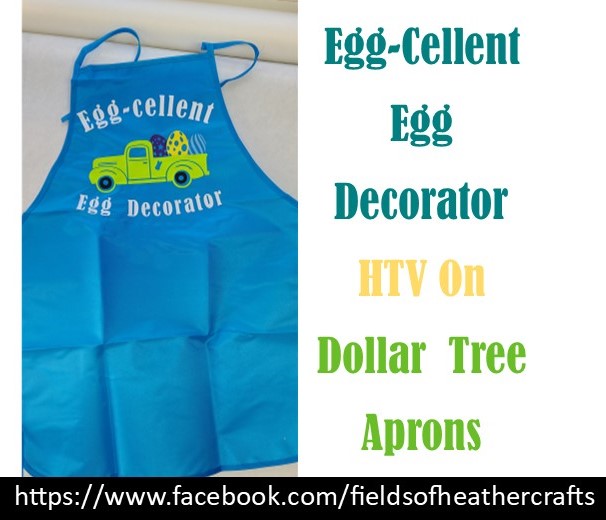
HTV applied to a Dollar Tree Apron Egg Dying Aprons For Kids
I was very surprised to find that these aprons do not melt when you apply htv! Quick presses, I didn't press nearly as long as I would for other fabrics. But I used the same heat setting I always do! [I use a regular old iron, set between cotton and wool, for all htv projects]
I always forget to mirror, so before clicking make it, I select all and flip vertical. That's exactly the same as mirroring, but for some reason, I can remember to do that, and I can't remember to click the mirror button later.
My design measures 7.2 x5.3 in Design Space
I love those plastic folders from the Dollar Tree for holding all the pieces of a project in process. Those thin ones are 3 for $1.
A PNG file - which can be printed on any printer and cut by hand,
OR upload it to Design Space, delete the white background, and use the print and cut option with cricut.
And it includes the svg, which you can upload to design space to cut.
When you upload the svg, change the size first.
You want the entire group to be 3.115 tall.
Once you have it resized, click on ungroup, and change the colors
I made the egg white so that kids can color and decorate them, but you could use colors too!
I cut the egg and chick out of paper, and the face out of vinyl, so the face is stickers
BUT - the face is tiny. It may be much easier to just draw the face on!
You can also use the shapes tool to add shapes to the egg, then change them to draw, so that kids have shapes to color in and around.
Glue the chick on to the bottom first, then the egg over top. Work as close to the end of the clothespin as you can, so that is opens as wide as possible. On the very edge of the chick and egg are glued fast. I used e600 glue because it was laying out from my last project. It worked great, but it does not dry super fast.
If you want to cut a bunch all at once, 25 fit on one 8.5 by 11 sheet of paper.
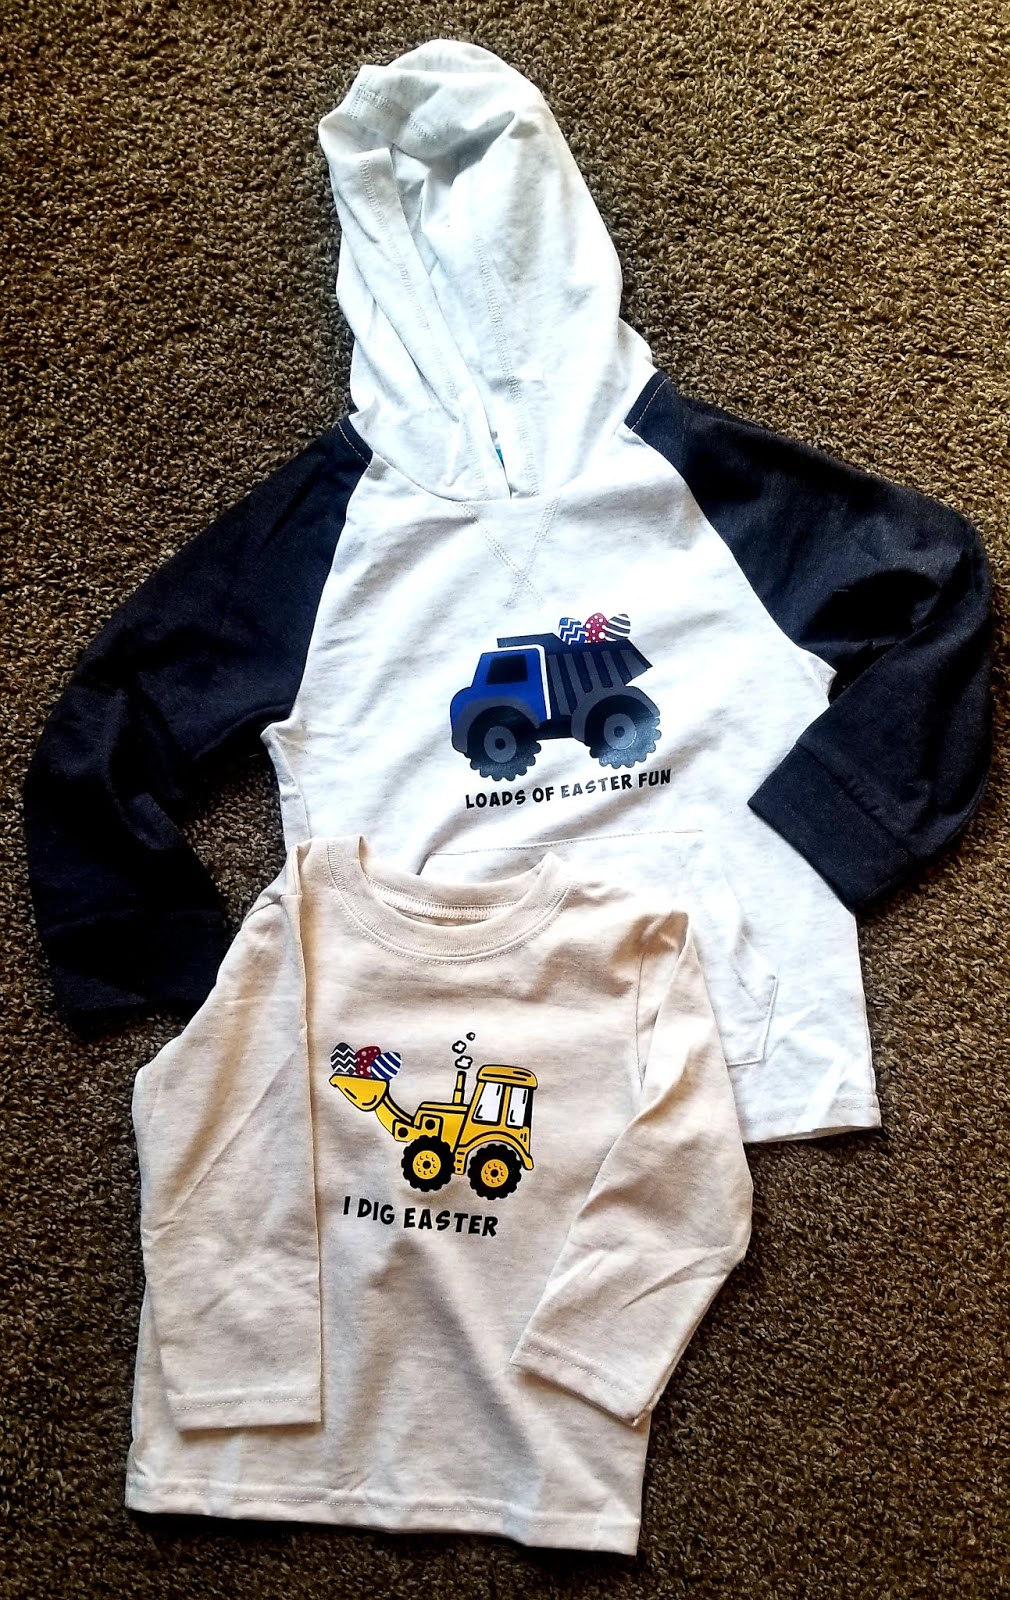
Shirt is from Wal-Mart - it's the only place locally I can usually find toddler and baby size shirts - although recently, they have been difficult to find there too.
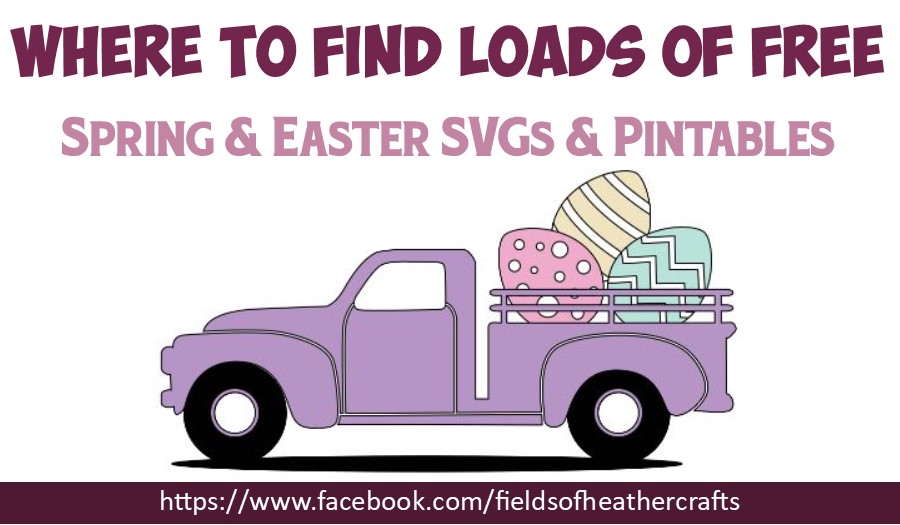
The eggs are from the free truck design from Caluya
Once uploaded, you can ungroup the svg, change the colors, layer the pieces, then regroup them, and resize to the size that works best for your shirts.
I added the hearts with the eggs from the Caluya Design Truck - although any eggs would work.
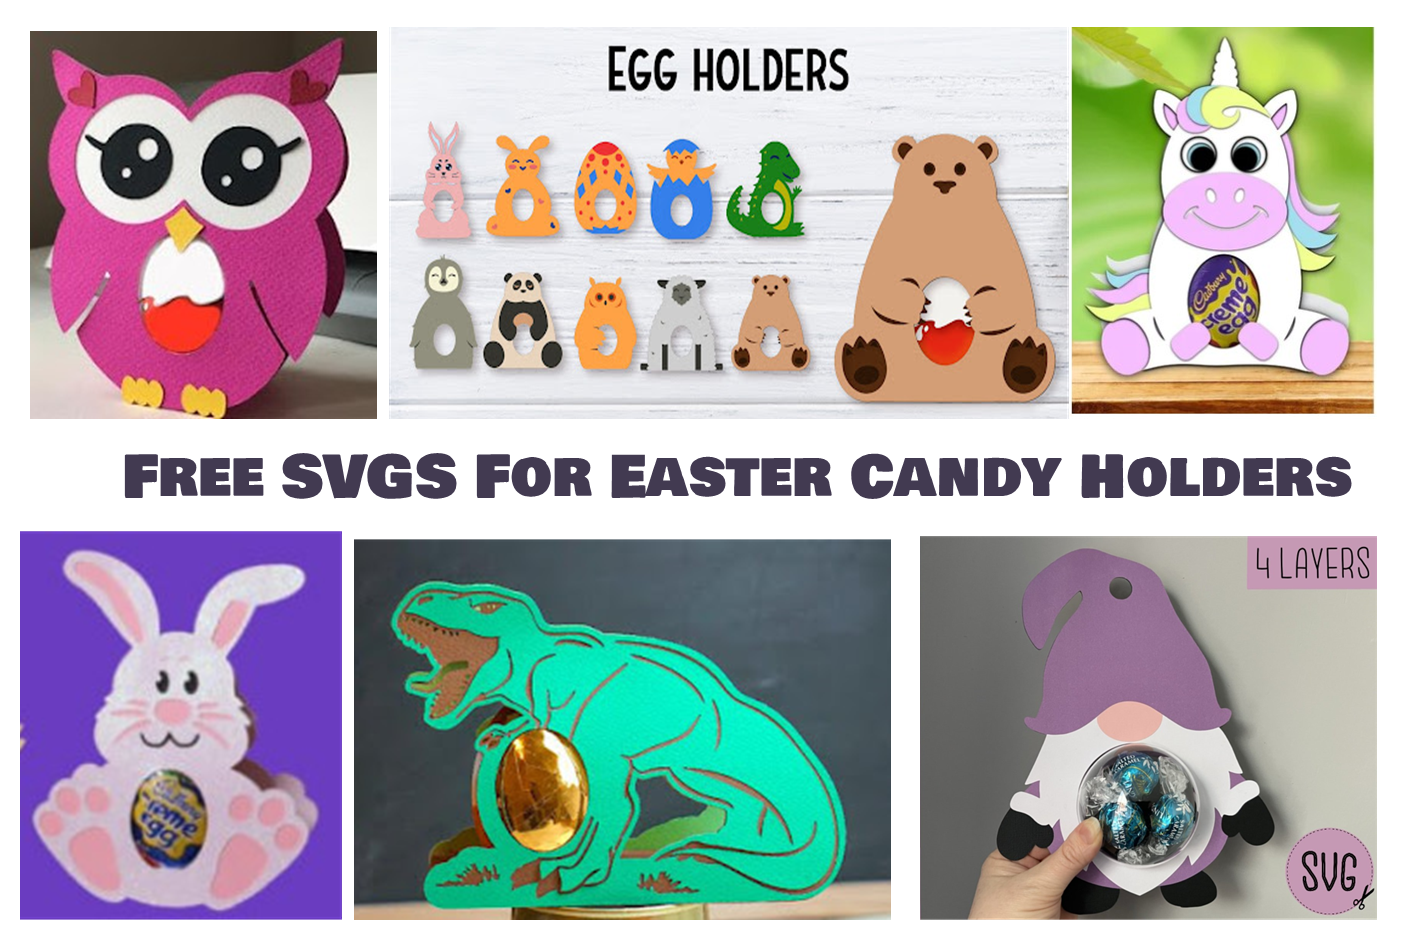
Creative & Fun Easter Egg Hunt Ideas For Older Kids
Quick Tip - A lot of these sites are now so covered in advertisements that they are practically unreadable. As a blogger myself, I do know ads are necessary, but being able to read the actual post is sort of necessary too. :-) I use the Rocket Reader Extension on Chrome.
When the ads cover the text on a site, I just click on the rocket in the top right of my toolbar, and it translates the page into a sleek, just the text, page. It won't work for every webpage, but it does for many of them!
Baskets are from the Dollar Tree, Target, & DH Gate. Details are below, for each.
Designs are from all over. I've started this post with a list of places to find free bunny faces, then later in the post I describe each design I used and where I got the elements for it.
I used a regular iron for all of these. It's what I always use, I never have any problem using an iron. I use a silicone baking sheet inside (or behind) items when Ironing on my designs, I think it helps.
Siser Easyweed HTV. I buy it on Amazon, with prime free shipping, it's always the cheapest that way, for me.
I used the silicone baking sheet inside the bags, as I do with most items, but because of the way the burlap and fabric are layered here, I'm not sure how much it helped. I used it anyway. :-) The seams and layers at the bottom made it a little more difficult to get the good pressure on the letters, but they have held up well.
Dollar Tree Baskets:
Find them online on the Dollar Tree Site Here - https://www.dollartree.com/easter-bunny-shaped-baskets/302822 For $1.25 each, these are by far the quickest and easiest and cheapest to make! Big Lots has similar baskets, but not nearly as cheap. Ironing Them On - You have 4 inches in length to work with on these ears. I chose the font Moonlight - one of my current faves. As much as I love beautiful scripty fonts, when making things for young children, I like to keep the letters clear and readable so they easily recognize their own name.
Target Baskets In 208 these were inside the door, in the "Dollar Spot" aisles. (Why is this called Dollar Spot? Almost nothing there is just $1....) They cost $3, and are sturdy - with a plastic bucket inside the layers of canvas material. The ears have wire in them. Five Below has similar buckets, just a bit larger, with a bunny silhouette already on them, for $5 each. They are 3 for $18 on amazon here - https://amzn.to/30OKGeP Ironing On Them: This is the only time I have used my iron more like an iron than a "press" for htv. Because of the curve of the bucket, I kind of ran the iron around over the design. It attached quickly and easily - the htv seems to like this material! I didn't put anything inside of the buckets, just my hand. I kind of held the bucket in the air with one hand, and moved the iron around the design with my other hand. It sounds difficult, I know, but this was actually much easier than the burlap bags. The Designs:
For the Bunny with the sunglasses: I used the llama face with sunglasses from Caluya design, ungrouped, deleted the ears. Selected both areas on the glasses, and sliced, so the cut outs are cut out, not layered. Changed the circle behind the nose to pale blue I added the whiskers from the printable cuttable creatables face Font is chuck noon. Because I have a LOT of black scraps, rather than fuss with how to place everything to use up scraps, I just changed the whiskers & nose, sunglasses, and letters all to different colors and cut each one. I put black on the mat each time, but because the software thought I was using different colors, it automatically prompted me to put in a new mat for each item. It was a little more (but not much!) time consuming to do it this way, but I did almost all of these with just my scraps - and I found it quicker to put in a new mat than any other option.
This is the face I used for the girls burlap bags. It was in my svg files names BunnyFace.svg - but there is no information in the properties for me to know where i downloaded it from. I downloaded it in November of 2017... The links above give similar faces, but if anyone knows where I got this particular svg (I'm positive it was free) I'd love to link to it.
The font I used for the girls burlap bags was DK Jambo.
Molly's basket was made with a photo of her. I used graphics software to convert it to an svg, for Christmas ornaments last year. For this, I simply had to make the graphic larger. Font is Moonlight. Here's a variety of software that will convert a photo to svg - https://fieldsofhether.blogspot.com/2019/02/programs-sites-for-converting-to-svg.html