A Layered Vintage Valentine Truck, filled with Rolled Paper Flowers
This is the FREE Valentine Truck svg from Craft With Sarah, modified and cut "larger than mat", with a bundle of free rolled flower svgs from JoJo & Bella in the bed of the truck.I've made it "larger than mat", increasing the size to 14.5, and I have deleted some of the heart layers, replacing them with rolled paper flowers on top.
Here's a step by step on how I did this.
First, Unzip the download, upload the svg to Design Space. The svg is the file that looks like an html file, or like a website. For a detailed step by step on how to use svgs in Design Space, go here.
Next, at the top of the design space screen, lock the ratio. That's the little lock on top of the sizes - click on it, so that it is "locked", instead of unlocked. Now you can resize to 14.5.
By default, the size ratio is unlocked in uploads. You will almost always, 99.5% of the time, want the ratio locked.
There's been a glitch in DS for awhile now, where if you forget to lock the ratio, resize and realize that distorted your image, then click undo - the entire image will disappear. You can just add it again from the uploads menu, but it can get pretty annoying. If you get in the habit of always looking at that lock before resizing, it will save you aggravation in the long run. :-)
Now, if you are going to add the rolled paper flowers, there are three layers you can delete - they aren't needed. I have them highlighted here on the right - they are three heart layers in the bed of the truck.
With those 3 items deleted, your project should look something like this.
If you have resized to 14.5 like I did, unless you have the longer sized papers, cricut cannot cut this at this size.
Our local Michaels does carry Recollections Paper packs in 12x24, but they are pricy, even on sale. And they are a pain to store, for those of us with smaller craft areas. I didn't want to buy more paper for this, so I did some slicing. I could have just sliced the 3 pieces in half, then used heavy tape on the back (a masking tape, or even duct tape) to reinforce over the seams. But with the added weight of the rolled paper flowers I planned to add, I decided to make sure my slices overlapped.
Here's what I did:
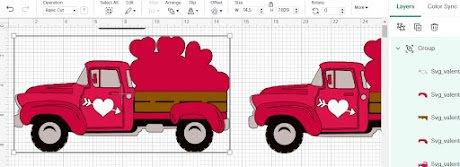
First I grouped my project, then duplicated it. I hid the duplicate. This is only a precautionary measure, it's NOT needed. But if I make a mistake on my "working copy", I have a back up with the first few adjustments already made, making it easier to start over. Once I have the duplicate copy, I clicked on the eye to the right to hide it, so it's not visible on the mat.
Now if you click make it, you can quickly look at the mats and see which ones are too long. Click Cancel, and go back to your work space, find those three layers in the layers panel. I have them selected in the image below:
Select those three items, and at the top of the layers panel, select the duplicate option. Again, duplicate is not completely necessary - you could just work with the original. But I like to have a saved copy, and a "working" copy, I find it easier to recover when I make mistakes.
Next I drug the pink and black layers off to the side, so I could work with the grey layer first. Again, duplicate. This time it is necessary to duplicate.
I want to cut these pieces in half, with an overlap. So I'll slice both grey images, leaving the front piece longer on one, and the back piece longer on the other.
To slice, create a 9 inch square (shapes menu, on the left in Design Space for computers). Duplicate it. Place the squares over the grey truck layers - one in the front, one in the back.
You can only select 2 items at a time to slice, so select the top grey truck layer, and the top square, then choose Slice, from the menu on the bottom right of the screen (on a computer - menus may look different if you are using an ipad or phone app)
Drag all the extra pieces to the right, to be certain you like the image you are left with.
Delete the extras, and repeat with the second image.
Now your grey layer is in two pieces, with a good overlap to add stability when piecing together.
Repeat the slicing process for the remaining two large layers.
This next step is not necessary, but I like to layer my sliced images, and group them together, so that the two sliced pieces stay together as I move them around.
Now, in the layers panel on the right, find the 3 long solid layers in the project image, and delete them.
Replace those layers with our newly sliced layers.
Note my mistake - for the pink layer, I glued the wrong front on! I caught my mistake quickly and was able to fix it, thankfully. Although my pinks are two different colors, they are very similar shades, and i just was not paying enough attention.
Here is my completed truck base - all glued together and ready for flowers
====================
THE FLOWERS
=================
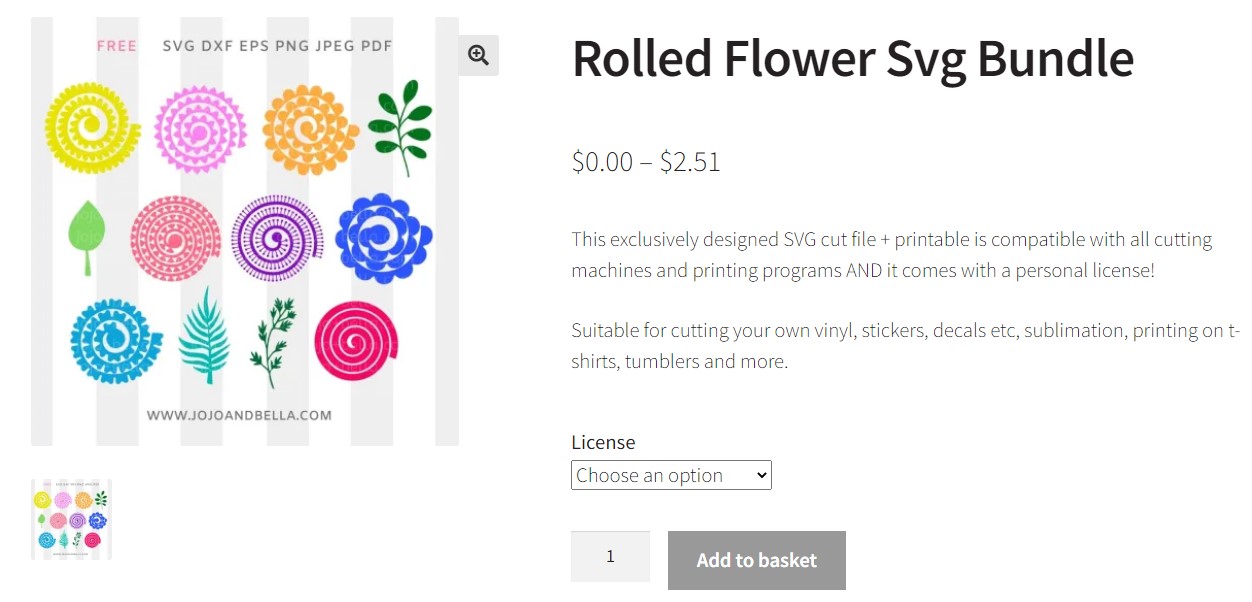
This bundle of Rolled Paper Flowers is FREE for personal use.
To download from this site, you will need to login, or register, first.
Then go to this page for the flowers:
Under license, choose "personal"
Once you choose personal use only, the explanation will take up most of the page- scroll down, and at the bottom will be a "download now" button.
One you download this, you have to extract (unzip) the zip file, then find the folder with the svgs. Upload the svgs to Design Space.
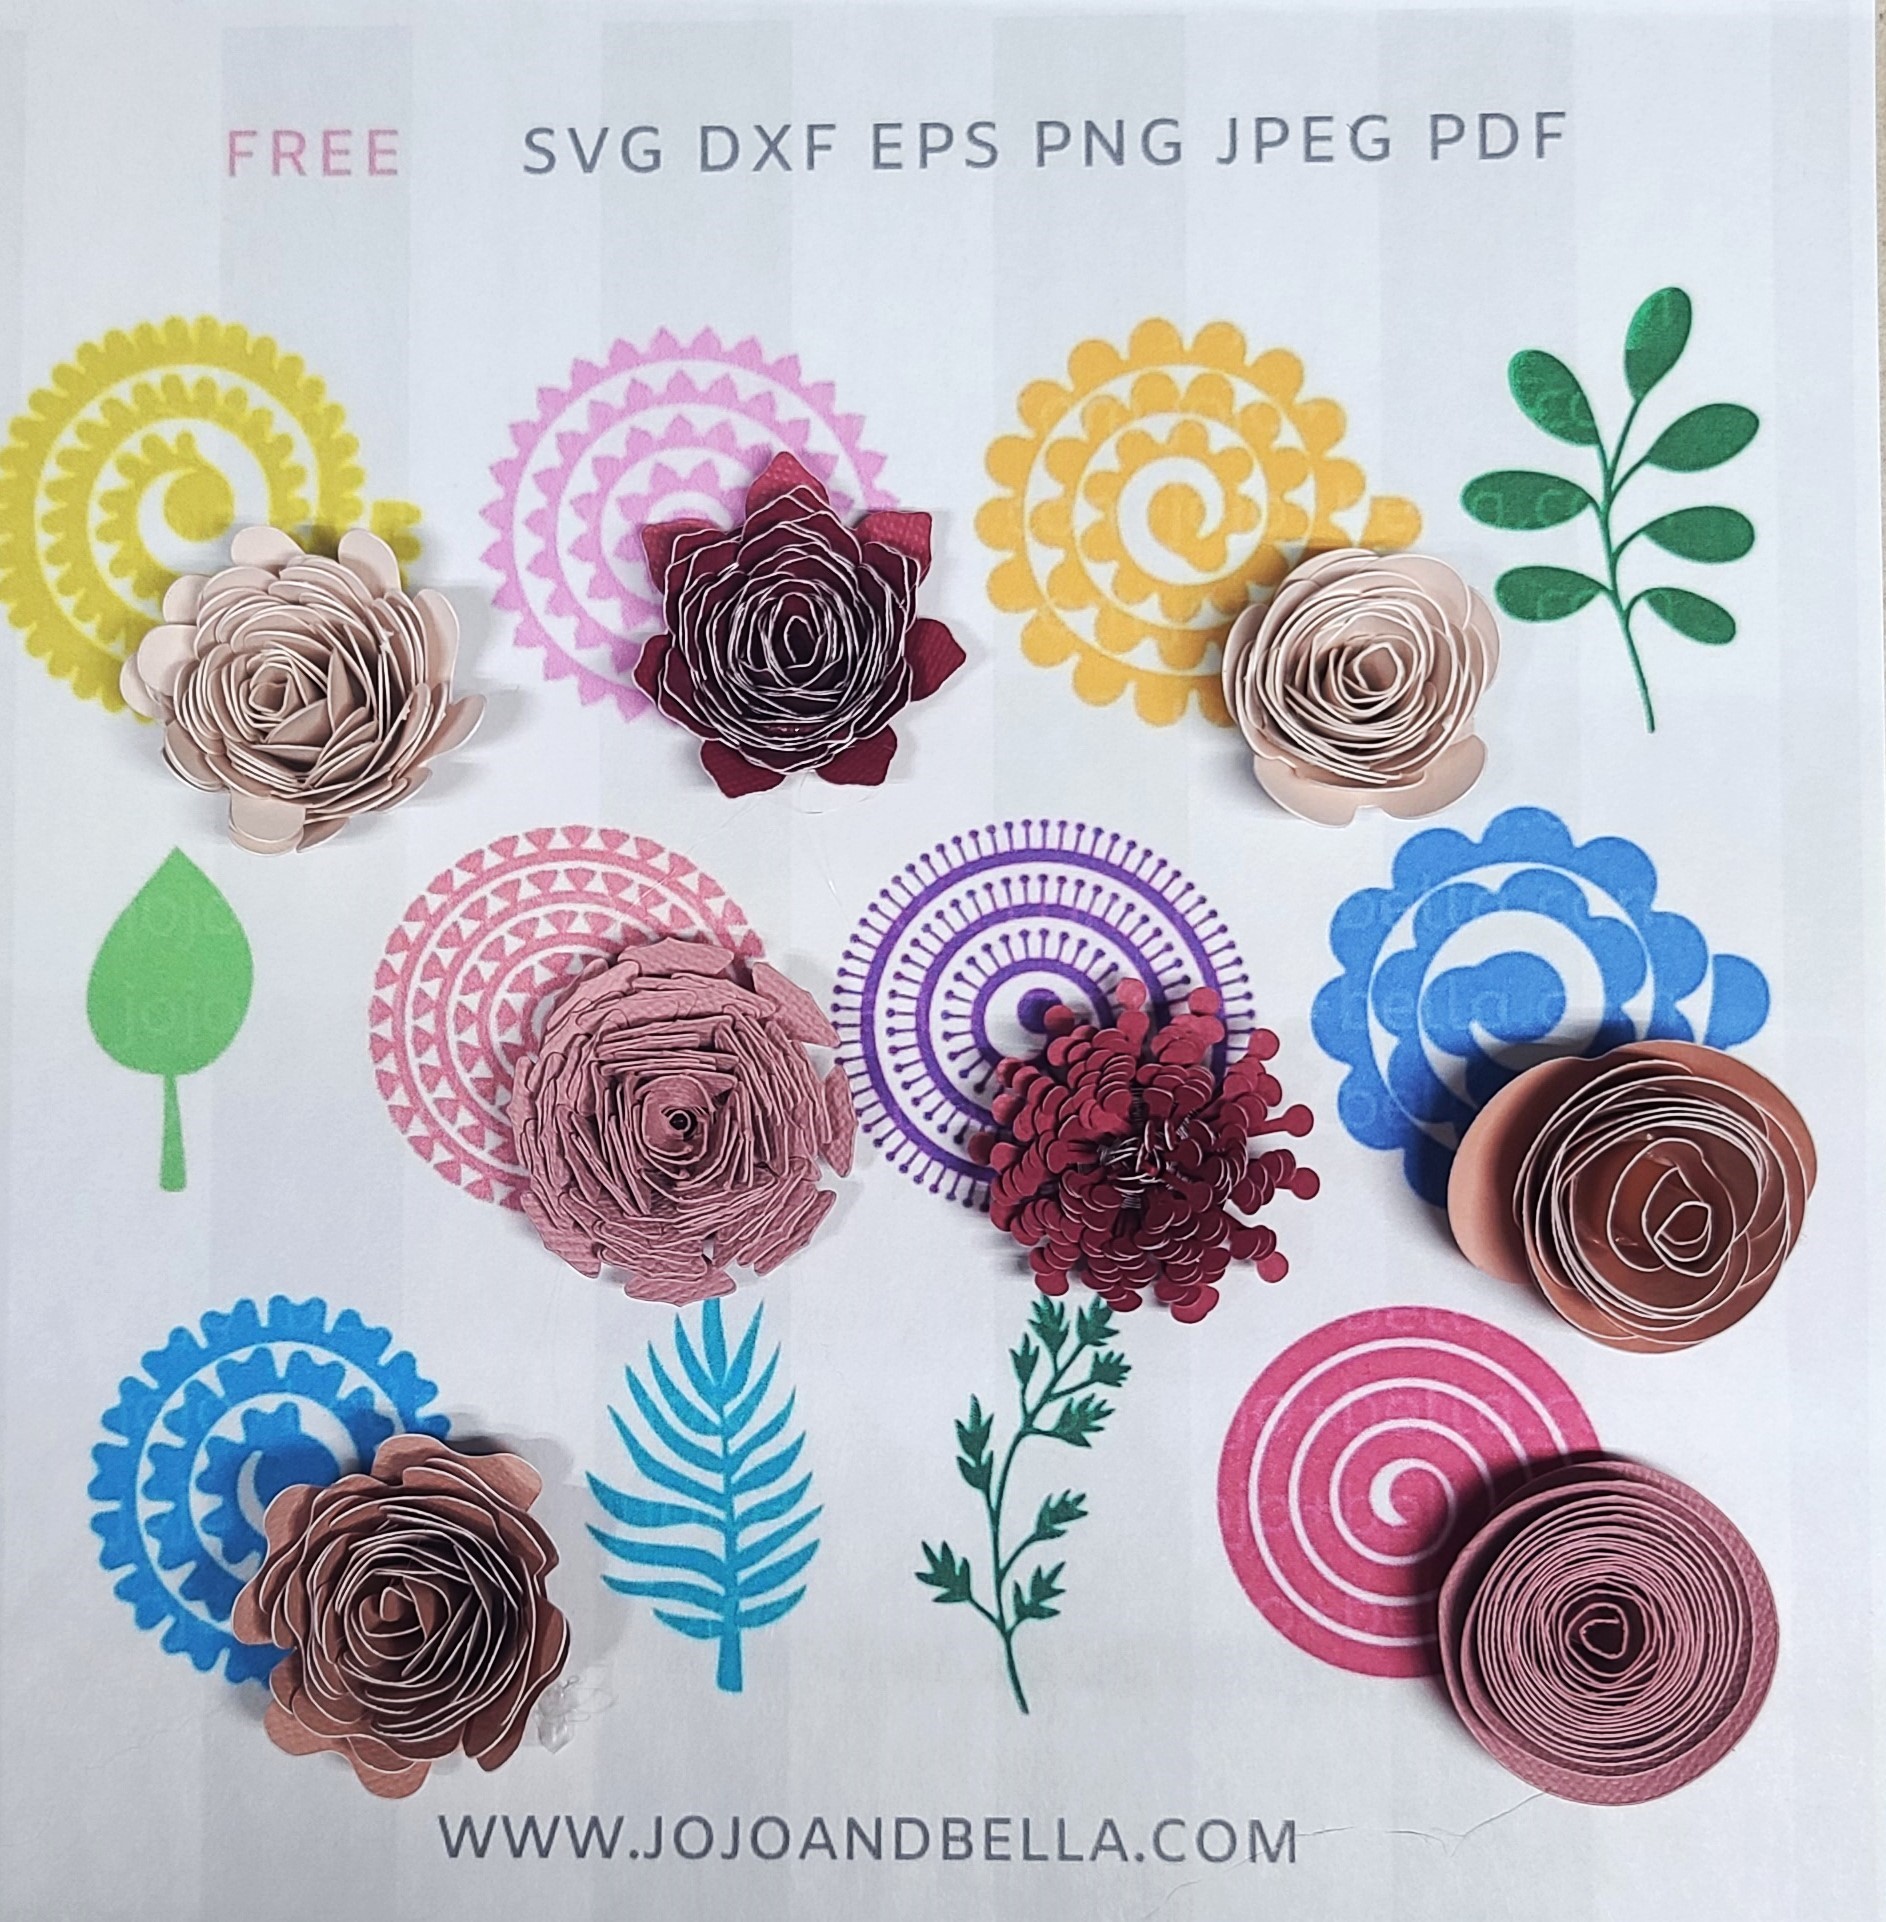
Each file is individual here, so it's a bit of a pain, you have to upload them one at a time. There are 8 flower included, and you do NOT need 8 different designs, you could choose just a few for this project. I uploaded them all primarily because I wanted to make a sample sheet showing what each one looks like when cut.
They upload at about 9.5 inches which may seem really large, but in reality, a 9 inch cut will typically make an approximately 2.5 inch completed flower. Larger than I want for this project, but a good basic size for many other projects. Here's a helpful chard from Creative Vector Studio:
Rolled Paper Flower Size Chart
Sizes are approximate, and will vary slightly by design, and how tightly you roll.
I chose to resize the flowers to 5.5 wide, allowing me to fit 4 on a 12x12 sheet of paper - or 2 on an 8.5x 11 sheet
Then I used color sync so that there are two flowers in each color.
Just click on the color sync option on the top right.
Then drag images in menu to combine them. The latest update has really made the Color Sync option more complicated to use, I hope that DS will switch it back to the old color sync, but this does still work, it's just more awkward.
I sized all of the leaves 3 inches tall. I think 2.5 may work.. 2 inches tall was too small, the center stems are so very thin that they were just too fragile, at 2 inches tall.
After clicking "Make it", at the top left, I changed the Project Copies to "2" and clicked apply.
This cut two of each of the flowers, for 16 total flowers.
I used the leaves to "fill in" and this fit nicely. If not using the leaves, you may need another 3 or 4 flowers.
When rolling paper flowers, you start on the outside of the circle, and roll tightly until you get to the center. Then let the flower "loosen" a bit, gluing the rolled pieces to the circle base in the middle.
This is what each of the flowers looked like once cut and rolled, cutting them at 5.5 inches wide
I used hot glue to attach the flowers to the truck.
I hot glued bakers twine to the back, to hang this.
============================