How I Store My Vinyl & HTV - Rolls & Sheets


Although we have a spare bedroom upstairs, I prefer to keep my craft area in a corner of our laundry room. The reality for me is that if I stored everything away upstairs in a closed off room, I'd never use it. With it down here beside the kitchen, I have quicker and easier access to it. I can have the machines cutting while I'm cooking, or folding laundry, and I can walk out to work at my desk for a few minutes without feeling like I have shut myself off away from my husband. It's what works for me - and that's the key, figuring out what works for you. There is no one answer, we all work differently!

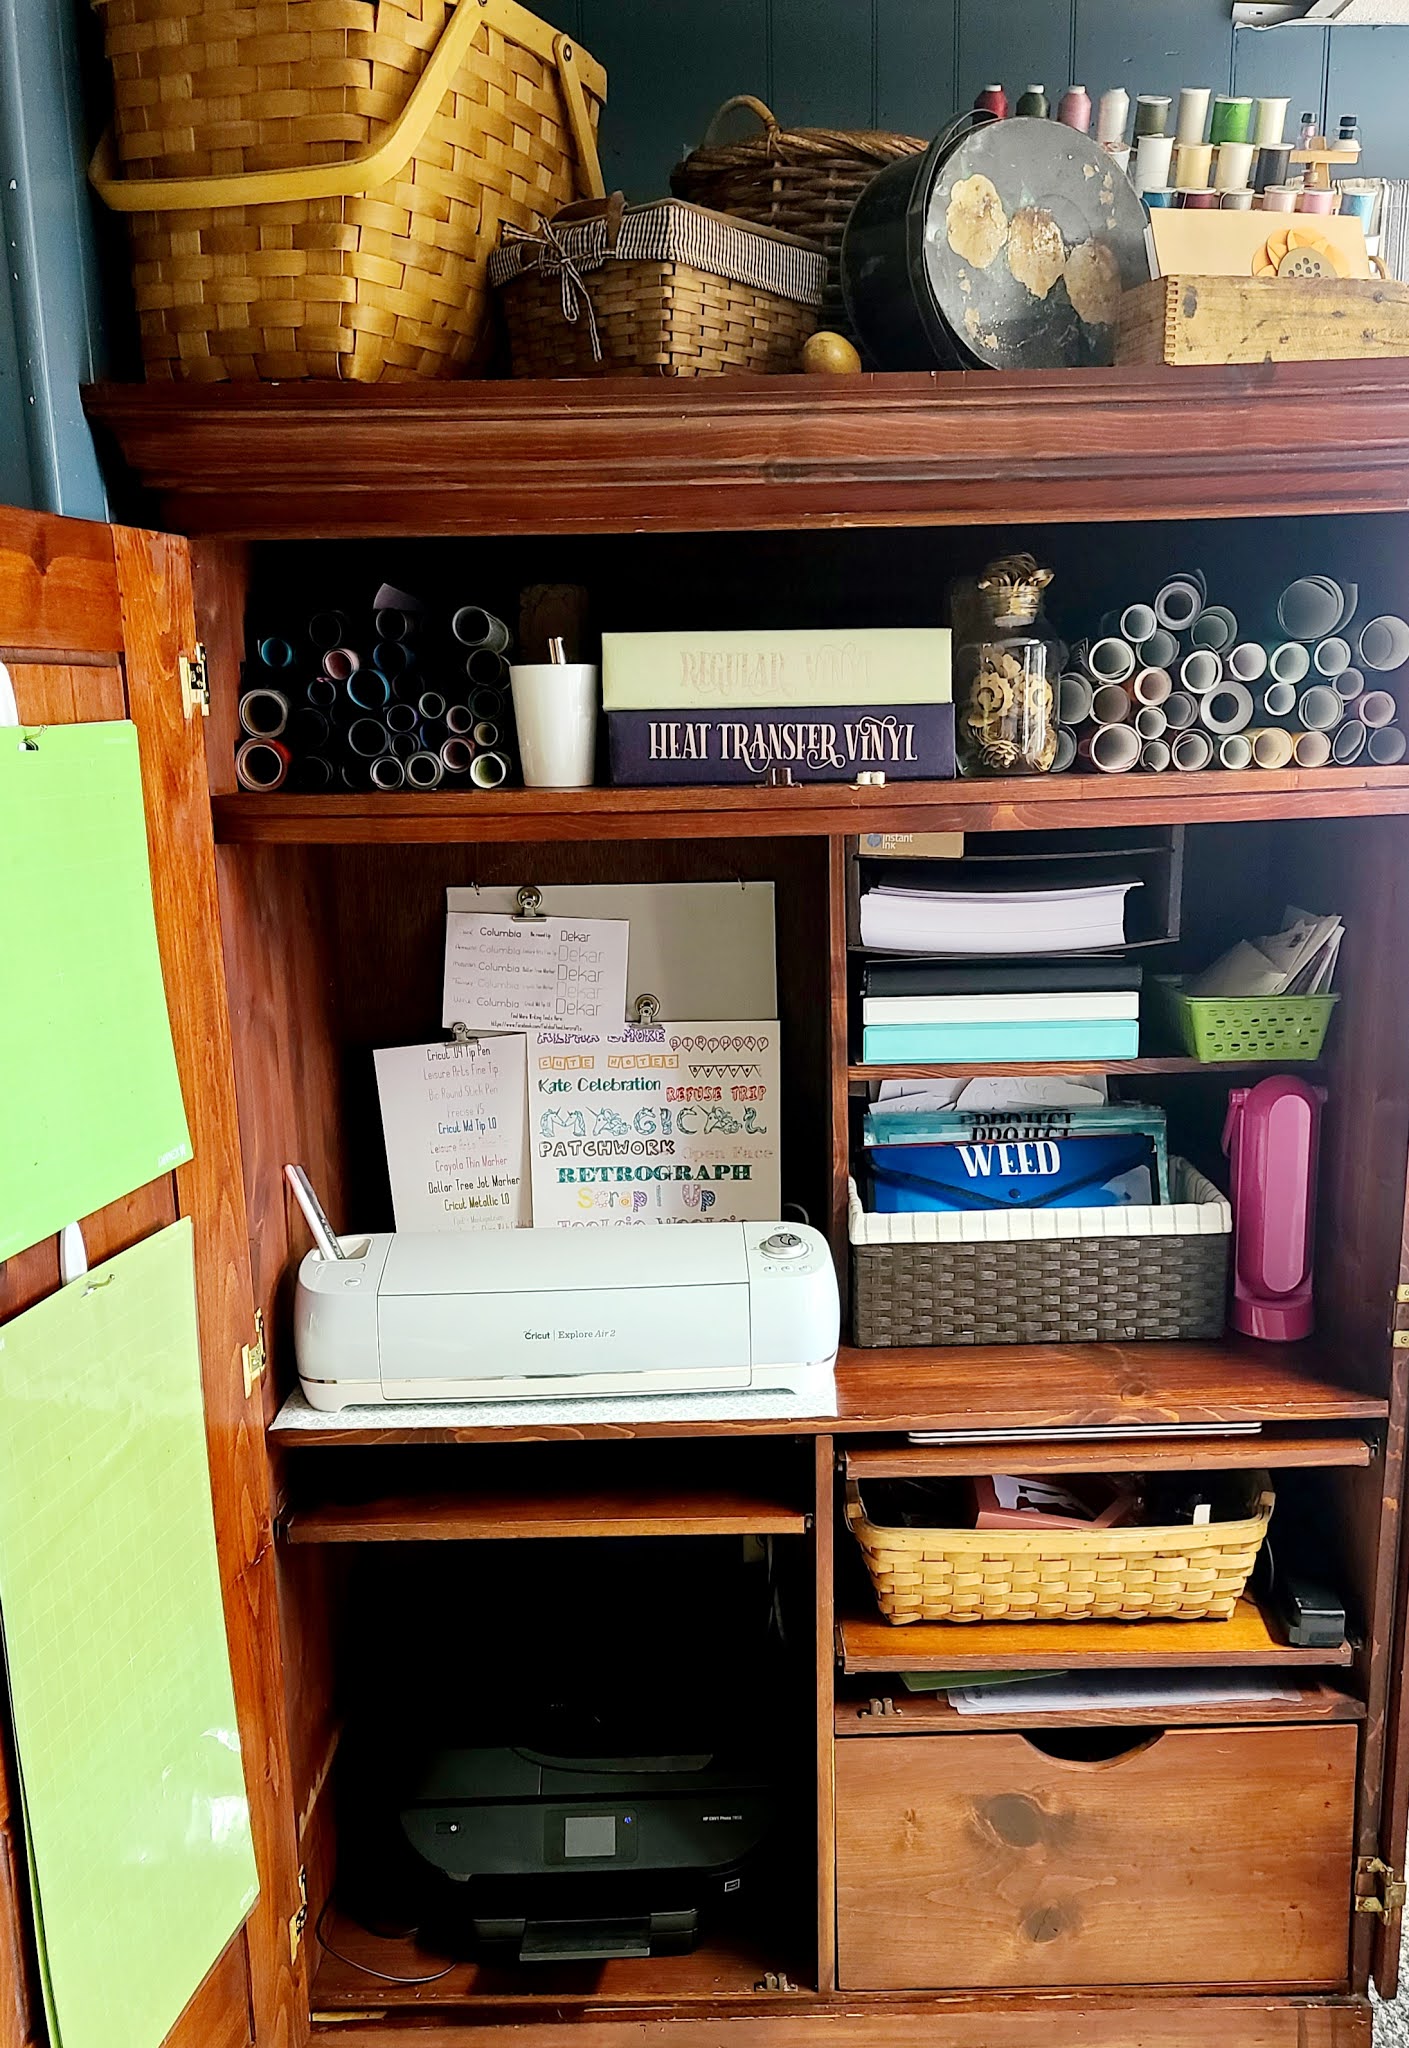
In this small space, I have an old office armoire that I picked up at a thrift store. It holds two cricut machines, our printer, & all of my paper and vinyl. Baskets on top hold more supplies. I also have a desk and dresser in this area, and a closet where more supplies are stored - but the bulk of what I use is accessible right here, beside the ironing board, which is convenient not only for dropping all sorts of odds and ends as we walk through the back door, but also for htv projects, once I clear it off. :-)

The bulk of my 12x12 paper is in cardboard holders. I do keep one clear 12x12 box of "seasonal paper", that I rotate out. So right now I have spring and summer papers in the cardboard storage, and fall and winter [Christmas] are in a clear 12x12 box. Sometime around late August/early September, I'll switch those.


.jpg)


The first step in organizing my fonts was to create my own categories. These do not need to make sense to anyone else, they are strictly for my own reference. They may not technically be the correct description of the font. That doesn't matter. This step of the organizing process is all about how I see the fonts. Because I may not be able to find them if I have to remember terms like serif. :-) Your categories may be completely different! Think about what works for you. I'm including a break down of my categories, along with visuals of some of the fonts I have in each category, below.
Each category gets its own folder. I don't hesitate to put the same font in more than one folder - font files are generally pretty small and do not take up much space.


While I LOVE all these massive free bundles from Creative Fabrica - dealing with the files once they are downloaded can be a bit overwhelming. Her are some tips for saving your files, and finding them later, without having too much of an overwhelming mess.
 |
| Organizing all of my cricut "in progress" projects I know some of you likely only ever work on one project at a time. I admire that. But it's not how I work. :-) Very frequently I will sit here at my desk writing about local history while a variety of Cricut Projects cut. I may design and plan while my husband watches tv in the evenings, and then send them all to cut a day or two later. Sometimes my daughter will "babysit the cricut" for me, feeding in the various materials & colors to cut. Other times, she will help weed projects. I have always had a mess of projects in progress. I've recut pieces that were lost, more times than I care to admit. |
Quick Links: