

Comparing the Hardwoer Replacement Blade to the Cricut Brand Blade
Note - Occassionally he Hardwoer brand is not available - but Caregy has identical ones.
The blade on the left is cricut, on the right is Hardwoer. They are exactly the same size.
Be sure to remove the red cap before trying to insert it into the holder. There's a video showing you how to change the blade, below.
Conclusion - There was no noticeable difference between the two blades, other than the cost. I wrote this post in 2021, and I've used nothing but these off brand blades ever since.
Quick Links
- Cricut Original Blade $9-$12 for one blade
- Hadwoer Brand Blades $12 for 50 blades
- When the Hadwoer are not available, I recommend trying the Caregy Brand Now - https://amzn.to/42GFBnf They appear identical to the Hadwoer brand I bought, and I know I like the Caregy vinyl, so that would be my recommendation. :-)
- Step By Step Video for changing the blade
===========
Back Story
& Blade Tips
=============
I've used the exact same bade that came in my machine, for the past three years. Every once in awhile, very rarely, I switch it out for the deep cut blade. But even on faux leather, I find the fine point blade does better - but deep cut does work better for making cereal box puzzles. (See Tips & Tricks for cutting faux leather with an Air 2 here.)
I use my cricut several times a week, every week. Often several times a day. Same blade. Three years. Faux leather, paper, vinyl - same blade. Every once in awhile I would pull the blade through some foil (others tell you to stab it into a ball of foil, but I like to pull it through in straight lines until the line is no longer jagged) to clean it. But that is it. I don't know if I just got a really good blade, or if they made the blades better three years ago? But every time I hear that you need a new blade after a month or two, I am puzzled.

Still, after 3 years, it was time to buy a new blade. I put it off thinking I would soon need a new machine, but I still can't convince myself I have any need for the maker yet, and the new "3" machines do not really interest me beyond the vinyl roll holder. So when the Hardwoer blades showed up in the Prime day deals on Amazon, I bought a pack. And then when I opened the door on my cricut machine to put them away, I found two brand new, never opened, cricut brand blades. I probably bought them shortly after I got the machine, since I really haven't purchased any cricut brand materials in a very long time. Anyway, since I had both blades, it seemed only logical to do a comparison.

There are three different blades in the pack. The ones with the red caps are the same as the fine point blade I have been using for the past three years.
============
Changing The Blade
==============

Changing the blade is really simple, but can be intimidating the first time you attempt it. I've included the video from Cricut showing the process. I typically lack the patience for youtube videos, but this one is only a minute long, and I cued it up to start at the pertinent part, making it even shorter.
The blade is magnetic, so once you pull the old one out, the new one sort of "sucks" right in.
If the video above is not working, or you want to see the 24 seconds I skipped at the beginning, try the link here: https://youtu.be/av4z6lRZVRs
=============
THE COMPARISON
==============
First I cut vinyl, then paper. For the vinyl, I cut two copies of the exact same design from two colors of metallic sheen vinyl - silver, and rose gold. One is Craftables Brand, one is Orcal. The blades worked equally as well on both brands of vinyl

Cricut Blade cut on left, Hardwoer Blade Cut on Right
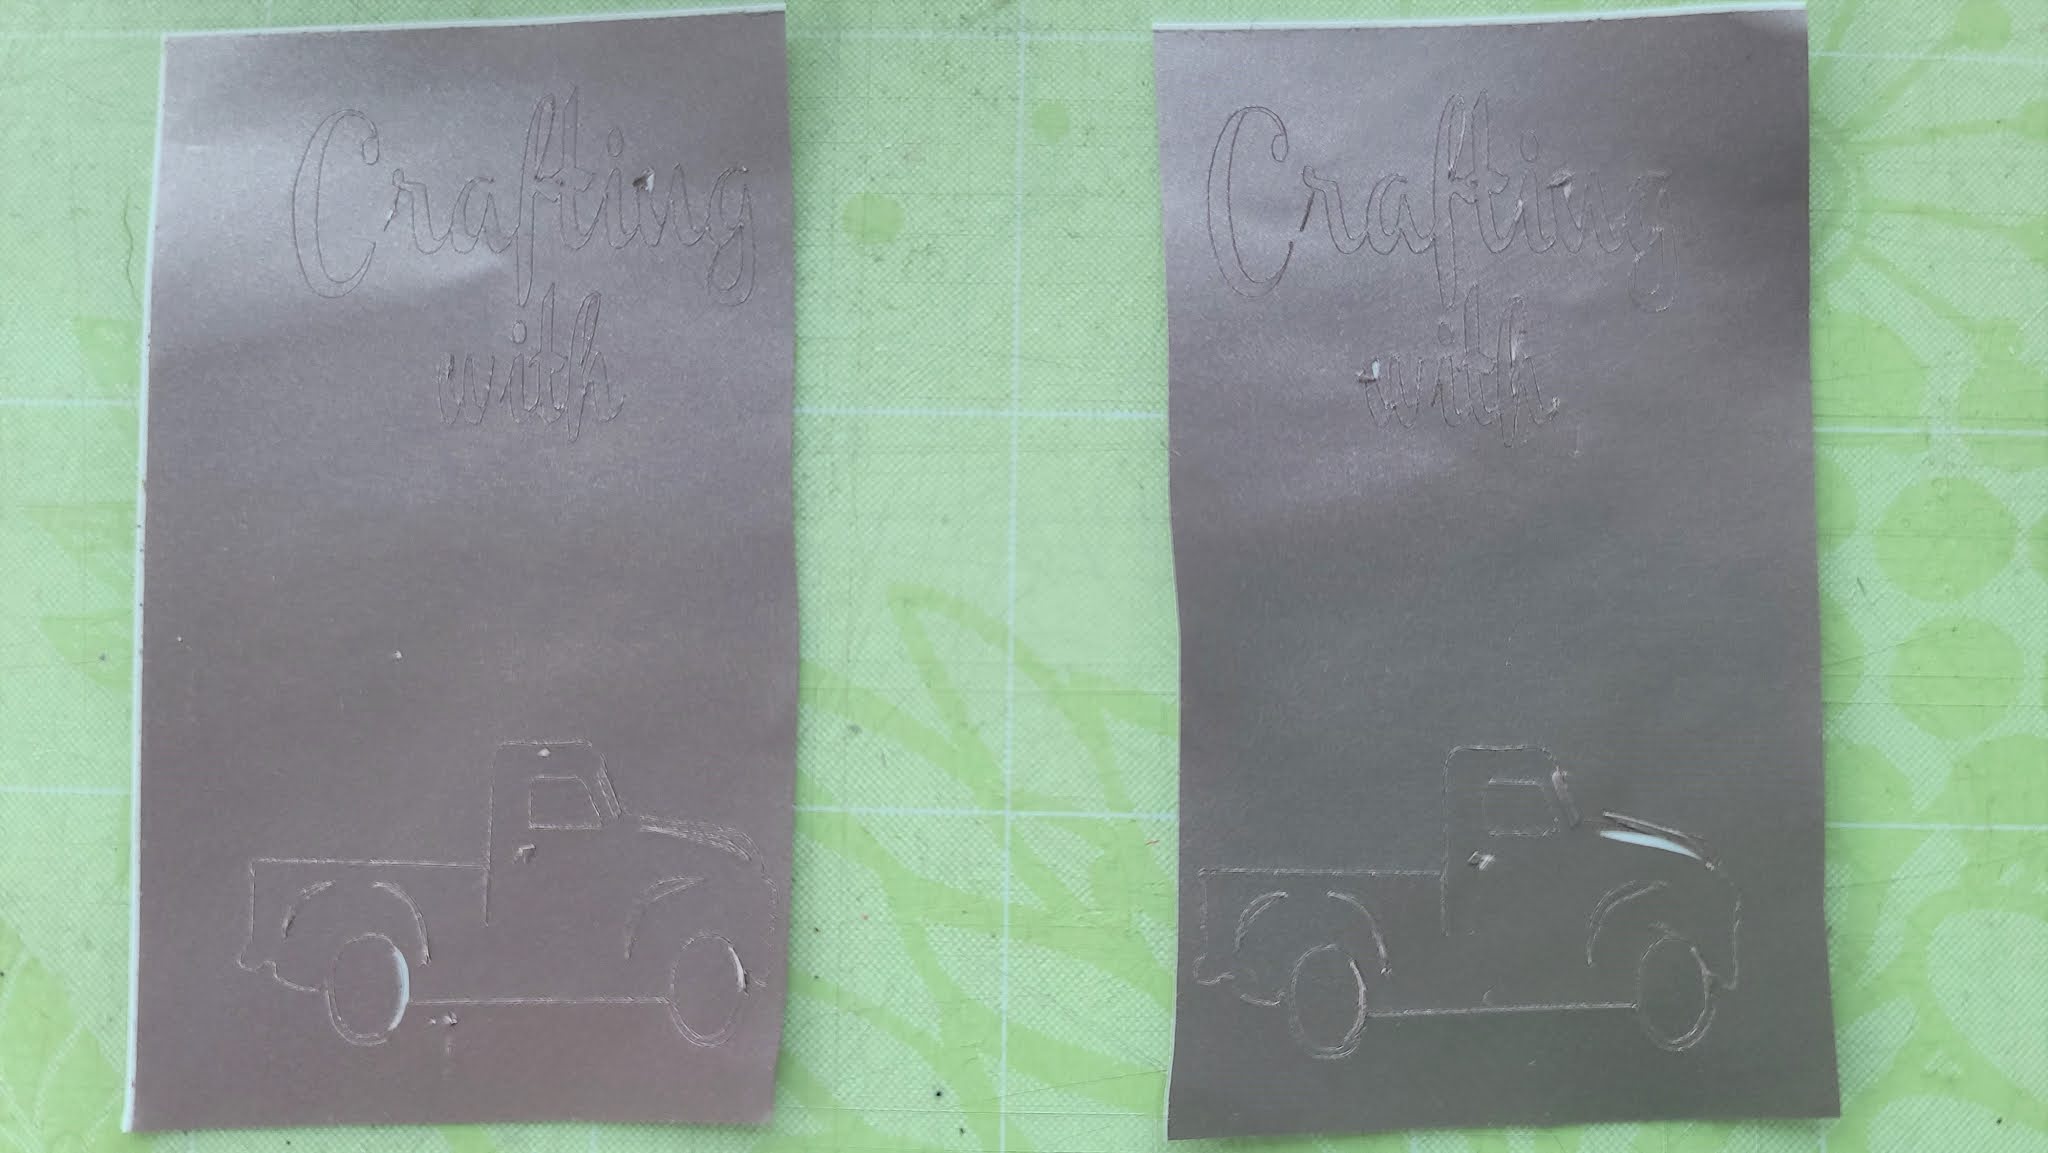
Cricut Blade Cut on Left, Hardwoer Blade Cut on right
For the paper cutting, I did not cut this in both blades, so it's not a true comparison. Although I did cut this design with my old cricut blade, a few weeks ago, full size. Today I scaled the design down to 4 inches, to use on my seasonal Home sign, and I cut it with the off brand blade. It cut great, no problems at all.

The finished cup sits by my laptop, with the paper cutting test on my desk, on the "On My Desk This Morning" post. If you look to the left, behind the laptop, you can see the larger version of this paper design that I cut a few weeks back, with my 3 year old cricut blade.
TIP - that blue piece to the right of the project is painters tape. When there are tiny pieces in a paper cutting design, I put them n painters tape and tape them to my desk. The paper sticks to the tape, but removes without tearing. If you look up at the right, in front of the phone, there's another piece of painters tape stuck to the desk surface - it's holding more paper pieces for another project. I do this a LOT, and have never had an issue.

This svg is not free, I purchased a bundle to get it, because that vintage truck is our favorite design around here. (Our last name is Truckenmiller)
SVG for the truck paper cutting from Crafthouse
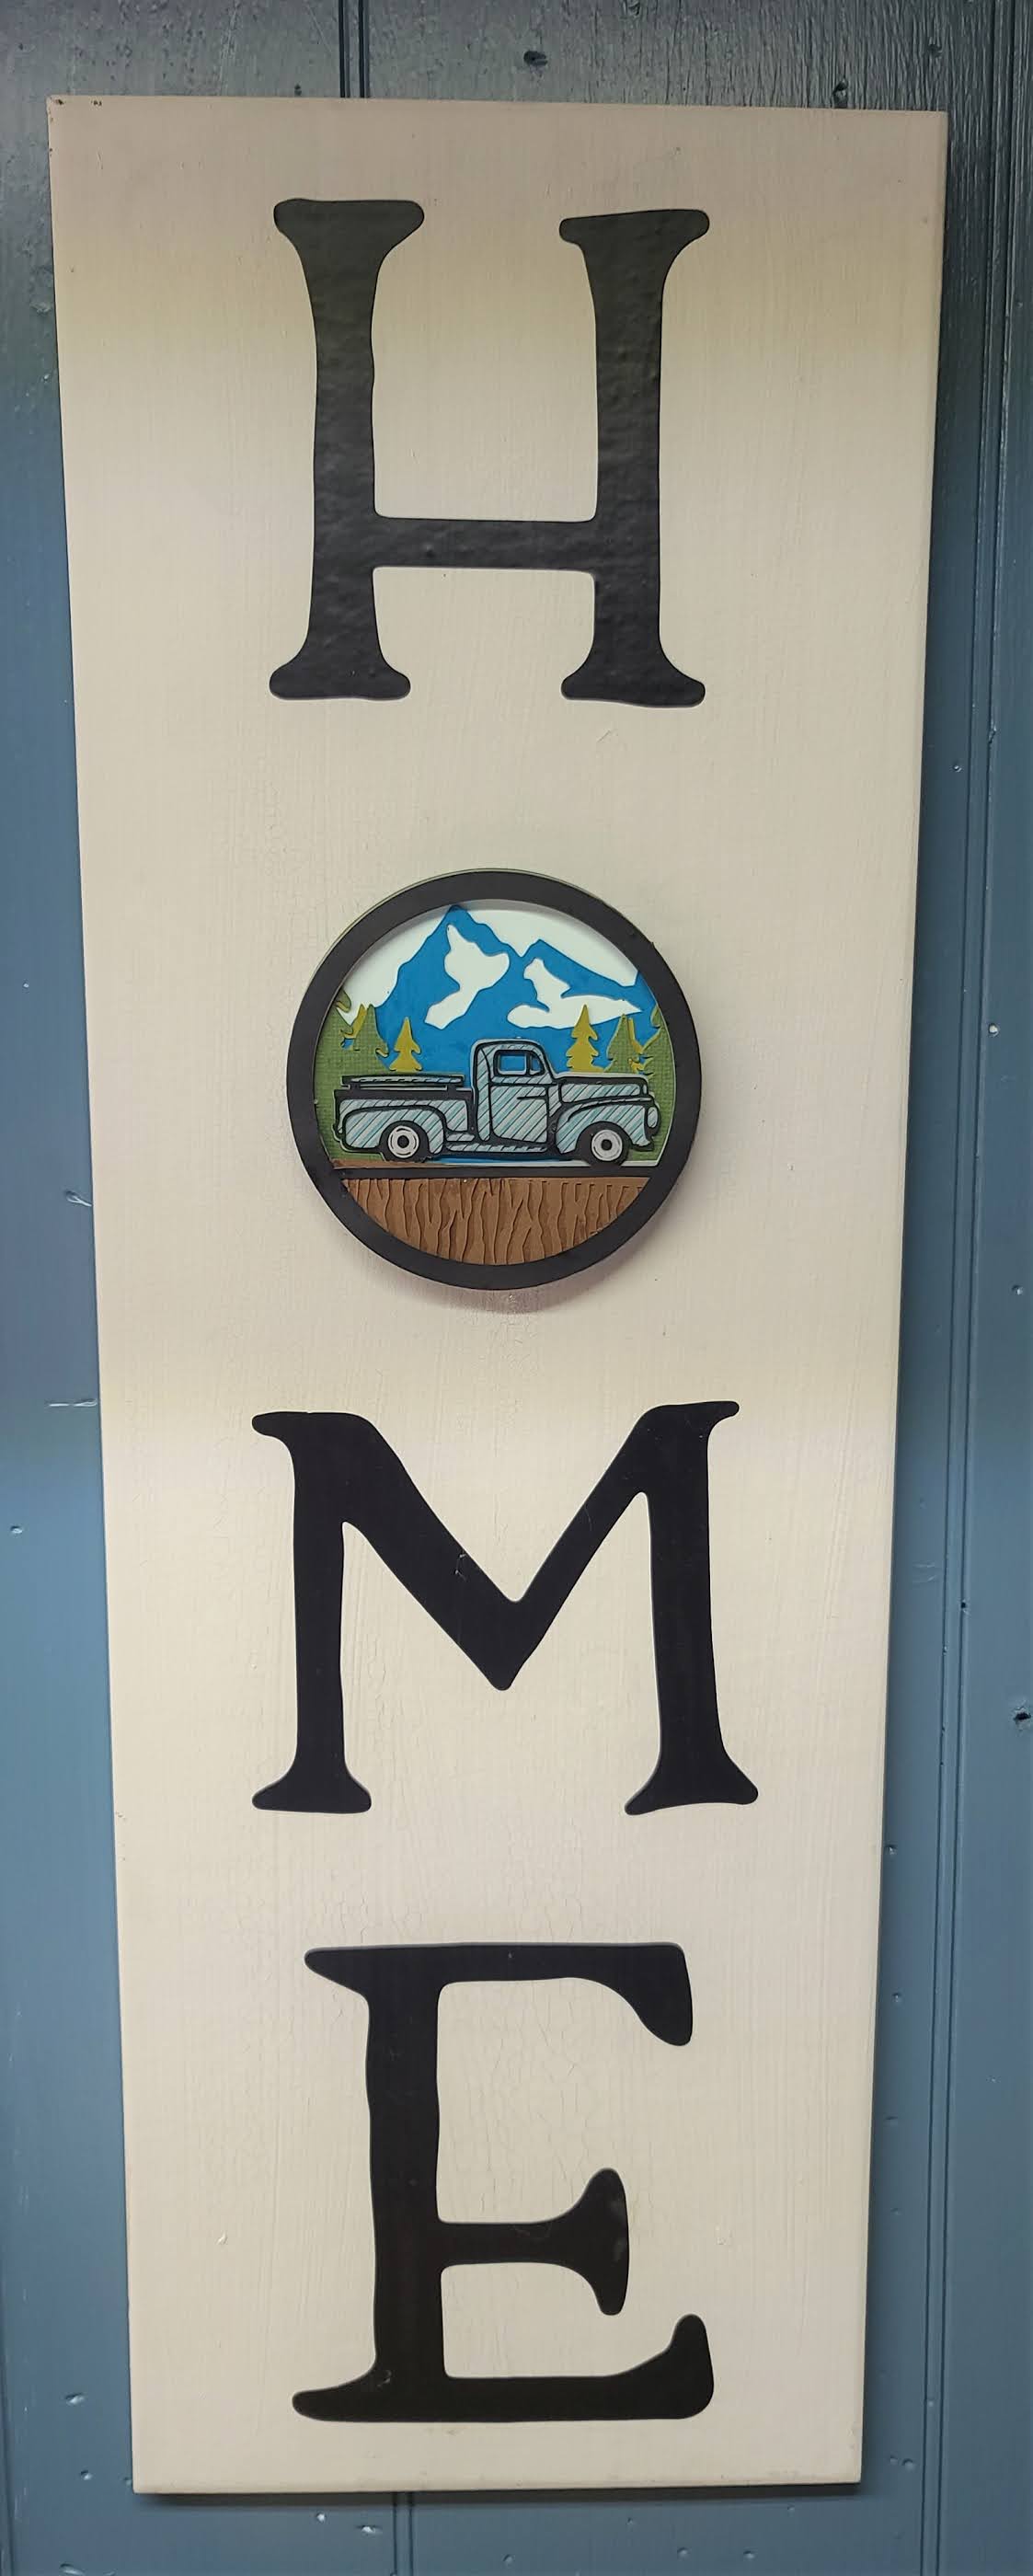
This sign is a painted ceramic tile, held to the wall in my craft room with 3M velcro strips. I change the O out frequently, and keep a list of where to find free svgs to use with this, for each season, here:
==========================

To See All Of My Latest Free SVG Finds,
Join Cricut Tips, Tutorials, & Free SVGS
There you will find themed posts with all of the latest links in the comments
And you can share your projects, tutorials, and ask questions there too!
No comments:
Post a Comment