Showing posts with label Thanksgiving. Show all posts

Vintage Green Bean Casserole - From The Campbells Test Kitchen


Dorcas Reilly, who worked in Campbell’s test kitchen, created the recipe in 1955. Reilly’s dish was originally called the “Green Bean Bake,” and it gained its popularity when Campbell began printing the recipe on its mushroom soup cans.

“As one of the first full-time members of Campbell’s Home Economics department, Dorcas created ‘the mother of all comfort foods’ by simply combining two things most Americans had on hand in 1955: green beans and Campbell’s Cream of Mushroom Soup.” 

Libby's Pumpkin Pie - The Tried & True Vintage Classic

 
Created in a test kitchen in 1929, the Libby's Pumpkin Pie Recipe created by Mary Hale Martin is still the classic no fail recipe that most use today.  The recipe has been on the can label continuously since the 1920s, with a very few small changes.  Read more of the history below [and see some of the  vintage labels and ads] but first, here's the recipe:

On My Desk - Thanksgiving Projects

 
Thanksgiving Projects Made With Cricut
Not all of these were made this year - some are from the past two years.  Most of the files are free, but some are not.  Here's a look at each one, and where to find the files.

On the curtain on the far left is a pumpkin with flowers, it's a FREE svg from Crafts With Sarah  - https://www.craftwithsarah.com/cricut-crafts/pumpkin-sunflowers-svg/

The Card at the top is the FREE Gobble Gobble Card.   It has a matching envelope too!

Gobble Gobble Card
I love that this sites cards almost always have coordinating envelopes. This particular card is a lot of pieces - and some of the pieces are very small. I use painters tape to hold the tiny eyes and buckles at my desk, so they don't get lost before I use them.
For glue, I use glue sticks, the elmers craft bond precision tip, and on the envelopes sides, I use a hot glue gun.

The layered Thankful Banner is a FREE svg from Special Hearts Studio

Bearly Art Standing Turkey
The turkey on the left, which stands on it's own (it's on a small corner shelf here) is a FREE file from Bearly Art.  This is one of my favorite files this fall, I've made 5 of these.  They are pretty quick and easy!

Layered Pilgrim, Indian, and Turkey mandalas are from Okadee.
  If you bought the huge paper cutting bundle in the last $1 deals sale at Design Bundles, these were in there.

Flower Centerpiece, with painted paper flowers
This Flower box centerpiece svg was part of the Creative Fabrica Christmas in July Sale - making it just 50 cents at the time.

Here's how I made it, painting my paper flowers for the dimensional look on plain recollections cardstock.
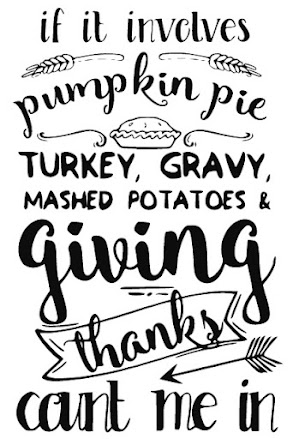
Thanksgiving Pillow
This was a free svg at one time, from a site that no longer exists.  :-(  It wouldn't be too difficult to create something similar with a variety of fonts.
 Here's a post on how to make pillow cases, and other fall pillow case designs. 

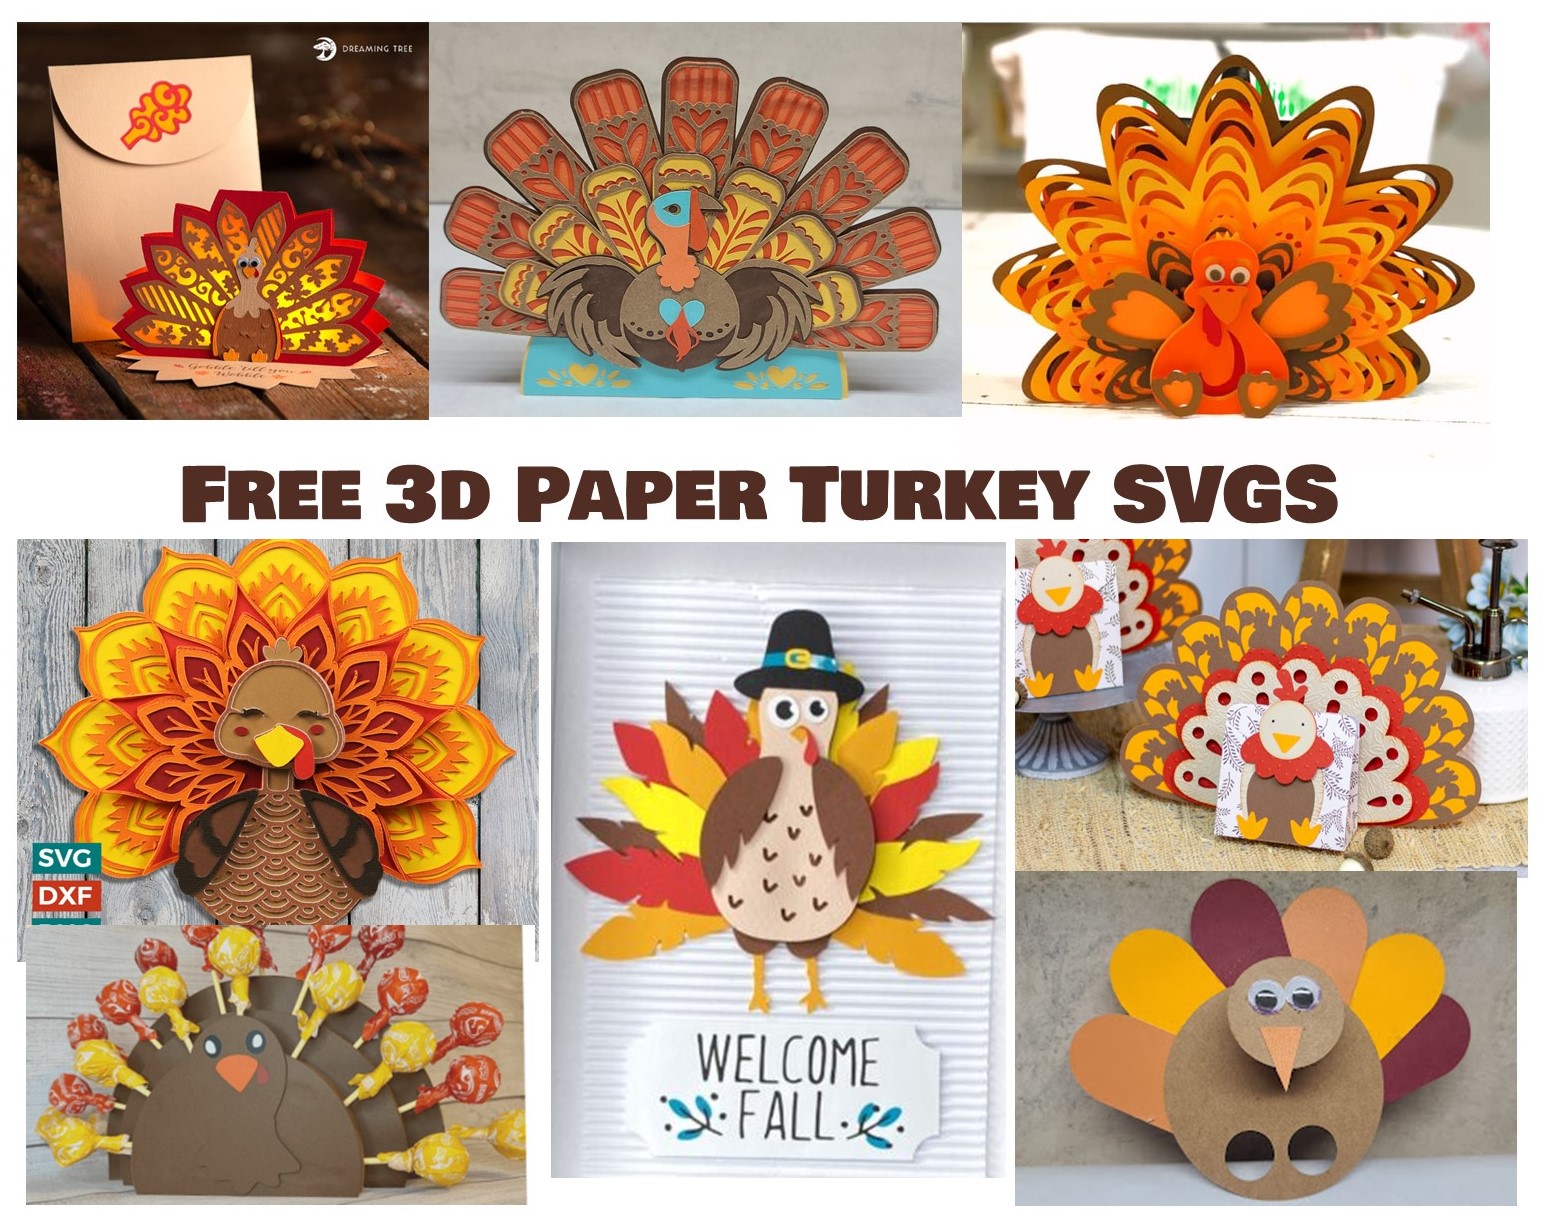
There's a long list of free Thanksgiving SVGS here:

Thankful, Grateful, & Blessed Dollar Tree Pumpkin Stack
Step by Step - Using Free Fonts

Googly Eye Turkey Treat Box
This one is NOT a free file - it's around $3.50

More  Gobble Gobble Cards
FREE svg from: https://shrsl.com/37vs3

Another one of the Bearly Art Turkeys
FREE svg

Tea Light Turkey 
This folds flat and fits into the envelope in front of it!  Then you can "pop it up" and add a tea light candle inside.  FREE Svg


The Plate is a Gilmore Girls Quote

Gilmore Girls Thanksgiving Sign
 on a Dollar Tree Charger Plate
I made this Dollar Tree Charger Plate Sign in 2020.
I can't find the project in my Design Space, and I don't recognize that font.  I do not know what I used, sorry!  The text on the outside rim is Biosha Sans, I use that font a lot. It's part of a font trio I downloaded when it was temporarily free.

See more of my Dollar Tree Charger Plate Signs Here:


The Turkey on my home sign
 FREE svg from Caluya

Read more about making the sign, and free svgs for each season tile, here:

Where To Find Free Thanksgiving SVGS


Vintage Thanksgiving Recipes From Pennsylvania Newspapers

From The Shamokin Dispatch In 1965 A Recipe that may go out of style, but never fails when followed.

By 1895, According to the Miltonian Newspaper our Thanksgiving Dinners had become "dainty".  Apparently they included "Chops in lace, paper frills, and sandwiches tied with pink ribbon".  I'm not familiar with those Thanksgiving trends, they apparently did not last.

Below are a variety of old recipes pulled from local newspapers.  They include a great article on pie making for "those who may be out of practice" in 1935, and recipes from everything from Oyster Stew to Pineapple Cabbage Jello.

For the clippings that are smaller, and harder to read, right click and "save as", then you can enlarge the photo on your computer. Sometimes just clicking on the photo will enable you to enlarge it as well.
===========================
A Traditional Menu Before Thanksgiving Became "Dainty"
"In the days of the good old Thanksgiving a well spread table was not considered complete unless it was provided with all of the following dished. here is an old fashioned Thanksgiving Menu: Oyster Stew, Roast Turkey, Roast Chicken, Sparerib, Sausages, Head Cheese, Mashed Potatoes, Hot Slaw, Boiled Onions, Turnips, Pickles, Raised Biscuits, White Bread, Currant Jelley, Preserves, Honey In Comb, Fruit Cake, Doughnuts, Mince, Apple Custards and Pumpkin Pies. Cheese. Apples and Nuts. Cider. Tea and Coffee."

Friday December 6, 1895
==========================
One of MANY Table Service Ads that ran around Thanksgiving . This one from 1935

===============================
Several Excellent Thanksgiving Pie Recipes For "Those Who Need Some Practice" in 1935

Wilkes Barre Time Leader 1935
===============================
A Full Thanksgiving Menu, With Recipes, in 1941
Oyster Stew, Cranberry Orange Relish, Sausage Stuffing,
Magic Yeast Rolls & More -
The Snyder County Tribune 1941
======================================
A Collection Of Recipes From 1928, Including Date Pudding
The Warren Times Mirror, 1928
============================
A Full Thanksgiving Menu From 1940
Escalloped Oysters, Fruit Cocktail, Honey Almond Sweet Potatoes, Zucchini Squash With Tomatoes, and More-
==================
The "New Thanksgiving Recipe" for Rice Betsy in 1958 Does Not Appear To Have Caught On

===================
1939s Thanksgiving Recipes Included
Cabbage-Pineapple gelatin salad, Creamed Onions With Cream Cheese, and Oranged Sweet Potatoes
=========================
Health Advice For Enjoying Your Thanksgiving Meal, From 1928
=========================
Tips For Choosing A Turkey, and A Recipe For Turkey Pot Pie To Use Up Leftovers
From 1935
=============================
Lets Not Forget The Boilo - A Coal Country Tradition
Spiced Honey Whiskey

Where To Find Free Thanksgiving SVGS


=====================
Where To Find Thanksgiving Themed Free SVGS
====================
Reminder - as an affiliate for a number of sites, if you click on the links in this post  and then choose to make a purchase, I may earn a small commission.  This in no way effects the price you pay.
====================

Decorative Pie Crusts


From Martha Stewart:

Some of mine - 
apple, cherry, three berry, mincemeat

Caramel Apple, Three Berry


From Pampered Chef:


Fun and Unique Pie Crusts
How to make Decorative Holiday Pie Crusts

----------------------------------------

Braided Edge (A)
Use for a single-crust pie. Make enough pastry for a double crust. Line a 9-in. pie plate with the bottom pastry and trim pastry even with edge of pie plate. Roll remaining pastry into a 10-in. x 8-in. rectangle. With a sharp knife, cut twelve 1/4-in.-wide strips; gently braid three strips. Brush edge of crust with water; place braid on edge and press lightly to secure. Repeat with remaining strips, attaching additional braids until entire edge is covered. Cover with foil to protect edges from overbrowning.

----------------------------------------

Checkerboard Edge (B)

Trim crust flush with the edge of the pie plate. If using a glass pie plate, trim crust overhang to about 1/8 inch past the outer rim to allow for slight shrinkage.Make cuts through the dough all around the rim of the pie plate at approximately ½ inch intervals. Lift every other square up and inward to form a checkerboard pattern around the rim.

----------------------------------------

Cut-Out Shapes (C)

Use cookie cutters to make designs out of spare dough; then attach them with water.

----------------------------------------

Honeycomb Pattern (D)

For a honeycomb pattern, cut out circles in the top crust with a round cutter. Fold the bottom crust over the top, and seal.

----------------------------------------

Lattice Top (E)To make a lattice, roll out dough into a 12-inch square; using a fluted pastry wheel, cut the square into 1/2- to 3/4-inch-wide strips. Lay strips, spaced 1 inch apart, across the filling. Fold back every other strip almost to the edge; then, at the folds, place a new strip perpendicular to the first ones. Return the folded strips so they overlap the new strip. Fold back the the other set of strips, stopping about 1 inch away from the first perpendicular strip; arrange another perpendicular strip at the folds. Continue until the lattice has been formed. Trim the overhanging strips so they are flush with the pie plate’s edge. Using a fork, seal the strips to the edge.

----------------------------------------

Leaf Trim (F)

Make enough pastry for a double crust. Line a 9-in. pie plate with the bottom pastry and trim pastry even with edge of pie plate. Roll out remaining pastry to 1/8-in. thickness. Cut out leaf shapes, using 1-in.- to 1-1/2-in. cookie cutters. With a sharp knife, score pastry to create leaf veins. Brush bottom of each leaf with water. Place one or two layers of leaves around the edge of crust; press lightly to secure. Cover with foil to protect edges from overbrowning. You can also use this technique with other cookie cutter designs such as hearts and apples. Vary them to suit the occasion or season you are celebrating.

----------------------------------------

Pointed Edge (G)

Position your index finger on the inside of the pie shell rim, pointing out. Using the index finger and thumb of the other hand, press the dough into pronounced points that go outward. Once you have made your points all the way around the outside of the pie, go around again pressing the inside into pronounced points.

----------------------------------------

Rope Edge (H)

Trim pastry 1/2 in. beyond edge of pie plate (1 in. for a double-crust pie). Turn the overhanging pastry under to form the rolled edge. Make a fist with one hand and press you thumb at an angle into the pastry. Pinch some of the pastry between your thumb and index finger. Repeat at about 1/2-in. intervals around the crust. For a looser-looking rope, position your thumb at a wider angle and repeat at 1-in. intervals.

----------------------------------------

Scalloped Edge (I)

Place the index finger of one hand on the edge of the pie shell rim pointing in. Using the index finger and thumb of the other hand to move the dough inward forming a scalloped roll around the perimeter.

----------------------------------------

Spiral Top (J)

Prepare the bottom crust as usual and trim edges flush with the rim of the pie plate. Roll out the top crust in a long narrow strip. Cut the crust into long strips that are 3/8 to 1/2 inch wide. Place the filling in the bottom crust. Starting with one strip in the center of the pie, begin to twist the strip and coil it around the center of the pie. Continue to twist the strip as you coil it around or it will begin to untwist. Work out towards the edge of the pie. Continue adding strips in one continuous length by moistening the ends of each strip and pressing together to attach to the previous strip. Continue adding strips and coiling out towards the edge until the entire pie is covered. Work carefully so that you do not let the strips touch the filling until you are putting them into place. This will prevent getting filling on the strips in locations you do not want. Moisten the edge of the pie with water and then place a slightly wider strip tightly twisted around the edge. Press to seal. Sprinkle the crust lightly with sugar to give it sparkle and to add crispness.

----------------------------------------

Twisted Lattice (K)

Make this pretty lattice by twisting 3/4-inch pastry strips and lining them up across top. Place other strips diagonally, twisting them as you weave. Lower crust is folded over strips and crimped to guard juice.

----------------------------------------