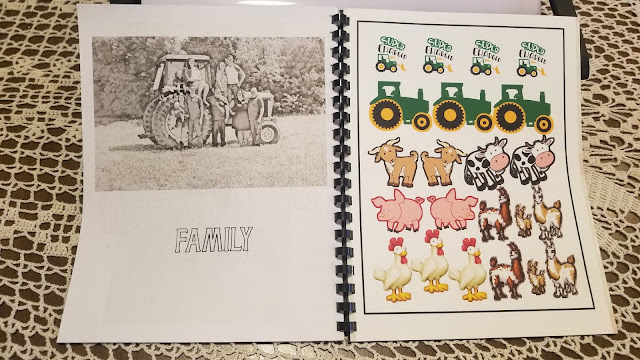
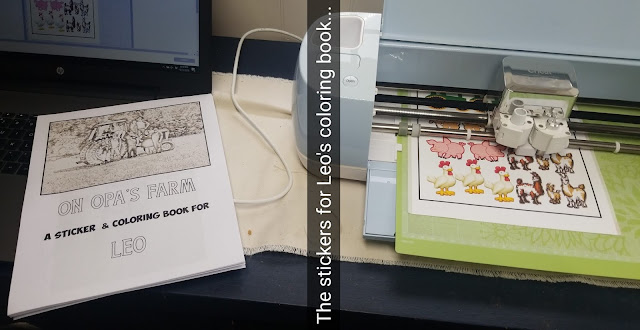
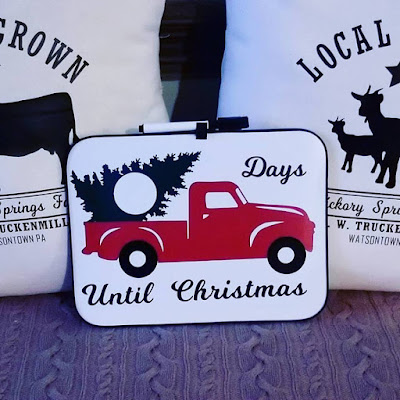
I'm so excited about this project, quite possibly because it's for one of my favorite people on earth. Our grandson. :-) I took photos from his visit to our farm this summer, converted them to coloring book pages, added additional pages by googling " farm coloring book pages" or specifically "goat coloring page", and then I made two pages of stickers using the print and cut feature in Cricuts Design space, and bound it all together into a book for him.
For the next one, I am going to do coloring pages of construction equipment, and photo stickers of him and his daddy and his Opa, to add to the pages...
Cliff Notes:
- Look for longer notes at the top of each section of how to's - I've divided this into sections: Making the Stickers, Making the Coloring Pages, & Binding.
- Avery sticker paper. (I found a pack at our thrift store!)
- Flatten. Always flatten with print and cut! Or upload pngs - pngs upload as print and cut images.
- I used the BeFunky photo editor to make my coloring pages - but there are a lot of apps and options!
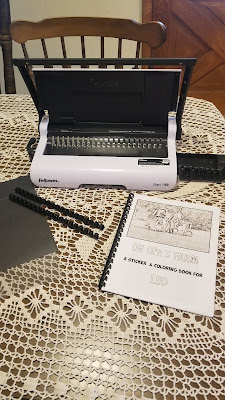
- I used a Fellowes Star 150 Binding Machine, because I own one. But you could punch holes and put this in a report cover!
Making The Stickers:
Cliff Notes:
- Avery sticker paper (I found mine at our thrift store!)
- FLATTEN! If your image is not a png, be sure you flatten it, so it will cut as one piece, and not cut our each letter in the word. If there are words, you will want a shape behind them to flatten them to! (details below)
- I turned the bleed off for this. (Bleed is a very controversial thing on cricut lists! But for this project, I definitely wanted the bleed OFF.)
- Where I found the images - they are listed below. For this, search png instead of svg. Svgs will work, but pngs are even easier.
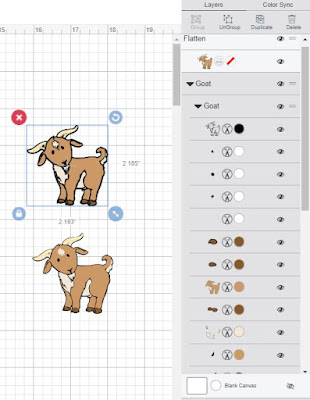
The goat I used is an svg file that I have used on some of my grandsons shirts. Because it is an svg, it is very important that I select all the colors, and choose flatten. The one on top (sleected) is not flattened. See the long list of "pieces"? The one on the bottom is already flattened. Look at the top of my layers panel - see how it already has the print and cut icon beside it? As soon as I chose flatten, that icon changed from the scissors to the printer.
For this svg, if I select all and choose flatten, it will still cur around each letter in charged, because there is nothing connecting them. It would also cut the tractor, lightening bolt, charged, and super, all separately. To make this ONE sticker, I added a circle, changed it to white, moved the svg on top of the circle, and chose flatten. This flattened the entire image onto the circle, so that only the circle cut out.
For the tractor, I did not want to make it a circle or square sticker, I wanted the tractor shape. But if I just chose flatten, it would still cut the wheels seperate - see how they are not connected, there is empty space between them and the tractor body. So I added two circles, made them large enough to connect the body, placed them over the tires, selected all, and chose weld. (see yellow image) That gave me a tractor shape to flatten my tractor image to.
I drug the yellow image over top of my green tractor, and then chose "send to back". I had originally made this image yellow just so it could be seen for the screen shot, but since our big tractor like this is a John Deere, I ended up liking the yellow, and leaving it. Once the yellow shape was under the green tractor, I selected both and once again chose flatten - making it one image that will cut around the outside only.
The other images I used were pngs. PNG's uploaded as print and cut images need nothing done to them for print and cut. No need to flatten, or anything, they just are print and cut when uploaded.
Print then cut can only be 6.75 x 9.25. It doesn't matter what size your sticker paper is, nor what size your mat is - that is the largest cricut will allow. [Note - in 2023, we have larger print than cut options available!]
So created a rectangle (insert a square shape, click on the lock to "unlock" the sizing) and sized it 6.75 x 9.25. I changed my rectangle to yellow, so I could clearly see the white backgrounds on my stickers, and be sure they did not overlap, then I filled the space. Once the space was filled, I deleted the rectangle, chose select all, and chose attach. For cut files, when you select attach they will all turn one color. This will not happen with print then cut. Select all, attach, and when you click make it, they will stay in the order you placed them.
The first time I sent this to cut, I received the error that the registration marks could not be read. I turned on the overhead light, tried again, and it cut just fine. Other times I have had to turn the light OFF to get it to cut - so I don't really know the answer, but if you get that error, try playing with the lighting in your room.
Making the Coloring Pages:
Cliff Notes:
- Look for a coloring page app. I think there is one on iphones called "colorscapes" that works well? I looked at this one for android, but did not actually use it myself.
- or any photo editing software that does sketches.
- There are detailed instructions here, for a free online graphics program, to do this. (It exceeded my attention span - but from what I can tell, this is a solid way to do this)
- I used the premium version of the BeFunky App - because I am already using it for a childrens book I am illustrating with my own photos. (I say "app" - but I actually used the web version on my desktop for these. I also have the app on my phone) It's $6.99 a month to use the premium version. I don't know if you can do this with the free version, because once you pay, you can't tell what is free and what is not free!
The settings I used were Artsy, Digital Art, Ink Wash.
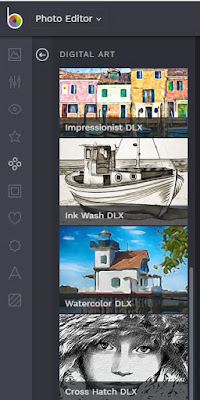
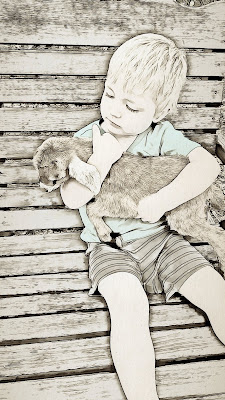
You can then move the slider to the right for less color (all black and white) or to the left a bit to leave some color. I varied this - on some photos I left more color than others.
For this book, I put a photo on one side, and then googled a coloring book page for the opposite page. I'm sure my 2 year old grandson will color both sides (or neither side.. he does tend to share my attention span. As in, neither of us really has one.... ) but I wanted to mix it up and make sure it doesn't feel too much like a regular book, which he should NOT color in.
I put all of this together in a Publisher document. Microsoft publisher is my go to program for all projects like this, but you could do it in Word, or in Google documents
The Binding
Cliff Notes:
Most people will not have thier own binding machine, and it would be cheap and easy to simply punch holes and put this in a report cover.
I was a genealogist long before I got a cricut, and I put together so many genealogy reports, and later, family cookbooks, that this machine was a really smart buy for me. I probably spent $100 upfront, for the machine, and huge boxes of binding and covers and backings. It's been well worth every penny - especially when making the family cookbooks last year!


