A Stitched Christmas Tree Card


Stitched with embroidery thread, the tree on this Christmas card can be removed and used as a Christmas ornament. 

Inspired by the Spellbinders die cut designs.  They have AMAZING card inspiration and dies, be sure to check out their website.  I'm not yet ready to commit to another machine, so I came up with my own version, using the machines I already own.  

Lists Of The Hallmark Mystery Movies - and their status


Hallmark Mystery Movies Series 
Lists of the episodes, the books the series are based on, and the shows current status

On My Desk - A Birthday Cake Topper

 
A quick and easy birthday cake topper for a small birthday dinner for my mom.
Her 2 year old great grandson helped both make the cake, lemon with blueberries, and also with the cake topper.  

Although there are dozens of free options for cake toppers, I was in a hurry, and I had something somewhat specific in mind.  So I purchased one, and modified it for what I wanted.  It could easily be recreated for free - but as I said, I was in a hurry, and I already owned a couple of the svgs I used.

=======================
Layered Happy Birthday Cake Topper SVG
By OyoyStudioDigitals 
You can find it on Etsy, Creative Fabrica, or Design Bundles

This is the cake topper I started with - planning just to add a 3d flower on the bottom.  I made a simple two layer round cake, and found that 6 inches wide, by 7.2 inches tall worked well for me, leaving room to add candles.

There's an entire thread of  FREE cake topper svgs in the facebook group for this page.  But not one quite like this, and I didn't have the time to fuss with trying to recreate this base design by myself - so I purchased this one.


For the flowers, I used the Canada Craft Studio Sunflower, and just changed the colors.  There are literally dozens of FREE flower svgs I could have used, but I had been working on more of the sunflower and bee magnets, so I had this project near the top in Design Space.  So this is what I used.  :-)   

I resized the flower, selecting all to group, and then sizing the largest layer down to 2 inches.  That worked well for this project.

 
This butterfly svg bundle, from OG Crafts, can be found in the freebie section of Design Bundles.  Search Monarch Butterfly.  (If I attempt to link to either Design Bundles or Creative Fabrica, blogger will flag my posts and remove them temporarily.  )

I made them about 2.5 inches tall, and roughly 3 inches wide.

I use wooden skewers from the dollar tree.  They are easy to cut to size.
I first apply a line of hot glue, add the skewer, then add painters tape over the top.  Then I covered it with a second cut of the back layer.

For the flowers, I just quickly hand cut circles of paper to cover the stick, and the butterfly came with an extra back layer, so it worked perfectly.


And then I decided, after adding the 3d flower to the bottom, that I wanted the flower at the top to be 3d too.  So I folded one in half, placing foam tape in between his wings to give him added dimension, and added him right over top the existing cut out butterfly.  It does not perfectly line up with the purple base layer.  I was ok  with that, it was good enough - but you could resize your butterfly to fit better if you wanted. 


That's it!  It was really quick and easy, and it didn't catch on fire when we added the candles, which I do admit, I worried about a little when I first made this.  :-)

=====================================
MORE CAKE TOPPERS

No tutorial, just another example of print then cut combined with layered cardstock


Bee & Flower Magnets


On my desk today - sunflower and bee magnets, using the 3d bee and flower svg set from Canada Crafts Studio.

Materials:

  • Pack of Magnets from the Dollar Tree
  • SVG NO LONGEE AVAILABLE (BUT there are free options below)
  • Hot Glue Gun

I downloaded the svg for this years ago, from CF. Canada Crafts Studio files are no longer on CF, and I can't find this bundle anywhere else anymore either. [They still have some files on Design Bundles] I'll include some free options below, in case you don't already own this, or it's not on sale right now.

Anyway - this is the file I started with:

As with most of the Canada Craft svgs I've used, I couldn't find any real instructions.  They aren't really necessary for this, but I can tell you that the center on that flower shown above is definitely more than one piece.  I duplicated it 3 times for the ones I made.


Sizing:
  • Flower center 3 wide by .327 high   [cut 3 per a flower]
  • Flower Petals, group of 4, 10.596 wide by 2.778 high
  • Bee - Grouped as Uploaded 3.503 wide by 2.357 tall. ACTUAL WIDTH, if the wings are centered on the bee, 2.608.
When unzipped, there are 3 svgs to upload.  The Bee, the flower petals, and the flower center.  The flower center I duplicated so that I had 3 of them, per a flower.  The bee uploaded with his wings slightly off to the side - that effected the sizing so I gave you the size for both options - one if you leave the group as is when uploaded, and one for the actual finished bee, in case you want to ungroup and line those wings up before making it.

Resizing and ungrouping is such a pain in DS right now.  Often items will go missing from the layers panel on the right as you work.  If you click select all, they should re-appear.  It's a glitch.  

This svg uploads in 4 colors.  I used color sync to match the yellows and change the flower center to black.  


That's it - these are super quick and simple to make, and cut really well at that small size.  (the design is meant to be much larger than I made it for these magnets)

Flowers are typical small flower construction - fold all the petals in half long ways, then place it in the palm of your hand and "scrunch" them so that the petals stand up a bit from the base.

===========
FREE SVG OPTIONS
=============
Daily Dose Of DIY has a layered bee that should work really well for this

There's  a FREE, similar svg from:

FREE TEMPLATE & SVG FILES:
Sunflower video tutorial:  https://bit.ly/3Kb8O1M
SVG File (Folder "SVG-Sunflower"): https://bit.ly/37sIg9C

Dozens of Free Small & Rolled Paper Flower SVGS,


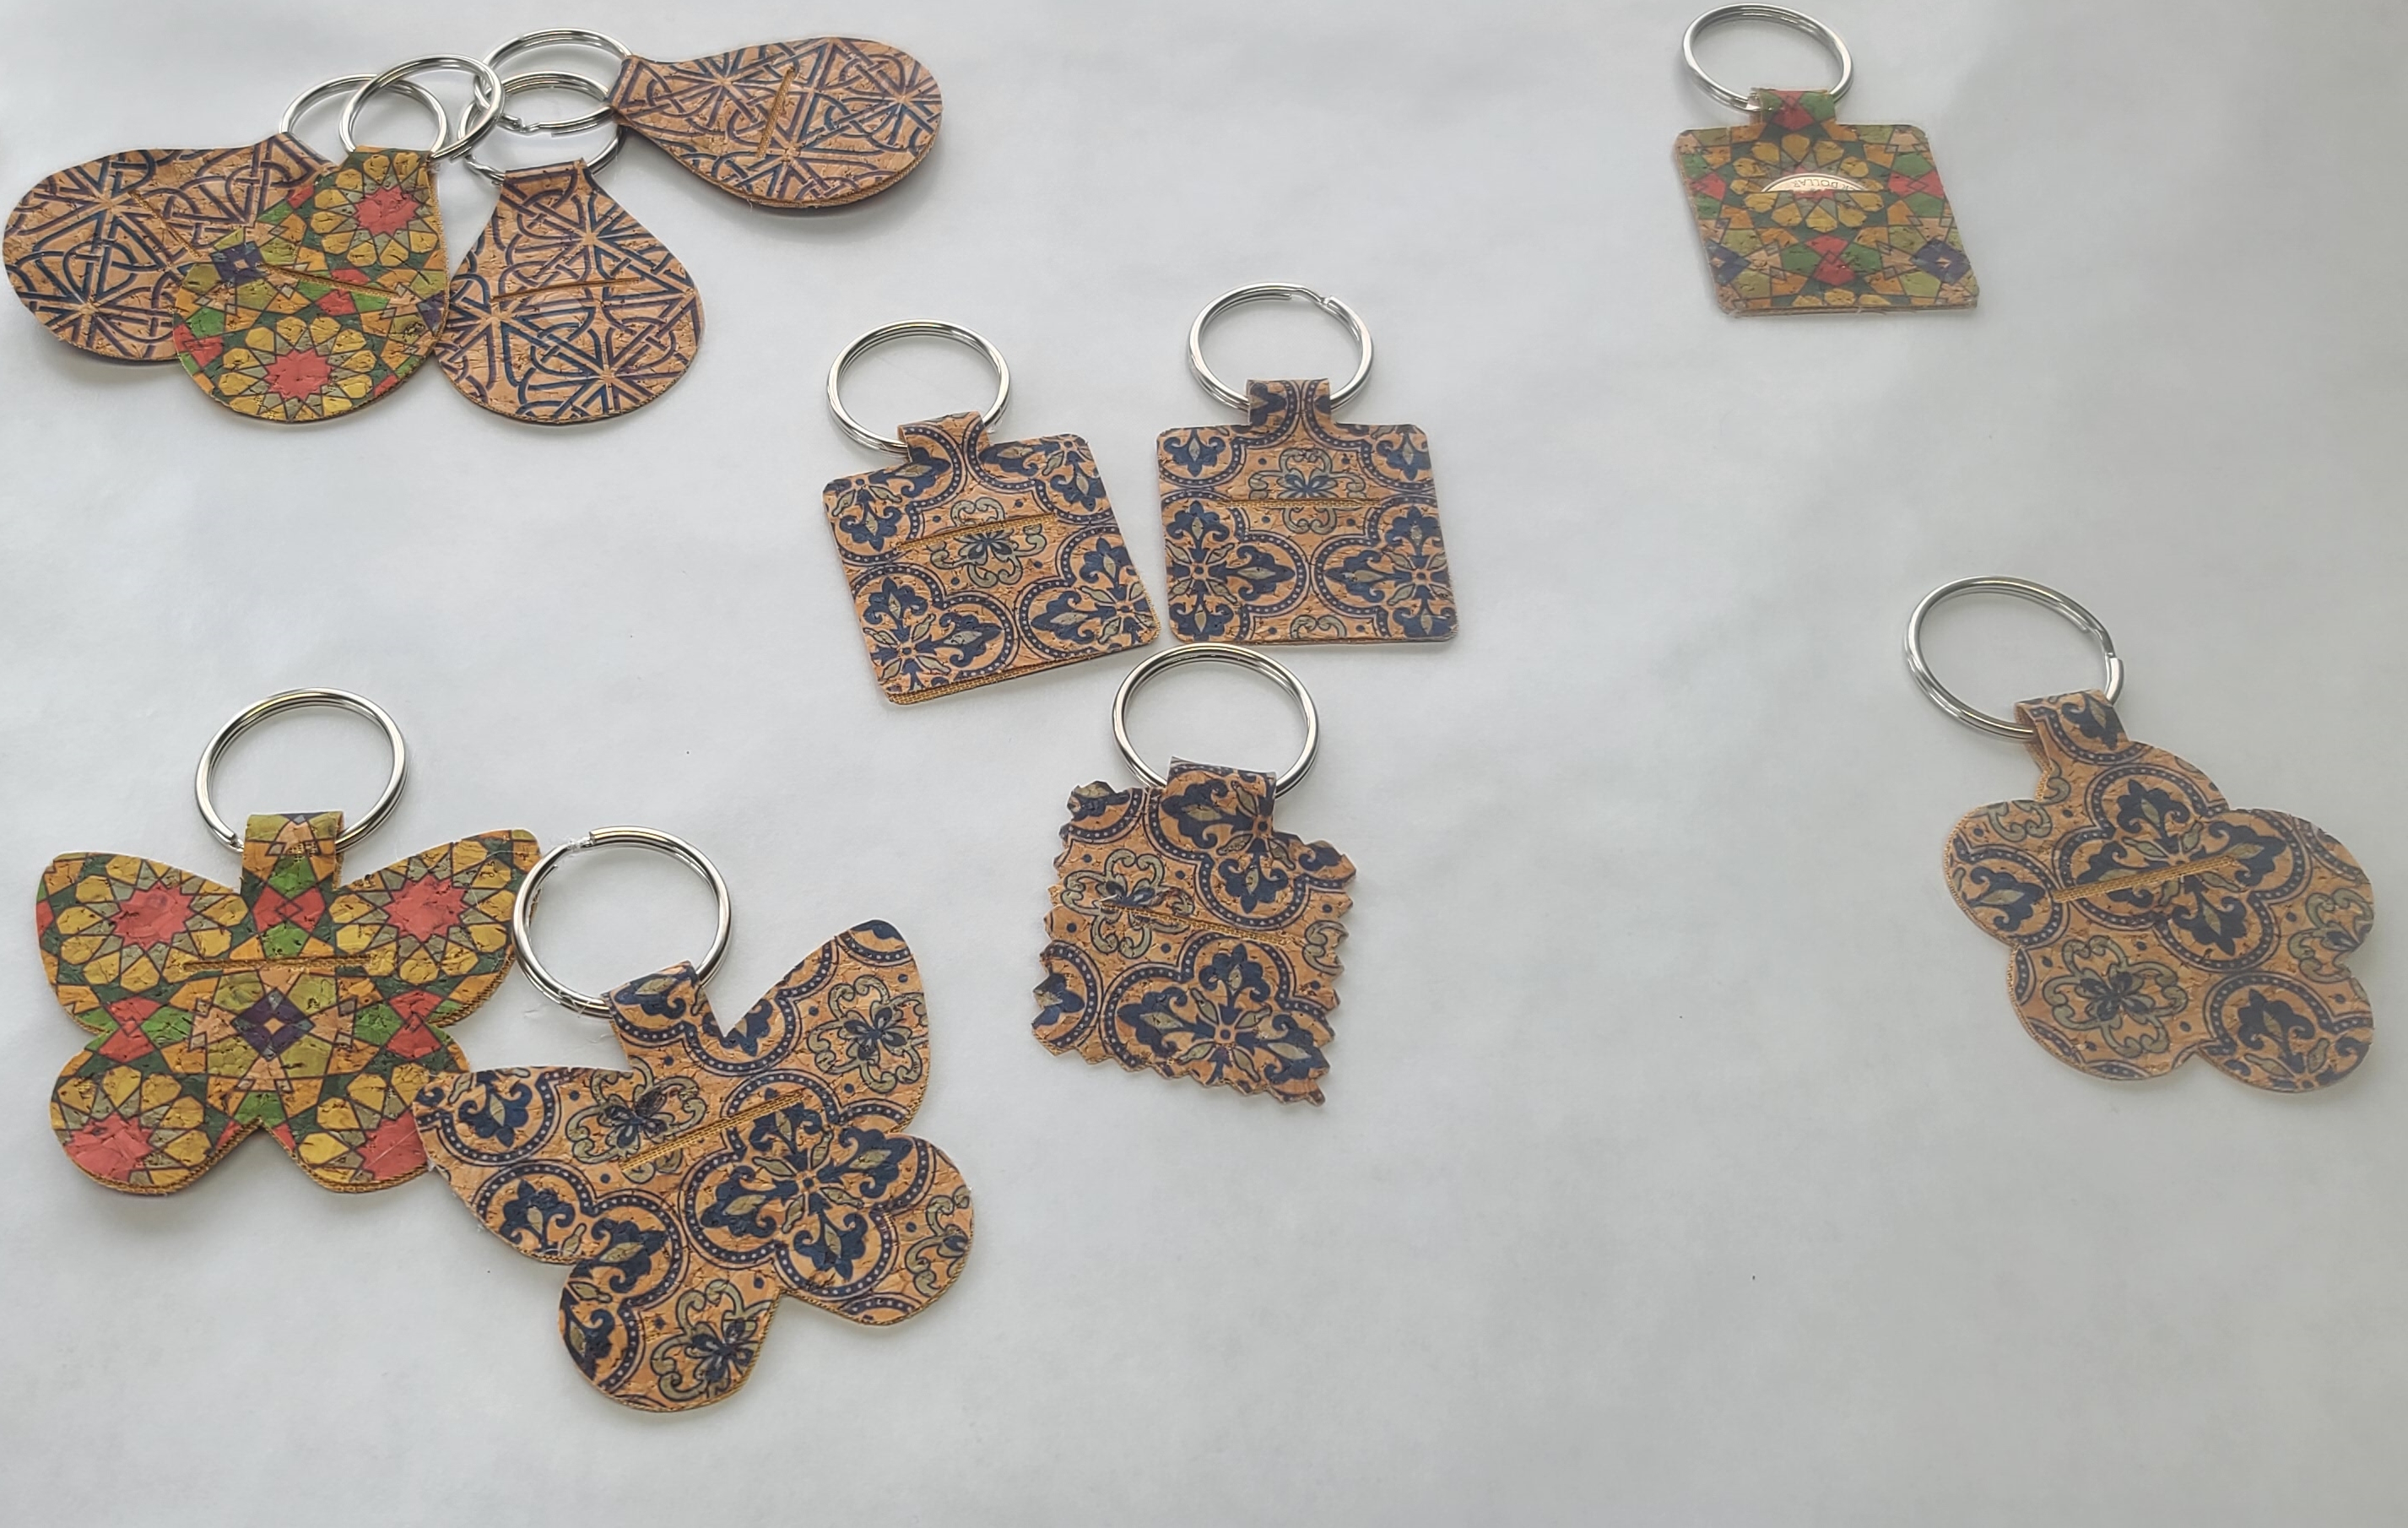
Quarter Keepers Cut From Cork Fabric With An Air2

 
Quarter Keeper Keychains

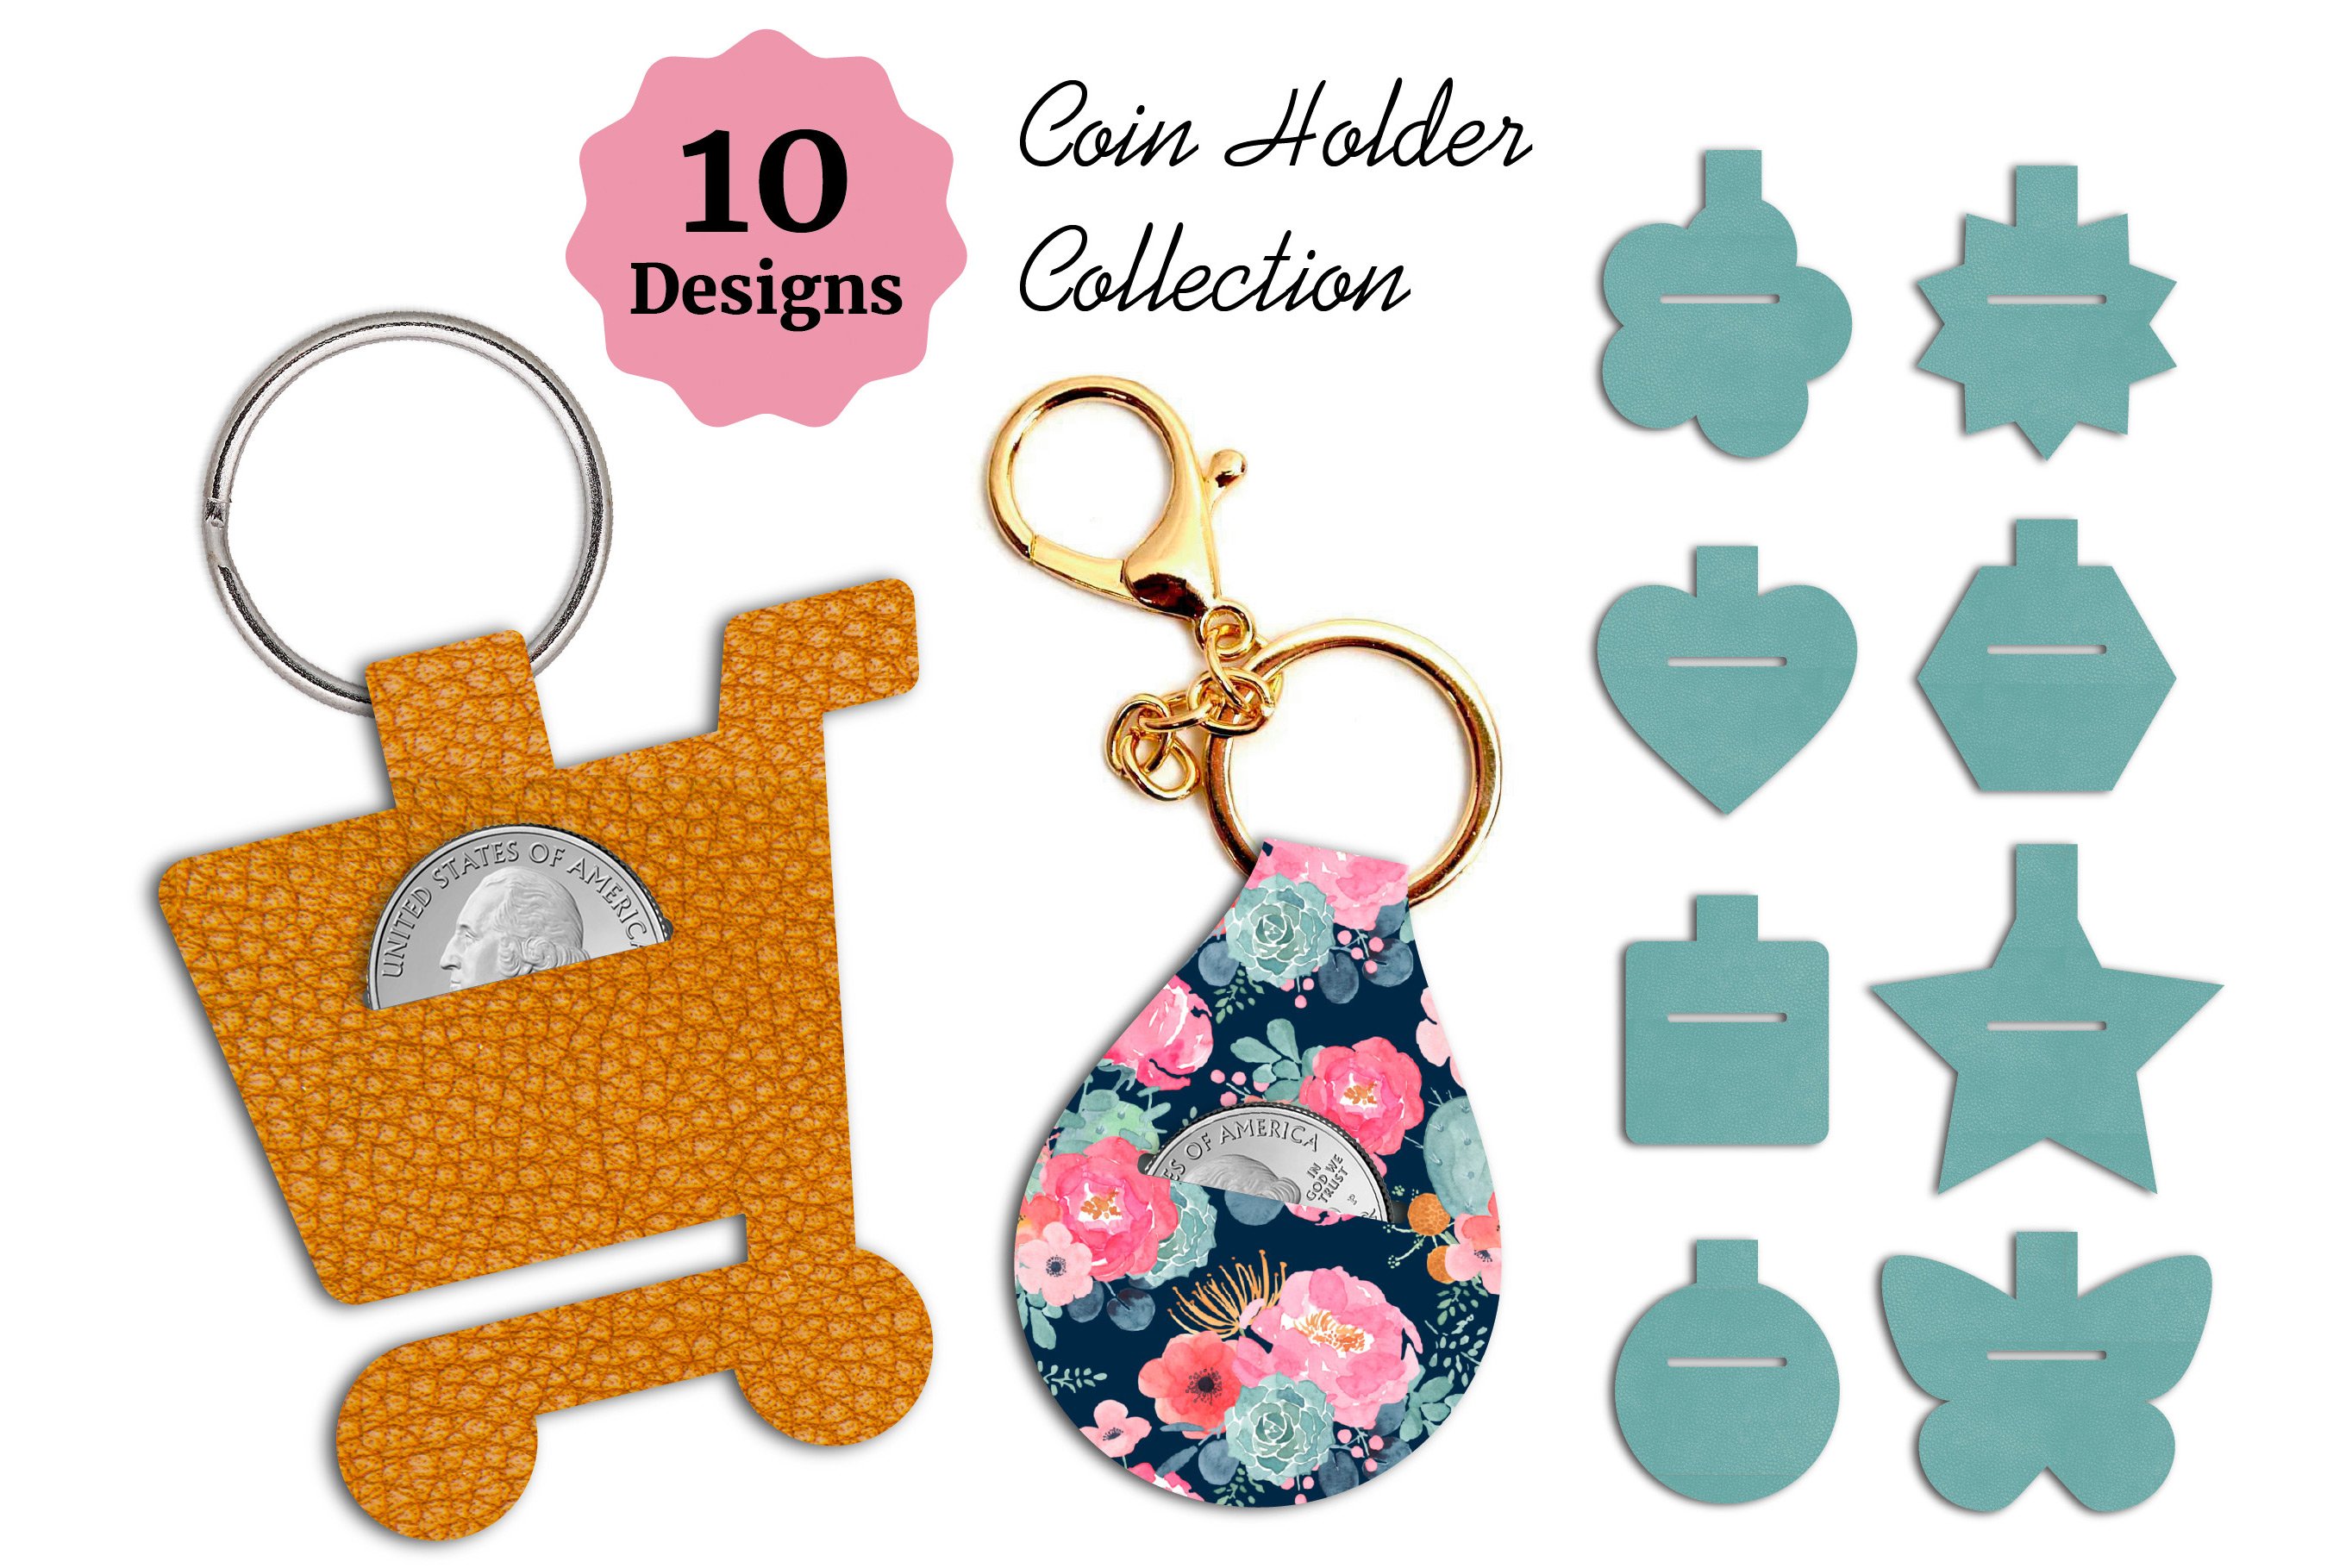
Using the SVGs From:

If anyone knows where I can find that floral print faux leather, please let me know!

The above svgs  NOT free.  Later I found this set for FREE.  It doesn't have the shopping cart, but there are two nice basic shapes.


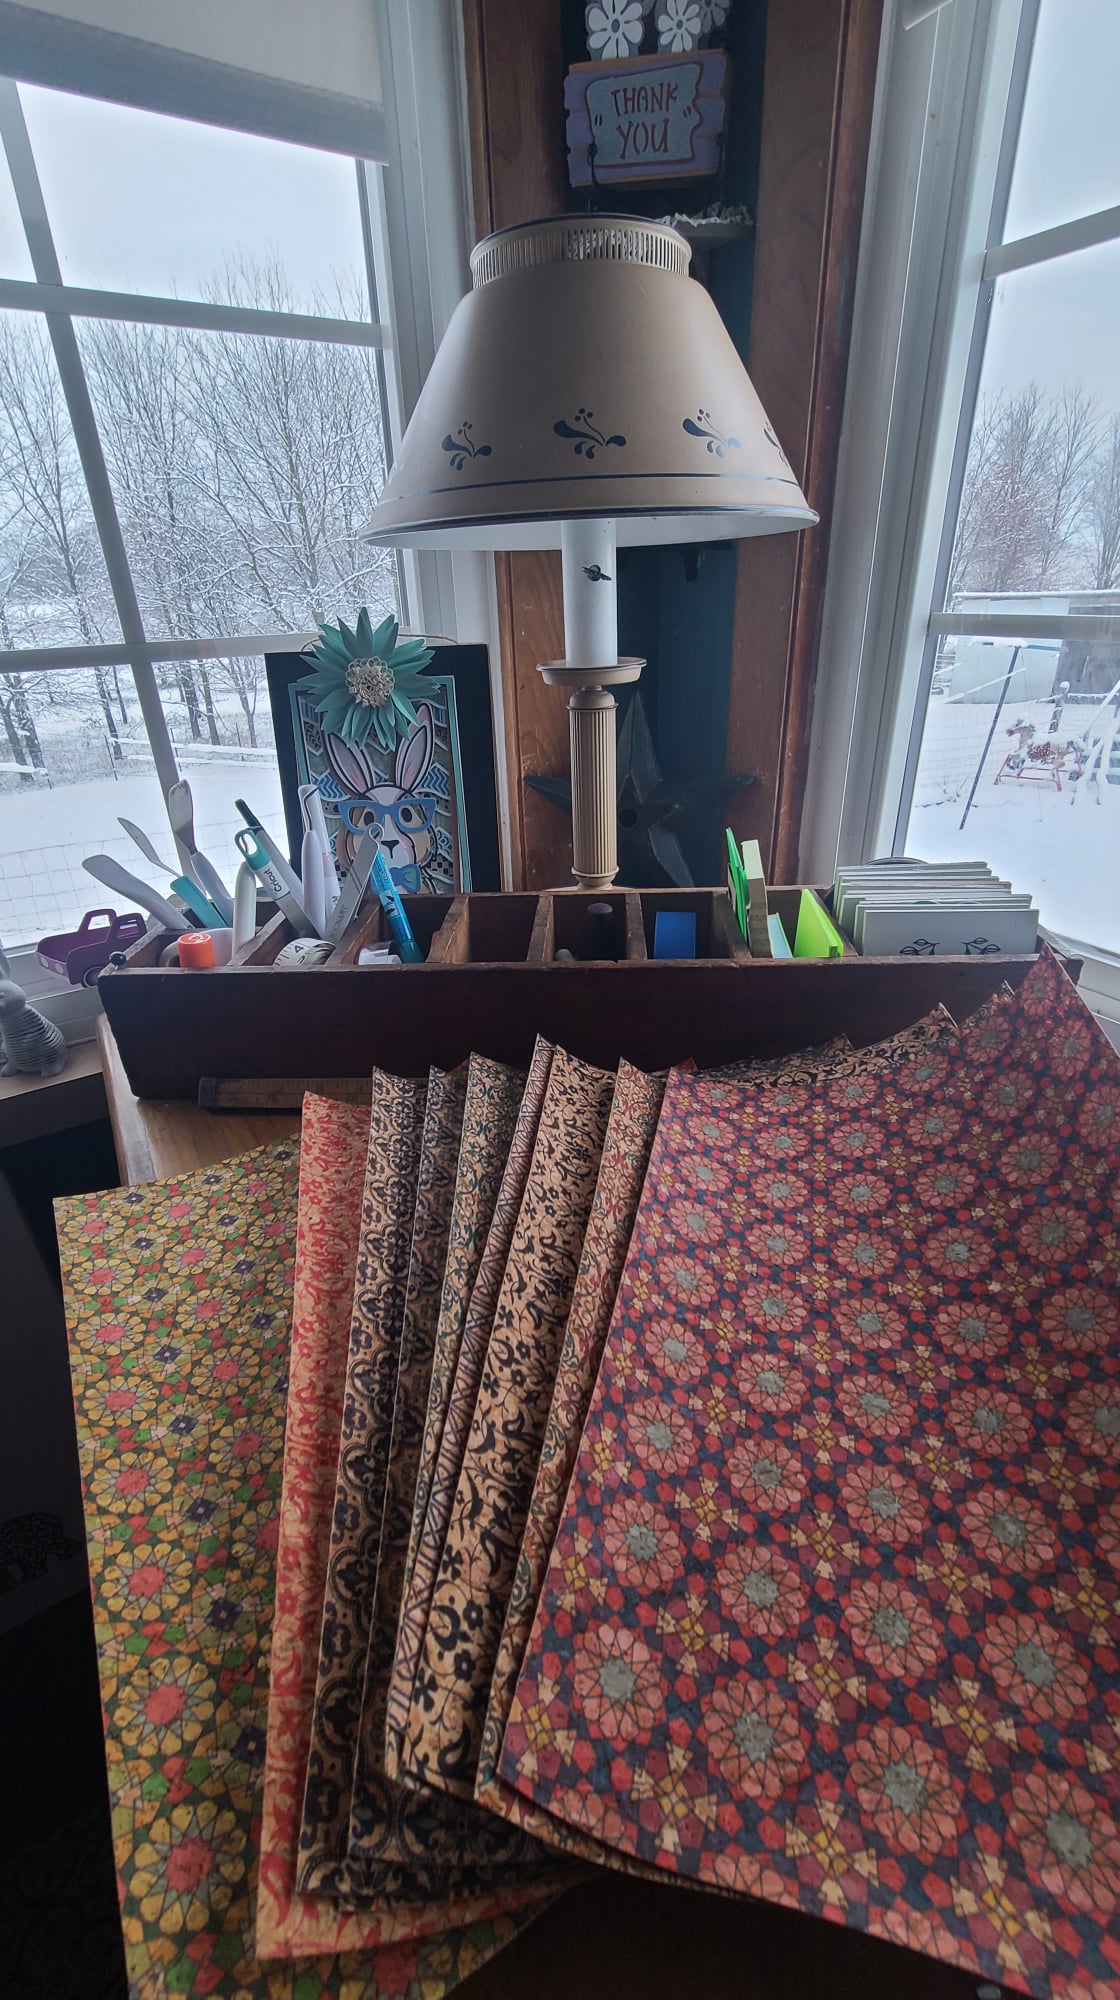
And this Cork Fabric from:

This cork is super thin and cuts beautifully!  I used my Air 2, a regular fine tip blade, and the paper thin faux leather setting.


The Gilmore Girls Graduation Basket


For our daughters college graduation, we replicated the basket Christopher sent Lorelai for her college graduation. 

The Contents:

$25 Savings Bond
A Youth Hostel Card
 The Portable Nietzsche [Check Thrift Books for a better price!]
Application To Join The Armed Forces
Necklace
(Although not a pearl, we purchased this one from Etsy)

See the a video clip of Lorelai opening the gift basket from Christopher here:

Basket opening begins about 1:30

Design on her cap


Remembrance Day Poppy Pins With Cricut

On my desk this morning - Poppy Pins for Memorial Day. I used the svg from Abbi Kirsten, with a few minor modifications. 1. After all the pieces are uploaded, select all, align center. Then resize to 6.5 wide. I may even go to 6 wide next time - but 6.5 worked, and the centers still cut well, I cut on cardstock plus for the centers - just to make sure they cut well. 2. I deleted 3 of the 3 petal pieces - making each flower just 3 layers. The 4th layer is nice for bouquets, but for the pins, I wanted a little less fluff.

I just used regular straight pins, stuck through the base layer and then we wear them like we would any corsage pin.
The svg from Abbi Kirsten (no longer free) https://www.creativefabrica.com/product/small-poppy-flower-templates/ref/89681/

For the history of wearing Poppies for Memorial Day - https://susquehannavalley.blogspot.com/2019/11/in-flanders-field-poppys-grow-wearing.html


On My Desk 3/27 - The Bright Easter Shadow Box

 
Making the Easter Bright Shadow Box Design by Filigrind

On my desk tonight...  an Easter Shadow Box. This one surprised me, because typically all downloads from Design Bundles are high quality files. This download was a little bit of a mess, but it all works and cuts great, you just have to use some of the png files. 

 Once you download and unzip, you upload part 3 (there is no part 1 or 2 for cutting) as a png, the svg will not work in design space, it errors out as too large of a file.  Then you can upload the svgs for 4-8, but there are no svgs for parts 9-11 in the download.  (I messaged the designer, but have not yet heard back)  For 9-10, again I uploaded the png files.  Because they are transparent pngs, and the nature of this design, there's no need to do anything other than upload and choose "cut" - there's nothing to clean up nor erase.  

11 is actually just a square, you wouldn't have to upload anything, you can just use the shape tool to create your own square.

All of the pieces upload in the color white.  Above is a screenshot of my design space screen, showing the colors I used for each layer, to get the finished design shown here.  In order, they are:
3,4,5
6,7,8
9,10,11

For the pieces you upload as pngs, you will want to resize - they upload at very large sizes.  This is set to be a 10x10 piece, but for shadow boxes, it's always best to resize to 9x9, or 8x8, especially if you want to make your own shadow boxes from 12x12 cardstock.

I forgot that, and cut it as 10x10.  I was able to make my own shadow box using my scoring board, cutting just the "window" for the top part with cricut.  It's not perfect, the frame is a little thinner than I typically like, but it was quick and easy to make.


Using two sheets of 12x12 cardstock, I cut a square out of the center of one, using my cricut.

Then I used my scoring board (I love this thing) to score just over half an inch around all 4 sides of both sheets of cardstock.  This paper cutter/scoring board cost me around $20 on amazon, and I use it to score most of my cards.  It's faster than using cricut, and makes a much nicer score line.  Find it here: https://amzn.to/3wHRw7C

After scoring, at each corner, make one cut, on the score line, as shown above.
Then fold on the score lines, folding over the cut ends and gluing to form a box shape.


It's very lightweight.  I normally keep a shadow box at this location above my desk - it covers a small hole from an old lighting fixture that was removed from this room many years ago.  Normally I use 3m velcro strips to hang them here, but I was out tonight, so until I get more, I hung this with painters tape.  It's light enough that that would likely hold it there just fine.

===========================
As an affiliate for a number of sites, I may earn a small commission if you make a purchase through the  links in this post.  It will in no way effect your cost.

Canada Crafts Studio Elephant Canvas

 
This design was in the 90% off sale in February 2022 - Making it $1.30.  

I've made other projects from this designer, and although I love them - they never have instructions, or even sizes - so it can take a little work to figure them out.  I think this is because many of the designs are made to be wall art - so the sizes would vary based on the space.


I wanted this to fit on a canvas that could be hung on a wall.  The canvas I used is 16x20.  I wouldn't want to make this much smaller - the smallest petals on the flowers here were about as small as I'd want to work with, personally.  

SUPPLIES USED:
  • 1 sheet black 12x12 cardstock
  • 1 sheet pink 12x12 cardstock
  • 1 sheet white 8.5x11 cardstock
  • 1 piece black vinyl (I used frisco matte black - it's my favorite)
  • String or ribbon.  I used grey bakers twine
  • The SVG, from Canada Crafts Studio.  Check both sites to see where it is cheapest this week - this one frequently goes on Sale.  Design Bundles   Creative Fabrica
The svg for this project will upload in two parts.  One part will be the elephant, the second part will be everything you need for one flower. (You will need 7 flowers to recreate this.)

ORIGINAL UPLOAD SIZE
Elephant 10.823 x 11.002
Flower pieces 11.686 x 10.829
If you cut it as is, the elephant will, obviously, be 10.823 x 11.002, and the flowers, when assembled, will be about 5 inches in diameter.

This is what my Design Space screen looked like once I had everything resized and duplicated.
To replicate this design in this color scheme, you'll duplicate the flower group 6 times - then change the color of 3 groups to black, 3 groups to pink, and one group to white.  Step By Step Details below:

RESIZED FOR 16x20 CANVAS

Select all of the flower group - petals, leaves, etc - all of it.
Resize to 6.006 x 5.565


There are 7 flowers for this canvas.  Duplicate the flower group 6 times.
Change the petals to Pink on 3 groups
Change the petals to Black on 3 groups
Change the petals to White on one group

All the black pieces cut from one 12x12 piece of cardstock, all of the pink from one 12x12 piece of pink.
For the White, you can easily use 8.5 x 11 cardstock - it didn't use much.

A closer look at how the petals are staggered on the flowers.

If you have never assembled flowers like this before, you may want to cut an extra one for practice.  They are super simple to assemble.
Fold all of the petals in half long ways, to add dimension.
Then apply one large petal to each side of the octagon base.  
Next, apply one medium petal, staggered over top.
Then apply the smallest petals last, again staggering them.  
Place the center of the flower in the palm of your hand, and curl your hand, so the sides of the center fold up.
Glue in the center.

On the white group, be sure to change the flower center to black.


I resized the elephant to 5.562 x 5.654
Then I changed the color of the elephant to grey, even though I cut it out of black vinyl.
Cricut will automatically send everything that is the same color to one mat - if the elephant is the same color as the flower, it will put them all on one mat.
Since I was cutting the flower from paper, and the elephant from vinyl, that wouldn't work for me.  A quick work around is to change the color of the elephant.  It doesn't matter what color you change it to, as long as you put black vinyl on the mat and load it into the machine, it will be black vinyl that cuts.  :-)

Painters tape helped to pick up all of the little pieces off the elephant when weeding it.

I looked at a variety of ways to add the string.  I considered painting fabric covered floral wire black.  I considered using a marker to draw the strings.  I considered waiting until I went to the store and looked for black ribbon.

In the end, I decided on grey bakers string that I had in my craft drawer.  I attached it to the back of each flower before I attached the flower to the canvas, leaving a very long tail.  Then I tied a knot and glued the knot to the elephants trunk.


The original design just uses 4 pieces of ribbon, on the four bottom flowers.

=================
As an affiliate for Design Bundles, Creative Fabrica, and Amazon, I may earn a small commission if you purchase items through the links on this page.  This will in no way effect your cost, but is a nice incentive for me to keep writing tutorials.  :-) 


From Penny Dreadfuls to Historical Fiction - Where History Is Lost To Story


These days when I finfish a book, the phrase "penny dreadfuls" comes to mind.  That does not mean the book was dreadful.  Quite the opposite! They were often thrilling reads, based on sensational stories. 


  Penny dreadfuls, popular from approximately 1830 into the 1890s a story published in weekly parts of 8 to 16 pages, each costing one penny.   The ‘dreadful’ part derived from the tendency of such works to dwell on murder, robbery and the seamy side of urban life.  In other words, they were not works that educated and uplifted. 

In the 1890s, Alfred Harmsworth began publishing half penny publications, with "more respectable" content.  Originally these were high minded moral tales. But before long, they too became dreadfuls, publishing stories similar to the originals.  So much so that A. A. Milne, the author of Winnie the Pooh, said, "Harmsworth killed the penny dreadful by the simple process of producing the 'ha'penny dreadfuller'".

Over time, the phrase "penny dreadfuls" came to refer to any  time wasting sensationalist fiction.

Today we have a tendency to regard reading as a superior activity, no matter what is being read.  Those of the Victorian Era would not have agreed. That didn't mean they wouldn't read the penny dreadfuls, merely that there was a distinction between quality literature that enhanced the mind, and sensational dreadfuls that merely entertained it.  One hundred years later, that distinction appears to be completely lost.

I read a lot of modern penny dreadfuls.  I love thrillers and murder mysteries.   I also love historical fiction.  More and more frequently however, I become a bit frustrated, because the line is so blurred.  I start out thinking I'm reading an account based on true history, and then find that I'm reading a thrilling tale of adventure and crime, with a mention of a historical event thrown in once or twice.

"Historical Fiction" can mean a lot of things.  I remember my grandmothers bodice ripper paperbacks being referred to as "historical fiction".   Adults around us would use that phrase with a smirk on their face, "Historical Fiction"  meant smut,  plain and simple.   Bodice rippers were  the 1980s version of penny dreadfuls, much more salacious than anyone could have dreamed would be commonly available in print, in 1880.  By definition, those bodice rippers (so named for the photos on the covers)  are true historical fiction. 

"Historical fiction is a literary genre where the story takes place in the past. Historical novels capture the details of the time period as accurately as possible for authenticity, including social norms, manners, customs, and traditions. Many novels in this genre tell fictional stories that involve actual historical figures or historical events."

In other words, I expect too much when I read a book labeled Historical Fiction. 

We need another category.  Something between Non Fiction and Historical Fiction, where the historical events are researched and portrayed accurately, but extra fictional characters are added in, or an additional modern story line is added with historical flashbacks, preserving the integrity of the history.   

The historical fiction most of us are reading today is, in my mind,  more dangerous than the smut our parents were hiding from us 50 years ago.  Todays historical fiction distorts  history completely.  [ahem.... Marie Benedict.  Although perhaps it is unfair to call her out, she's far from alone - she just happens to write about a lot of my favorite Pennsylvania based subjects, and therefore draws my ire more than most.] 

 Actual historical events as we know them have been distorted and sensationalized until  there is no distinction between fact and fiction.   It's hard not to confuse the two even when you have read the historical background.  Stories make an impact, facts are forgotten. That's just our nature.  

We start to believe that we are reading noble, educational,  works, learning as we are entertained, when in fact, we're all reading nothing more than penny dreadfuls.  Even worse, history is being rewritten in our minds, facts completely lost in exchange for salacious stories. 

That seems  unnecessary, when you realize how many salacious stories already fill our factual history. 


Pop Up Monster Valentines - And An Envelope to hold them

 
These Pop Up Love Monster Valentines are from a new to me designer.  The svg was not free, but it's a great quick and easy design.  My two year old grandson did most of the gluing today, on all 8 of the cards we made.

Find the svg here: