Showing posts with label 3D Paper. Show all posts

My Favorite Cardstock Brands - And Where To Find Them

 
My Favorite Cardstock, The Experts Favorite Card Stock Selections, Price Comparisons, And A Look At My Paper Storage

If you had told me 3 years ago that I'd eventually be buying more paper than vinyl, I'd have laughed and thought that was extremely unlikely.  And yet, here we are...  with paper projects on my desk every week, and vinyl only pulled out once every month or so!  [That may be partially because I put vinyl & htv on EVERYTHING the first two years I had a cricut....  LOL! ]  

When I first started with paper projects, I felt like a kindergartner.  [A glue stick is still my preferred glue for most layered projects... ] My projects were messy.  They sometimes still are, but they have definitely come a long way.  Mostly because I settled on better papers.  Not expensive papers - I'm too frugal for that, for the most part.  Just BETTER paper.  I almost always buy something with some texture, or pearlized, or frosted now.  

And I don't just stock up on all the colors - I buy the colors I truly love. Which are, most commonly, very deep jewel tones, which can be more difficult to find.  Cardstock manufacturers sure do like their brights and pastels. 

These are the papers I buy most often.   They have all cut well for me, on a regular basis - and they tend to be the best deals I have found.    I do buy most of my paper locally, rather than online - at least the first time I purchase it.  Too often I find that the color shown on my screen is not true to what it looks like in person.  Once I know I love a particular pack, I'll buy it online, but only if shipping is free or it's a fantastic sale.

After I list my favorites, I tell you about what Dreaming Tree, Jennifer Maker, & Lia Griffith,  recommend, as well.

And then if you scroll WAY down to the bottom of this post, I share how I organize and store my paper and paper scraps, too.
======================

CWS Valentine Truck Larger Than Mat, with Rolled Flowers

A Layered Vintage Valentine Truck, filled with Rolled Paper Flowers

This is the FREE Valentine Truck svg from Craft With Sarah, modified and cut "larger than mat", with a bundle of free rolled flower svgs from JoJo & Bella in the bed of the truck.

I've made it "larger than mat", increasing the size to 14.5, and I have deleted some of the heart layers, replacing them with rolled paper flowers on top.  

Here's a step by step on how I did this.

First, Unzip the download, upload the svg to Design Space.  The svg is the file that looks like an html file, or like a website.  For a detailed step by step on how to use svgs in Design Space, go here.


Next, at the top of the design space screen, lock the ratio. That's the little lock on top of the sizes - click on it, so that it is "locked", instead of unlocked.  Now you can resize to 14.5.
By default, the size ratio is unlocked in uploads.  You will almost always, 99.5% of the time, want the ratio locked. 

 There's been a glitch in DS for awhile now, where if you forget to lock the ratio, resize and realize that distorted your image, then click undo - the entire image will disappear.  You can just add it again from the uploads menu, but it can get pretty annoying.  If you get in the habit of always looking at that lock before resizing, it will save you aggravation in the long run.  :-)


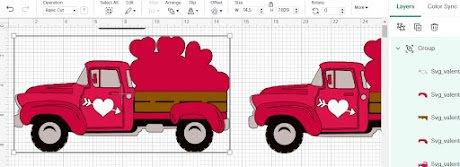
Now, if you are going to add the rolled paper flowers, there are three layers you can delete - they aren't needed.  I have them highlighted here on the right - they are three heart layers in the bed of the truck.

With those 3 items deleted, your project should look something like this.

If you have resized to 14.5 like I did, unless you have the longer sized papers, cricut cannot cut this at this size.   

Our local Michaels does carry Recollections Paper packs in 12x24, but they are pricy, even on sale. And they are a pain to store, for those of us with smaller craft areas.  I didn't want to buy more paper for this, so I did some slicing.  I could have just sliced the 3 pieces in half, then used heavy tape on the back (a masking tape, or even duct tape) to reinforce over the seams.  But with the added weight of the rolled paper flowers I planned to add, I decided to make sure my slices overlapped.

 Here's what I did:

First I grouped my project, then duplicated it.  I hid the duplicate.  This is only a precautionary measure, it's NOT needed.  But if I make a mistake on my "working copy", I have a back up with the first few adjustments already made, making it easier to start over.  Once I have the duplicate copy, I clicked on the eye to the right to hide it, so it's not visible on the mat. 

Now if you click make it, you can quickly look at the mats and see which ones are too long. Click Cancel, and go back to your work space, find those three layers in the layers panel.   I have them selected in the image below:

Select those three items, and at the top of the layers panel, select the duplicate option.  Again, duplicate is not completely necessary - you could just work with the original.  But I like to have a saved copy, and a "working" copy, I find it easier to recover when I make mistakes.  


Next I drug the pink and black layers off to the side, so I could work with the grey layer first.  Again, duplicate.  This time it is necessary to duplicate.

I want to cut these pieces in half, with an overlap.  So I'll slice both grey images, leaving the front piece longer on one, and the back piece longer on the other.

To slice, create a 9 inch square (shapes menu, on the left in Design Space for computers).  Duplicate it.  Place the squares over the grey truck layers - one in the front, one in the back.


You can only select 2 items at a time to slice, so select the top grey truck layer, and the top square, then choose Slice, from the menu on the bottom right of the screen (on a computer - menus may look different if you are using an ipad or phone app)

Drag all the extra pieces to the right, to be certain you like the image you are left with.
Delete the extras, and repeat with the second image.

 
Now your grey layer is in two pieces, with a good overlap to add stability when piecing together.

Repeat the slicing process for the remaining two large layers.


This next step is not necessary, but I  like to layer my sliced images, and group them together, so that the two sliced pieces stay together as I move them around.


Now, in the layers panel on the right, find the 3 long solid layers in the project image, and delete them. 

 Replace those layers with our newly sliced layers.

Note my mistake - for the pink layer, I glued the wrong front on!  I caught my mistake quickly and was able to fix it, thankfully.  Although my pinks are two different colors, they are very similar shades, and i just was not paying enough attention.

Here is my completed truck base - all glued together and ready for flowers


====================
THE FLOWERS
=================

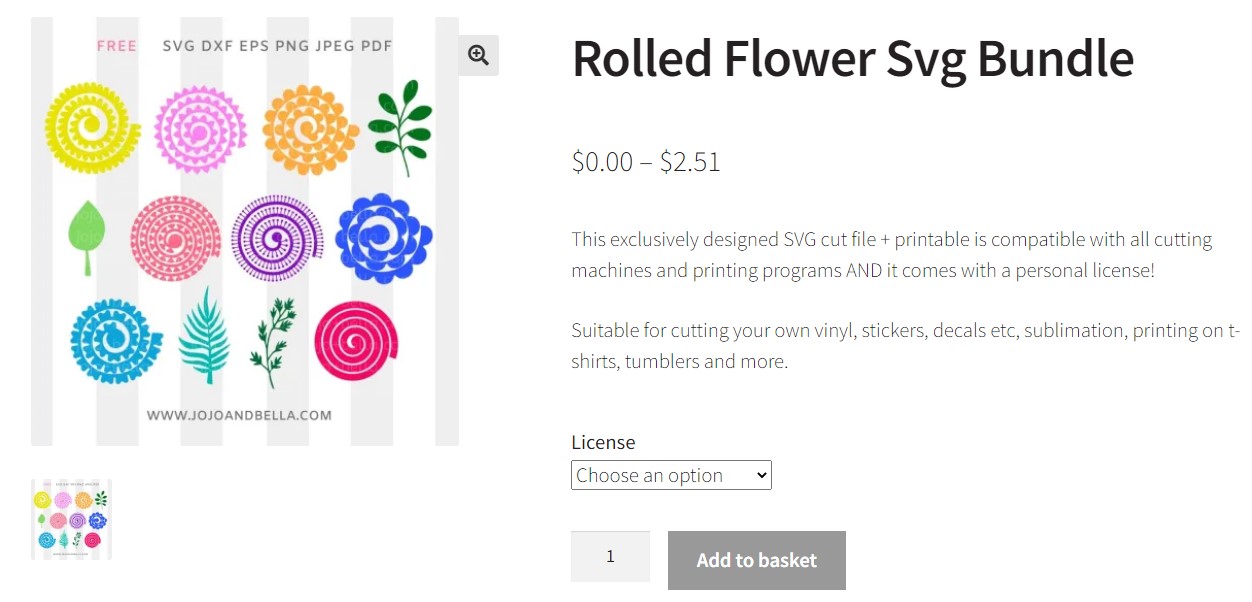
This bundle of Rolled Paper Flowers is FREE for personal use.
To download from this site, you will need to login, or register, first.

Then go to this page for the flowers:
Under license, choose "personal"

Once you choose personal use only, the explanation  will take up most of the page-  scroll down, and at the bottom will be a "download now" button.

One you download this, you have to extract (unzip) the zip file, then find the folder with the svgs.  Upload the svgs to Design Space.

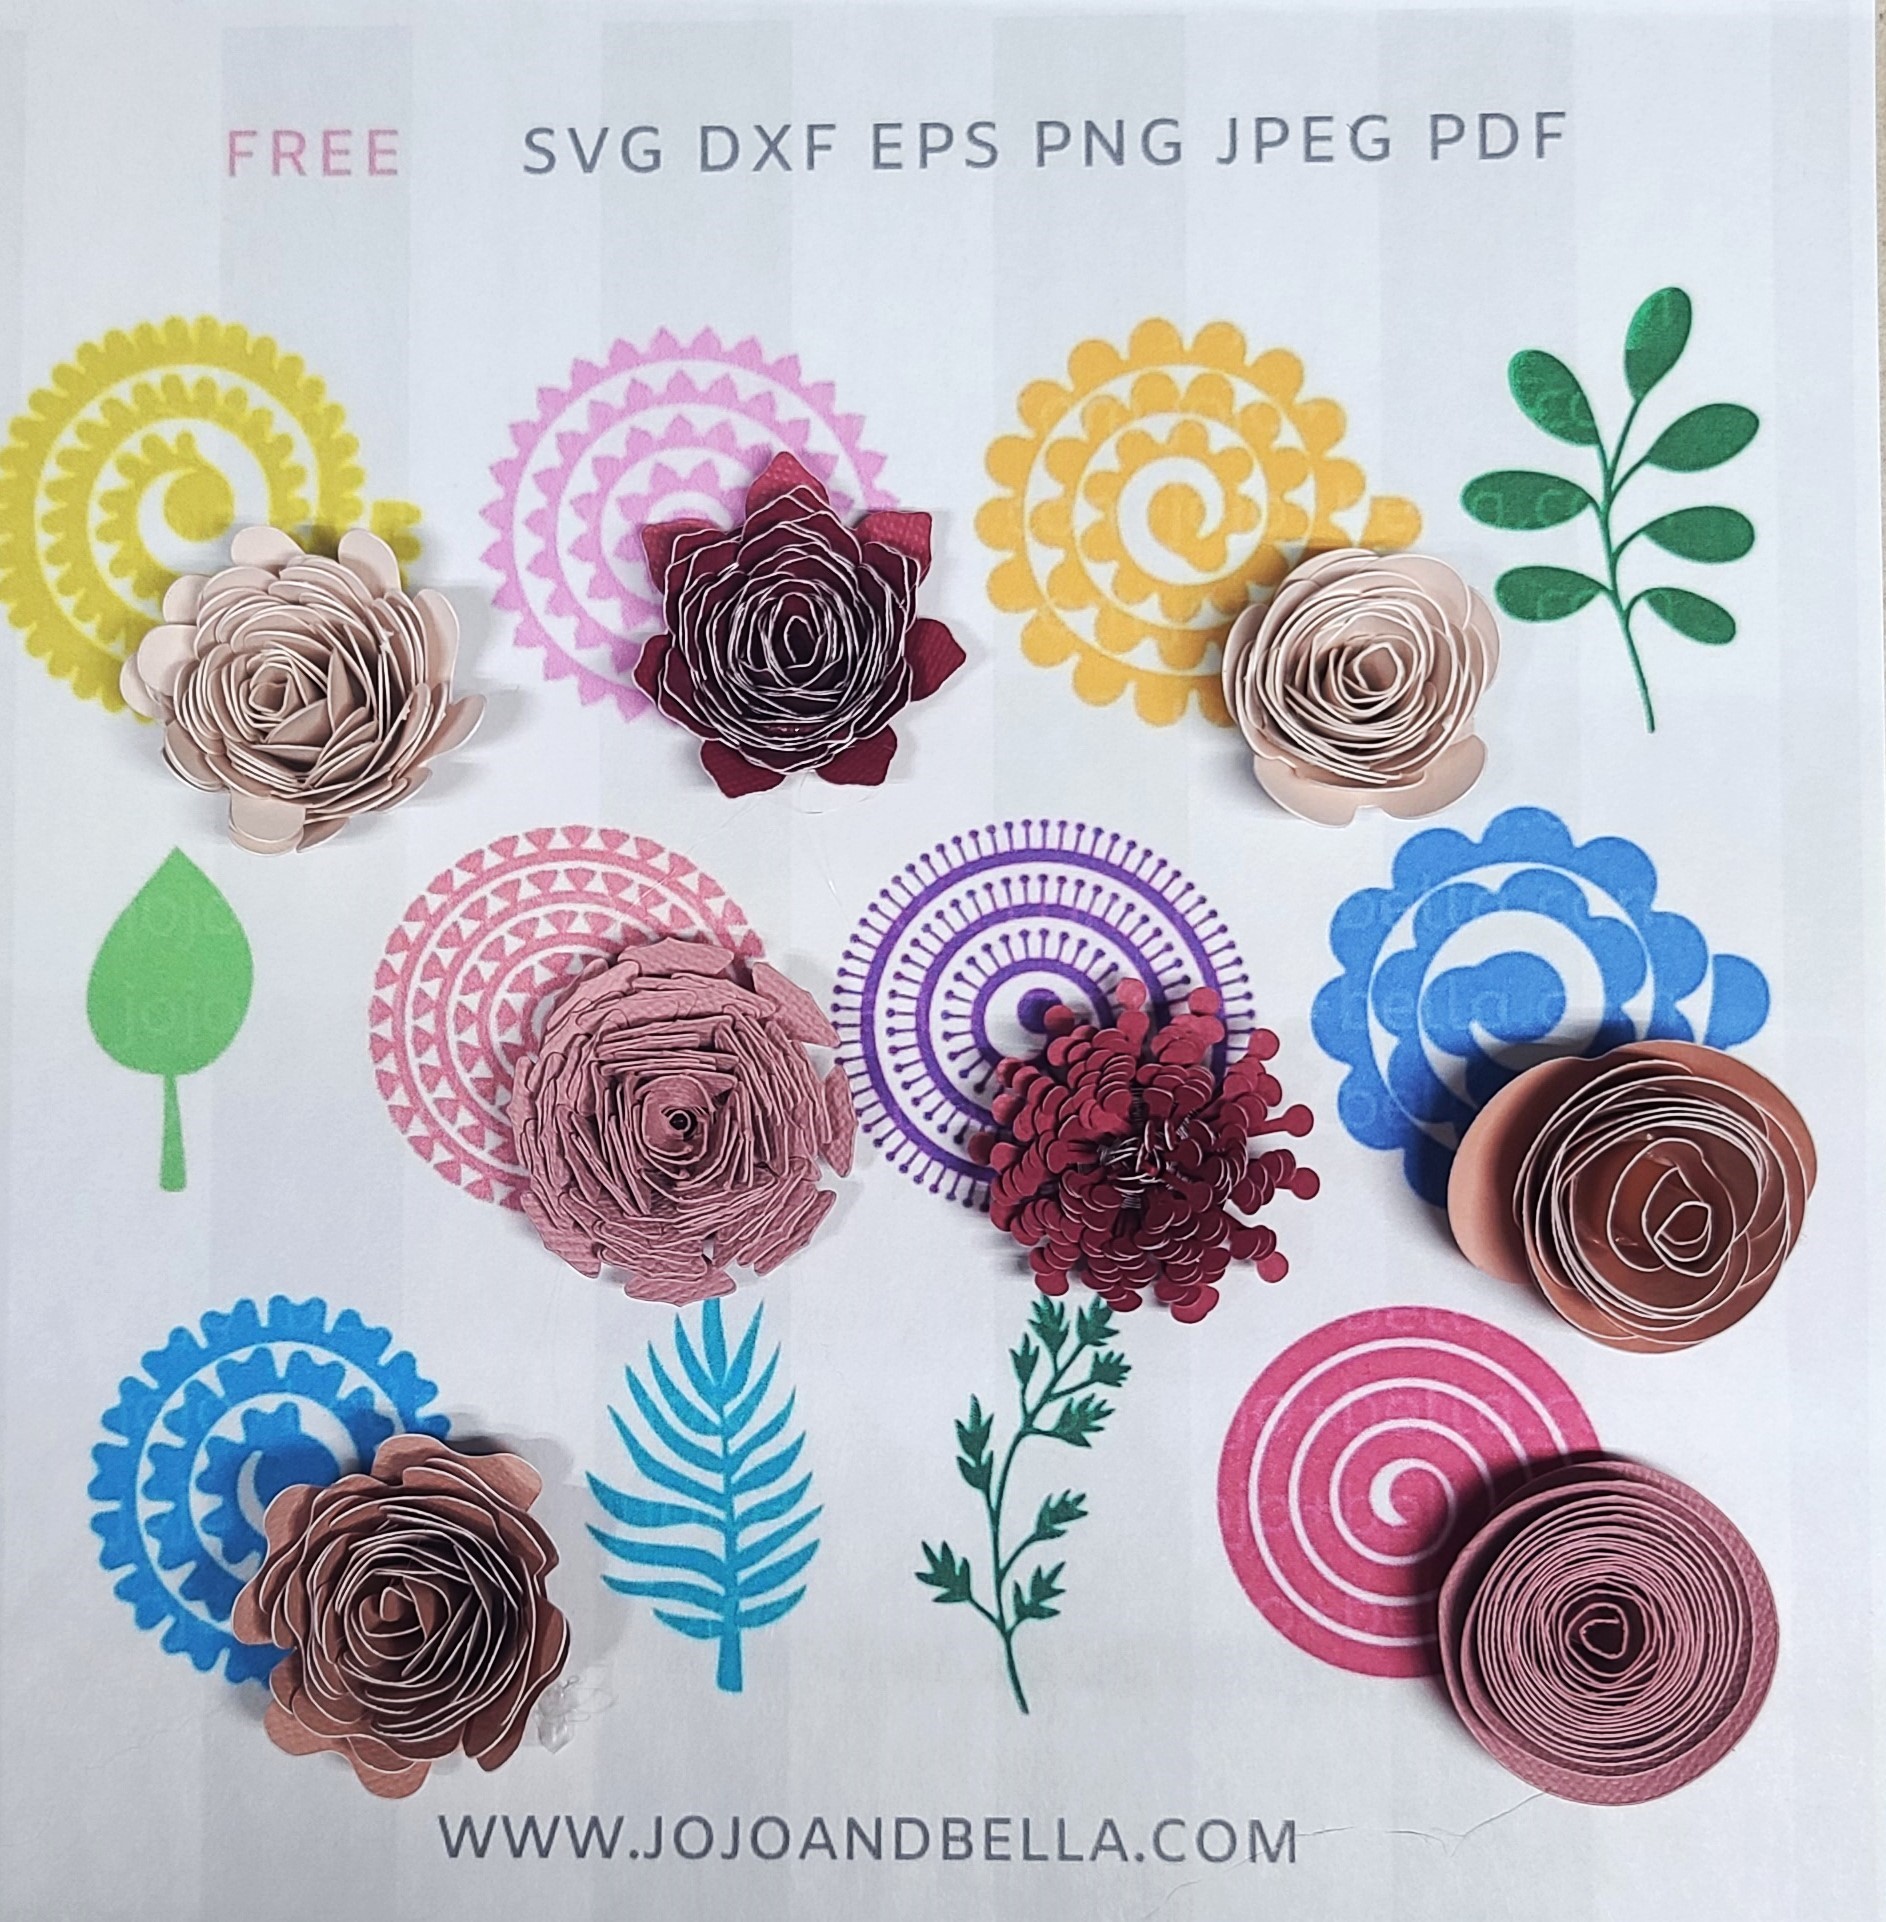
Each file is individual here, so it's a bit of a pain, you have to upload them one at a time.  There are 8 flower included, and you do NOT need 8 different designs, you could choose just a few for this project.  I uploaded them all primarily because I wanted to make a sample sheet showing what each one looks like when cut.


They upload at about 9.5 inches which may seem really large, but in reality, a 9 inch cut will typically make an approximately 2.5 inch completed flower.  Larger than I want for this project, but a good basic size for many other projects.  Here's a helpful chard from Creative Vector Studio:

Rolled Paper Flower Size Chart
Sizes are approximate, and will vary slightly by design, and how tightly you roll.

I chose to resize the flowers to 5.5 wide, allowing me to fit 4 on a 12x12 sheet of paper - or 2 on an 8.5x 11 sheet

Then I used color sync so that there are two flowers in each color. 
Just click on the color sync option on the top right.
Then drag images in menu to combine them.  The latest update has really made the Color Sync option more complicated to use, I hope that DS will switch it back to the old color sync, but this does still work, it's just more awkward.

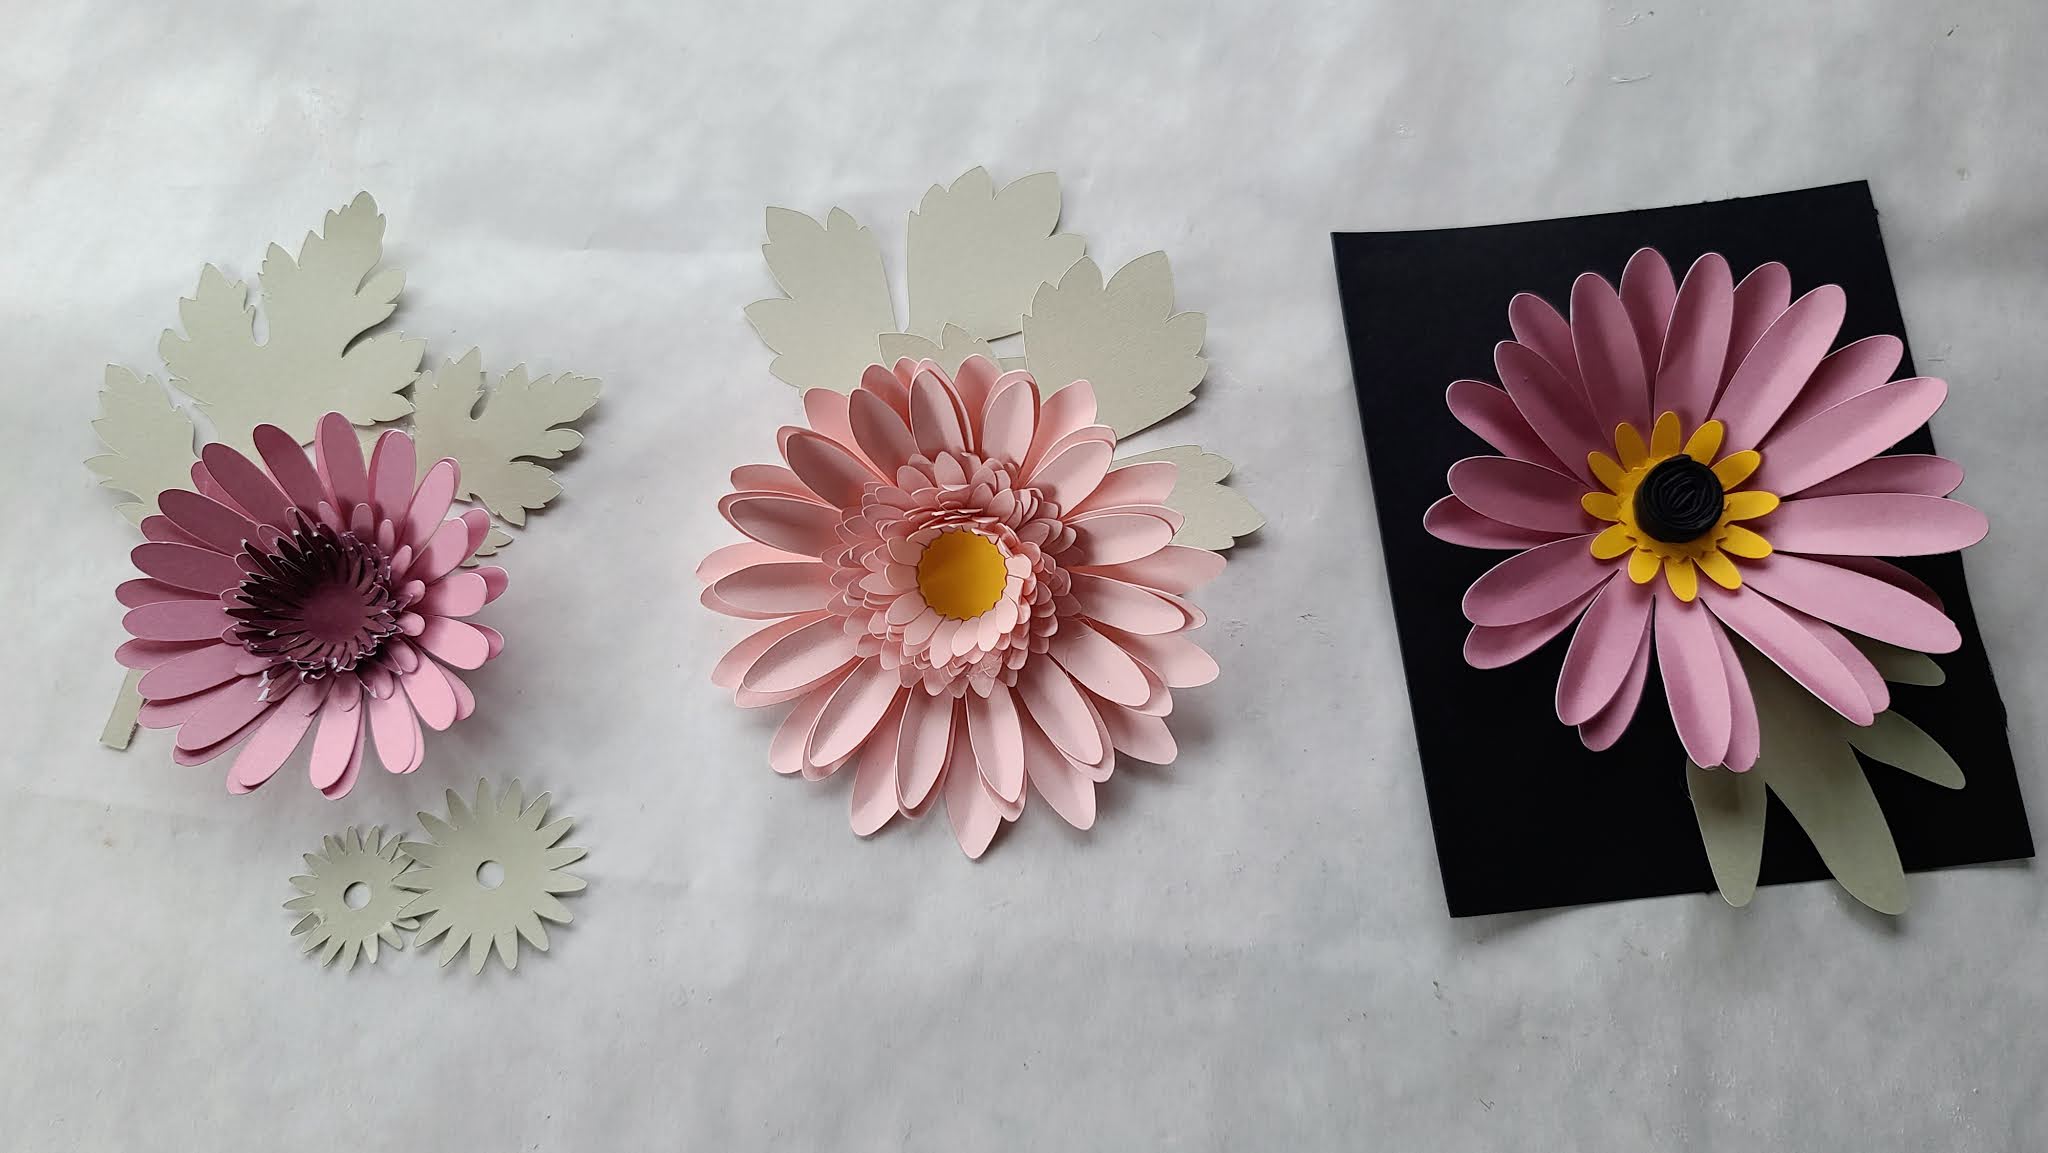
I sized all of the leaves 3 inches tall.  I think 2.5 may work..  2 inches tall was too small, the center stems are so very thin that they were just too fragile, at 2 inches tall.  

After clicking "Make it", at the top left, I changed the Project Copies to "2" and clicked apply.

This cut two of each of the flowers, for 16 total flowers.
I used the leaves to "fill in" and this fit nicely.  If not using the leaves, you may need another 3 or 4 flowers.

When rolling paper flowers, you start on the outside of the circle, and roll tightly until you get to the center.  Then let the flower "loosen" a bit, gluing the rolled pieces to the circle base in the middle.

This is what each of the flowers looked like once cut and rolled, cutting them at 5.5 inches wide

I used hot glue to attach the flowers to the truck.

I hot glued bakers twine to the back, to hang this. 

============================

Making 3D Paper Daisies With Cricut

Testing The Free 3D Paper Daisy Flower Files Available From A Variety Of Sites


In the photo above, from left to right: Dreamy Posy svg, Lia Griffith svg, Jennifer Maker svg

Misc:

A few early  construction notes:
- The paper from Hobby Lobby is Hollow Core  - giving my cuts a white edge.  I may like this for some things.  I do not like it for others.
- I should really read instructions.  Eventually I probably will - at least for the flowers that don't look right.  For now, I'm just cutting them and putting them together using basic logic.  Sometimes that works great, other times...  I still don't know why I have a black square of cardstock with the Jennifer Maker file, and apparently I was supposed to change the color from black to yellow on the long strip.  Ooops.

===========
FREE PAPER DAISY SVGS
============

This is one of my favorite sites for paper flowers. There are 19 freebies here - you add them to the card and "check out", no credit card information required.

Free SVG From Lia Griffith
Enter your email address and the download will begin automatically, and immediately


This site is so full of ads that it loads very slowly for me (the joys of rural internet)
The sign up for her free archives is near the top of the post. Once you sign up, you will receive an email with the password.  The password is in tiny print at the bottom of some of her emails, but the majority of the emails will be for her premium svg membership. 
The paper flowers in her freebie vault can be found here:

This is yet another freebie vault. Go to this page:
Go all the way to the bottom on the right to sign up.
Confirm you are not a robot. Wait for the email.
It went right to my spam folder.  Search "Jennifer Carroll" to find it.
Then go here to enter the password and download the files:


Jennifer Maker has a free version that is rolled, instead of stacked.

This is another freebie vault site, with a lot of free resources.  
The flower section of her freebie vault can be found here:
Then hold down the control and the f key on your computer and a search box will pop up - type daisy, and it till take you right to this file.

I downloaded this one from Kin+Tonic, but the link now gives a 404 error
A closer look at the site says they are rebranding as Petal And Finch and says "See Ya Soon"
I can only find an instagram, not a new webpage, for Petal and Finch - I'll check back later.

Ten Great FREE Christmas Paper Cutting Files To Try With Cricut This Week-End


Snow globes, banners, nativities, shadow boxes, paper villages, and more!  There are so many great free files for making Paper Christmas Decorations with Cricut this year!

Quick Tips:

  • The recollections brand paper from Michaels is the most popular paper, and my personal favorite,  for these projects.  It's often the cheapest too!
  • Art Glitter Glue is amazing.  The price is ridiculous, and it took me years to try it because of that, but seriously...  it lives up to the hype. That super thin application tip, and the way it dries, really makes it the best. (A year later, I am back to Elmers precision tip craft bond.  The tip clogged constantly in the AGG, it was just too annoying. )
  • I use clear glue sticks a LOT too.  Because Art Glitter Glue is $16, on sale.  
  • When you click "Make it", on the left look under each mat, and you can change the paper size to 8.5x11.  8.5x 11 paper is usually much cheaper than 12x12 
  • Flip your mat upside down and peel the mat away from the paper, to reduce curling

1. A Gnome Snow Globe (And a few other free paper gnome projects too!)

A 3D Christmas Snow Globe from Maggie Rose Designs - 

Or how about these simple layered paper gnome Christmas ornaments?

Or the free standing gnome  here:

Or a gnome candy holder, here:

Find more free Gnome svgs here:


2. A Paper Nativity 
Free Light Up Nativity SVG
This is such a well done file.  Super easy to use, it went together great!
That can be stored in the base.


For quite a few more paper nativity options, see the post of free Nativity svgs here:
Scroll about half way down the page to the "projects" section, for a selection of free svgs for nativity shadow boxes, nativity lanterns, and paper nativities.


3. A Paper Angel Luminary


Or a much more complex version:
This is not a limited time freebie - her files are all free
And they are amazing.  Layered alphabet mandalas, - so many layered 3d designs.
And more.  New file each week.  (You do have to subscribe to her emails to receive the password to the "freebie vault")


4. A Christmas Shadow Box


Or this free one, based on the little red truck design:

Or A Nativity Shadow Box:


5. A Paper Christmas Village
Here's a whole list of free options for paper village svgs!

Just a heads up - the one from the Crafting Nook, while my favorite to actually make, takes forever to set up properly in Design Space.  There's a lot of layers to delete (the entire copyright notice is on the bottom of every file, and each letter of the notice is it's own individual layer that will need deleted, one letter at a time) and the score lines will appear as cut lines (they do on most uploads - this is common) so change them to cut then be sure to attach them.  Once the files are set up correctly in Design Space though, this is a GREAT village!  Easy to cut and put together, I've cut it 5 times, copies for me and my daughter in laws to put together)

The village from Heart Filled Spaces is larger than the others (although any can be resized!) and her files have recently all been redone so they are much easier to upload into Design Space!


6. A Christmas Banner
If this site is new to you, finding it is going to be like Christmas for you.  She has been adding new free designs each week, and they are incredible!  I made the Thanksgiving version of this banner and it is time consuming only because it takes so long to cut - but it goes together quickly and easily!
https://specialheartstudio.com/layered-mandala-merry-christmas-banner/
This site is always full of great seasonal letters for paper cutting, perfect for  adding to any banner

7. A Luminary or Paper Lantern

Another - 

And another:


8. A Paper Christmas Ornament


9. Cards


Find a  list of free svgs for making Christmas Cards


10. Christmas Gift Tags


If you are brand new to cricut, this is a great place to start!

There's a list of free gift tag svgs there too.

====================
STILL MORE FREE
 PAPER CRAFTING SVGS
====================
The Christmas Index
Where To Find: Free Christmas SVGS By Theme (Nativity, Grinch, A Christmas Story, Etc), Where To Find Free Christmas SVGS By Project (Gift Tags, 3D Paper, Earrings, etc) and Where To Find Free Christmas Project Tutorials & Gift Ideas.  Including an entire extra index just for making Christmas Ornaments.  Find it all here:

 ============