
 |
| Step By Step How To Make A Stencil For Glass Etching |
So far in this 12 week Christmas Craft Challenge, we've covered how to cut paper, how to use the pens to write, how to transfer vinyl, how to layer vinyl with registration marks, how to use print then cut, and how to use Heat Transfer Vinyl You can find an index of the past projects here: https://fieldsofhether.blogspot.com/2020/10/the-12-week-christmas-craft-challenge.html
This week we're learning about making stencils with cricut. This step by step is for glass etching, but the concepts will apply for many stenciling projects.
For "Choose Your Own Adventure" section this week, there are ideas for adding color to your glass etching, reverse etching, and more etching ideas and inspiration.
As always, I'd love to see what you make! Join the group for this page to share your progress, ask questions, and be absolutely inundated with free svgs, posted by themes. :-) Join The FB Group For This Blog By Clicking Here
For which vinyl to buy, I have a list of my favorites, and price guidelines, here:
============
Step By Step
Making A Stencil For Glass Etching
=================
None of the cricut machines can directly etch glass. The Maker has an engraving tip that can etch acrylic, but it cannot etch glass.
The Cliff Notes Version:
- Cut Stencil from vinyl
- Wipe down glass item with rubbing alcohol to clean
- Apply vinyl to glass - add painters tape around the edges if needed
- Apply the etching cream over the stencil. Let it sit for 3 minutes, scrape it back into the original container - you can use this cream over and over.
- Rinse your glass item & remove the vinyl stencil
Supplies:
- Cheap vinyl. Anything you have on hand will work, and this is a great time to use up those odd colors you will never use in regular projects. I find that 651, or permanent, vinyl consistently works the best for me, although regular vinyl, and even a thicker, solid colored, shelf liner contact paper works well enough too. Oramask makes a stencil vinyl which is inexpensive and works - but it is not as sticky as 651. For glass projects, I prefer using 651 vinyl.
- Glass. The Dollar tree has a selection of glass plates, cups, and candle holders, all of which are great to practice on. I've also had good luck finding clear glass plates cheap at Big Lots - and don't forget to check your thrift stores for things like candle holders
- Armor Etch Find it on Amazon here: https://amzn.to/35xlzkA Craft stores such as Michaels usually have this in stock as well. There are other options, such as Etchall & a tub and tile etching cream, But Armor Etch is generally the most widely available, and the often cheapest. Note: None of the cricut machines can directly etch glass. The Maker has an engraving tip that can etch acrylic, but not glass.
- You may want to wear gloves when working with etching cream, and you may also want to wipe down your glass with rubbing alcohol first. These are both excellent ideas, neither of which I ever bother with.
The SVGS:
- If you have never uploaded an svg to Design Space before, here's a step by step:https://fieldsofhether.blogspot.com/2019/01/how-to-download-install-svg-to-design.html
- The main thing to remember is that the svg will look like your default internet icon - it will look like an html file. If you are given the option to "clean up", or the option to choose simple vs complex, you uploaded the wrong file.
- Where To Find Free SVGS Listed By Theme (Christmas, etc)
- Free Monogram SVGS & Fonts
- Free Split Monogram SVGS & Fonts
- Free Stencil Fonts
My plan was to show you a step by step Christmas etching project. A week beforehand, I realized my etching cream hadn't arrived from Amazon. I logged in to check it's status, and found that I had never actually placed the order. Ooops. No problem, our local Michaels carries Armor Etch, I'll just pick some up. And then I got a cold, which in 2020 means I could not possibly go to a store... and by the time I did get to a store, armor etch was out of stock. I placed the order on Amazon, and it will arrive in a few days. This is life. It rarely goes as planned. :-)
Fortunately, I've done a quick tutorial on glass etching in the past, so I'll pull some of those old images for this tutorial.
Make The Stencil
Two things to remember when making a stencil for glass etching:
- Think about where the stencil is being applied. If it's on the outside of a glass, cut as normal. If it is going on the back side of a plate or casserole dish, you will want to mirror (or flip) the design
- Leave a good border around your stencil. I recommend welding your design and slicing it from a square or circle. If your design gets too close to the edge of your vinyl, it will be very hard to apply the etching cream without going over the edge. You can also use painters tape around the edges to extend your border before applying the cream.

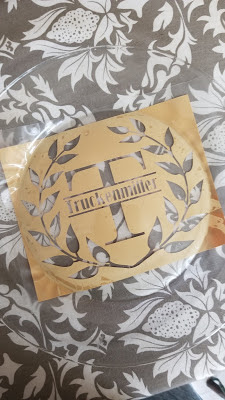
Although you can weld any svg to make it a stencil, as you can see in this example, not all svgs will make good stencils. You're looking for designs with good outlines, not a design that requires layered colors. (Unfortunately, the site with this svg no longer exists)

Monograms and text typically work well. Silhouette designs are ideal
Free Santa's Sleigh SVG
Free Thanksgiving SVG is no longer available. :-(
Free Santa's Sleigh SVG
Free Thanksgiving SVG is no longer available. :-(
Although weld is normally only used for cursive text - to make it cut as one word instead of individual letters, I frequently use weld for these designs, just out of convenience. Others however, will recommend that you do not weld at all for stencil designs - not even cursive text. They find it easier to remove the stencil in smaller pieces and prefer to only attach the designs so they cut in the right order.

Quick Tip
When To Attach, Weld, & Flatten
Next I create a shape for the border of my stencil. For round plates, I've found it convenient to create a circle the size of the bottom of the plate. A simple square will work for most designs too.

Resize your design so it fits your shape, then either slice or attach.
Either will work for this - they will both cause the exact same cut when you click make it.

This is the design attached. When you select all and attach, everything will become one color. The design will cut exactly where you attached it, accomplishing the exact same thing as if we had sliced instead.
Reverse weed your image, removing the design and leaving the stencil.
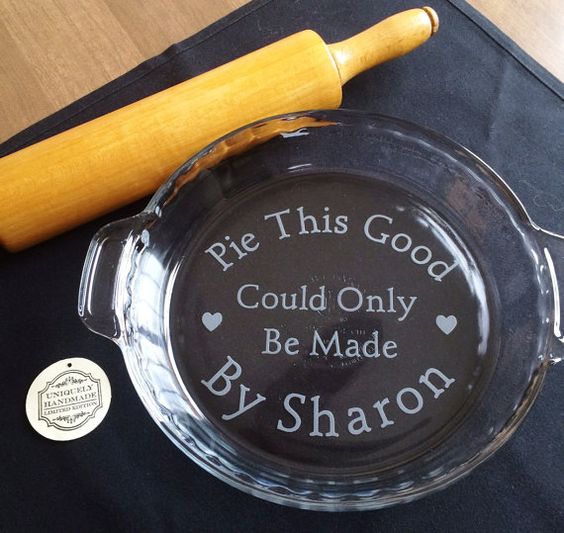
Apply to transfer tape, and then, for glass places, I find it easiest to lay the transfer tape down on the table and set the place down on top of the vinyl.
When stenciling plates and casserole dishes, it's always best to apply the stencil to the back of the item, where food will not be in contact with it. (That will make the glass easier to clean once used too!)
If needed, apply painters tape around the edges of the stencil. This is helpful if you didn't give yourself enough border around the design, or if you are working on a curve and the edges just are not adhering as well as you would like.
Once you set the plate down over the vinyl to position it, flip it over and press it firmly against the glass, then remove your transfer tape.

Now apply a coat of etching cream. The "ideal" amount of time to leave it on appears to be between 3-5 minutes. Set your timer for 3 minutes once applied, that typically works out to about 5 minutes when you factor in how long it took to apply, and remove, the cream. A little longer won't hurt it, but leaving it on longer will not make the design any deeper, and if he cream dries out too much you won't be able to keep reusing it.

=============
Choose Your Own Adventure
=============

Color Your Etching With Rub & Buff
Find Silver & Gold Rub & Buff Wax on Amazon Here:
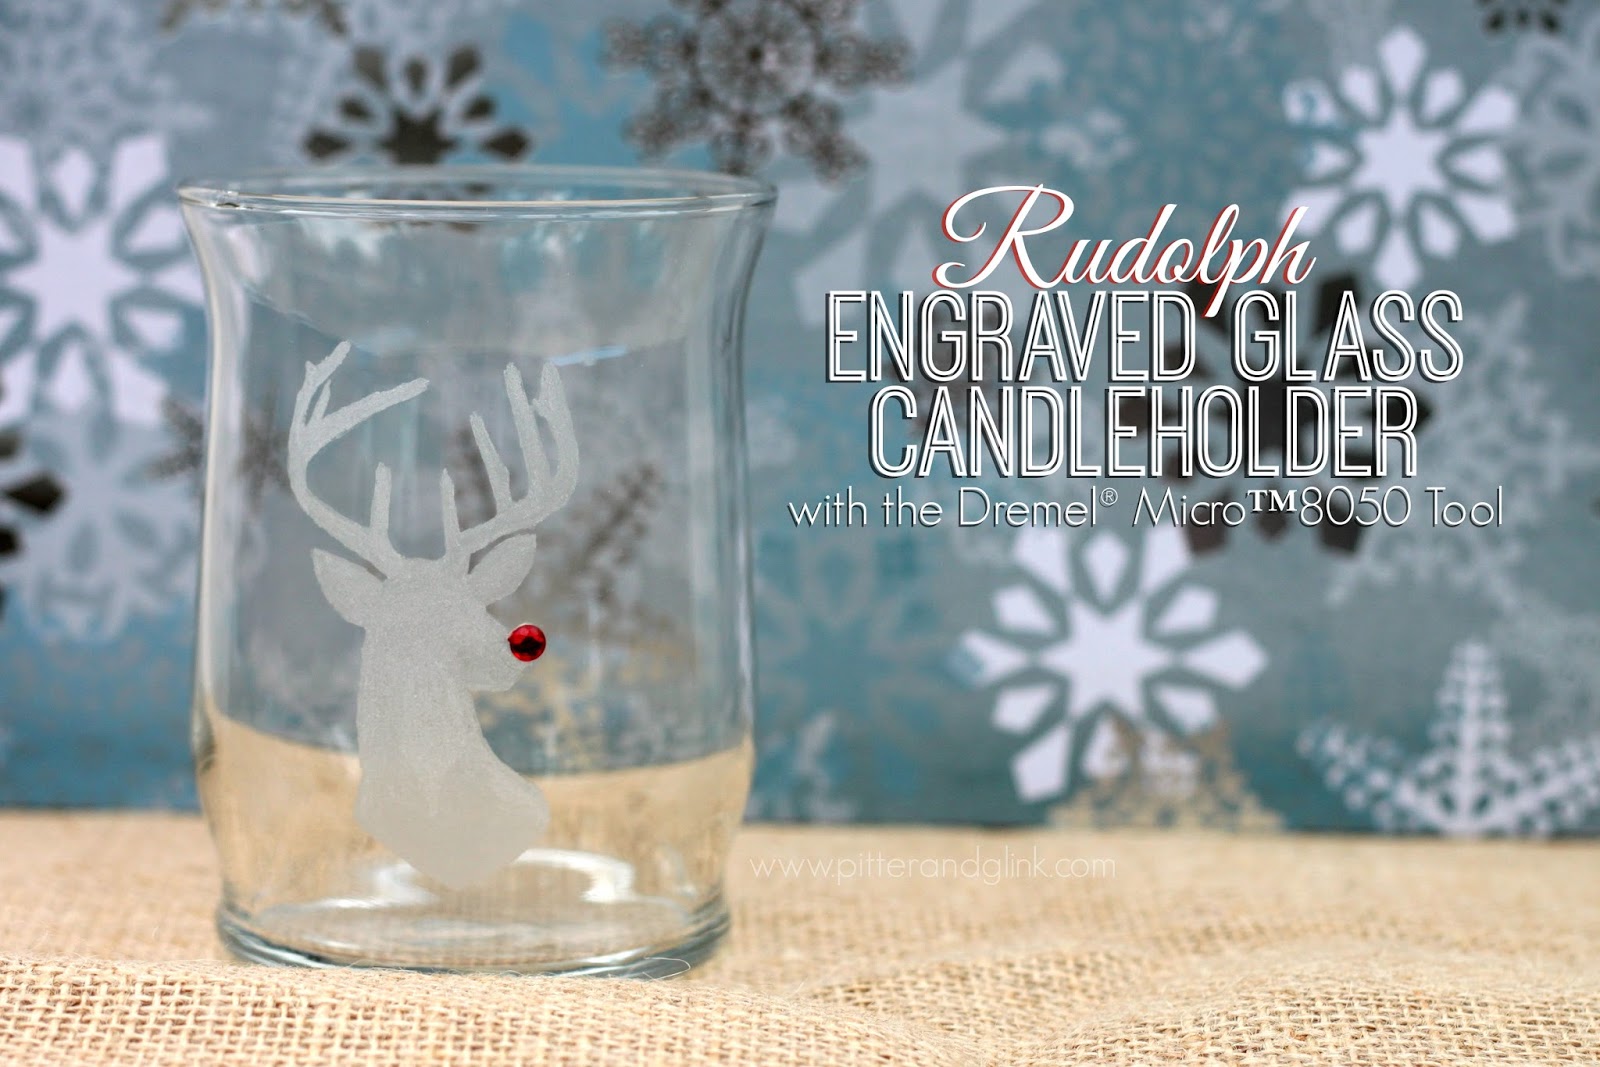
Instead of Etching Cream, this candle holder was made with a dremel tool!

Cutting For Business shows a reverse etch

There is an "Etched Glass" vinyl. No etching cream required, this vinyl has the look of etched glass. Cut and apply as normal.
More Ideas & Inspiration


Preparing For Next Week - Christmas Ornaments
Next week we'll go over glittering Christmas ornaments and applying vinyl, step by step.

Supplies:
- Clear plastic or glass ornaments. You can find these at the Dollar Tree, but I typically purchase them at Michaels.
- Fine or extra fine glitter. Again, you can find this at the Dollar Tree, but make sure you buy two packs with the same colors, as one pack is not always quite enough. (They come 6 colors for $1). Finer glitter works much better, but chunky glitter will work!
- Polycrylic or Mop & Glo floor cleaner. Both will work, but the results will be very different. I like the look, and coverage, of polycrylic much better myself. Here's a side by side comparison.
=====================

The Christmas Craft Challenge Index
====================

The Christmas Index
Where To Find: Free Christmas SVGS By Theme (Nativity, Grinch, A Christmas Story, Etc), Where To Find Free Christmas SVGS By Project (Gift Tags, 3D Paper, Earrings, etc) and Where To Find Free Christmas Project Tutorials & Gift Ideas. Including an entire extra index just for making Christmas Ornaments. Find it all here:
No comments:
Post a Comment