

Affiliate Disclosure - As an affiliate for a variety of sites, if you click on the links in this post and choose to make a purchase, I may receive a small commission. This in no way effects the price you will be charged. [This IS a list of freebies, but since some of these sites have options to purchase other items, I am required to post this disclaimer]


Related Links:
- Index Of Free SVGS By Theme
- Where to find links to sites with Free SVGS
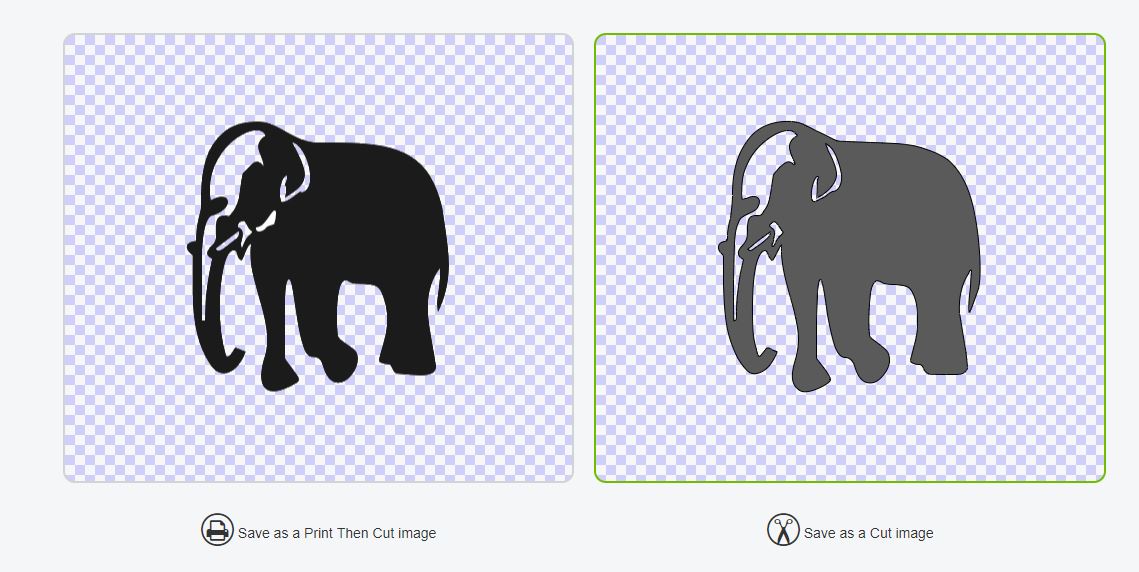
- How to download & use a file in design space
- How to see Thumbnails of SVG files
 |
 |
 |
 |
Valentines Themed Free SVGS
====================

There's a selection of Free Valentines SVGS at:
When the price shows $0-? The $0 is free for personal use, the cost is if you want to make items to sell using the svg, then you need to purchase the commercial use license.
A selection of free Valentine SVGS here

There's a large selection of free Valentine svgs at:

Another large selection of Free Valentines svgs - earrings, cards, candy holders, layered projects, sayings, and more -

The latest designs on this site are all sublimation, but scroll back a bit, their earlier designs include lots of great svgs and even a few paper projects

Paper Cut Valentine Bear SVG Free From
Although any svg can be cut from any material, those designed for layered paper designs are not always ideal for vinyl, as you would be layering vinyl on top of vinyl, adding thickness you may not want. That doesn't mean you can't do it, and when it's only 2 or 3 layers, it will work great! But for some designs that are designed to layer 7 or more sheets of paper for dimension, you may not be happy with the results if you try to use that svg on a t-shirt, or as a sticker on a cup.


There are quite a few Valentine SVGS on this site - although it can be a little misleading.
They are FREE. I had no trouble receiving the free download, and there was no need to enter my CC info. But it advertises "700 Free Valentine svgs"
A Ridiculous Number.
What actually downloads are 50 free files, and they look nothing like the ones shown... This is what downloaded:


Some of the free Valentines SVGS From HelloSVG

Find a variety of Free Valentine SVGS here:
These are just a few of the great FREE svgs from:
You're My Lobster Free SVG

15 free Valentine SVGS From


Large selection here:
https://freesvgdesigns.com/
One of the best construction svgs I've found - I use this a lot!
https://kellylollardesigns.com/blogs/news/heart-filled-backhoe-free-valentines-day-svg-cut-file


Two Pages Of Free Valentines SVGS Here:

There are a few pages of Designs Here:


====================
Projects
Tutorials, Ideas, & Inspiration
Tutorials, Ideas, & Inspiration
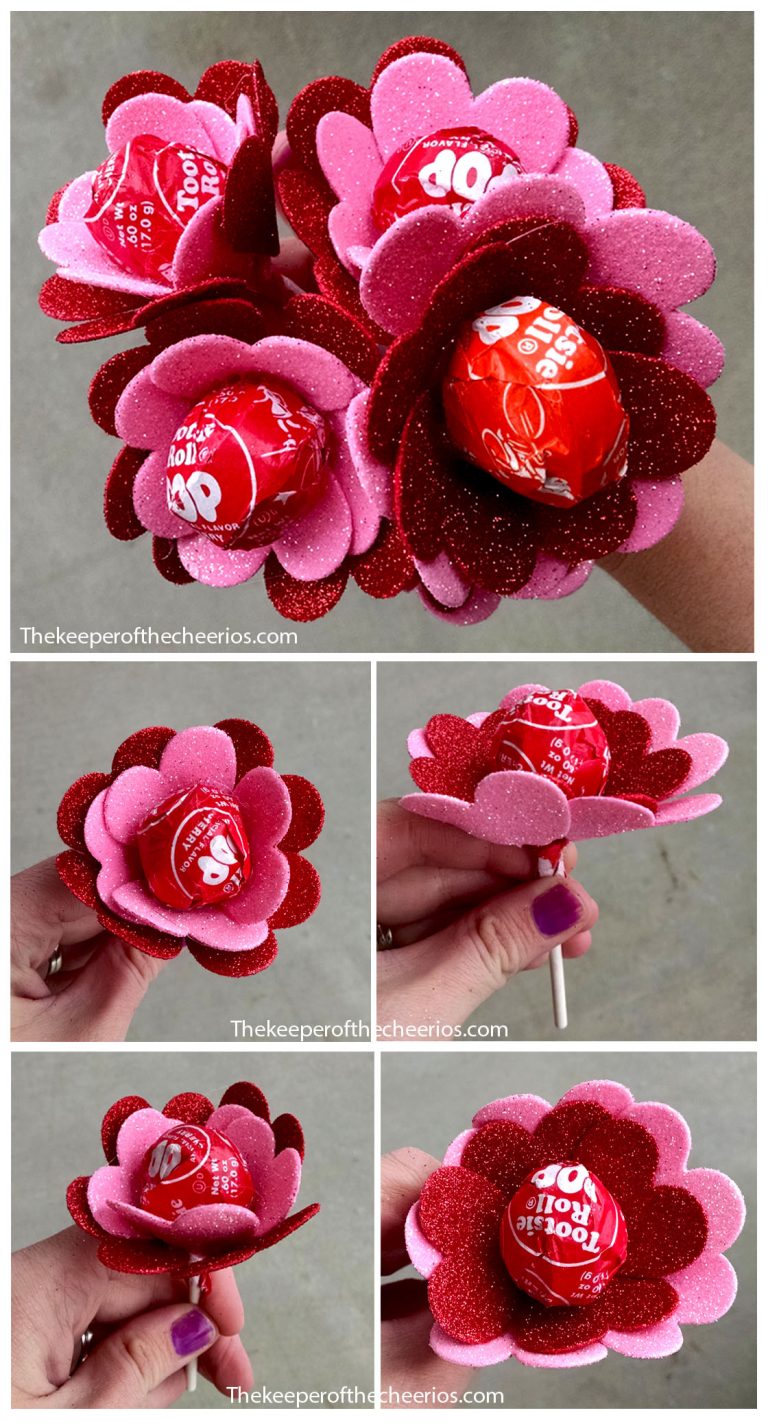
Layered Hearts Shadow Box

Find more free egg holder svgs here:
Dollar Tree Kissing Booth Project


This is a quick and easy class valentines day idea! I know some Dollar Trees have had these bags in the party supply aisle, but I cannot find them on their website. You can buy 50 bags for $13 on Amazon here - https://amzn.to/2QSQ6kl Or michaels has them on sale $3 for 5 bags. Find the free svg here - https://www.printablecuttablecreatables.com/diy-tic-tac-toe-valentine-gift-free-svg-file/
You could customize the other side with "Happy Valentines Day From" your childs name...

treatmobile -
https://www.simplycraftysvgs.com/shop/holidays/treatmobile/

Free Valentine Tags


Free svgs & Project Ideas for EOS Lip Balm cards


12 wine bottle bags for $7 here:

https://www.redearthandgumtrees.com/store/p974/FREE_Heart_keychain_template_in_SVG%2C_EPS%2C_PDF%2C_DXF%2C_PNG_formats.html
 https://www.wherethesmileshavebeen.com/sunglasses-valentines-day-cards-with-free-printable-and-cut-file/


https://www.wherethesmileshavebeen.com/hand-scripted-love-cupcake-toppers/


This is a quick and easy class valentines day idea! I know some Dollar Trees have had these bags in the party supply aisle, but I cannot find them on their website. You can buy 50 bags for $13 on Amazon here - https://amzn.to/2QSQ6kl Or Michaels has them on sale $3 for 5 bags. Find the free svg here - https://www.printablecuttablecreatables.com/diy-tic-tac-toe-valentine-gift-free-svg-file/
You could customize the other side with "Happy Valentines Day From" your childs name...

There are 27 free Valentines files in all here!


=========================


