

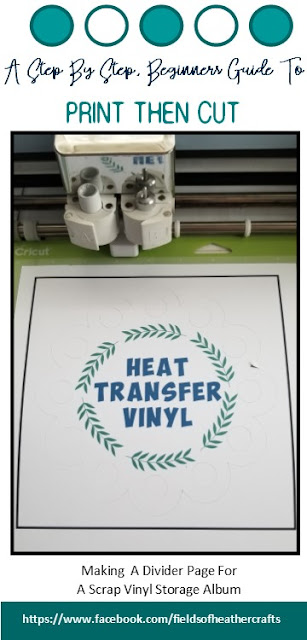
Today I wanted to make a divider for my new vinyl scrap storage scrapbook. Then I wanted to add a divider page, to separate my 651 vinyl from my htv vinyl.
This is a super simple print then cut project, using plain old cardstock, just to go through the steps of how to use the Print Then Cut feature in Cricut Design Space, and to create a divider Page for My new Scrap Vinyl Storage Album.

See more about my scrap vinyl storage album, here:
Quick Links:
- Free scalloped circle svgs
- Free Laurel Wreath SVG
- Select All And Flatten - or it will cut out each letter and not just the outer shape.
- A Cheap & Easy Vinyl Scrap Storage Solution
- A Super Simple Draw Then Cut Tutorial - Making The tab for the divider page
First, The Shape - Uploading An SVG -

It will download as a zip file - you will need to unzip the file, and locate the svg file. Here's a quick overview:
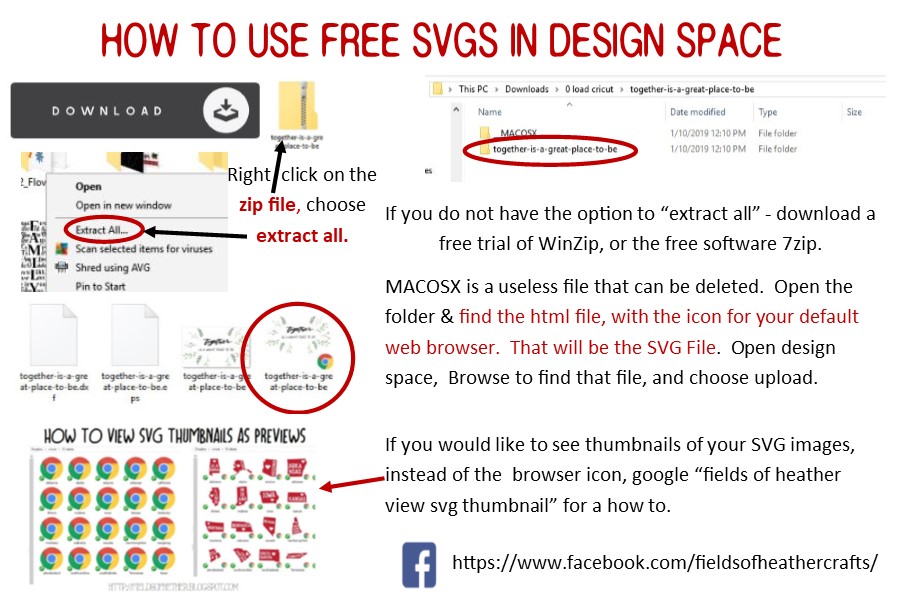
How to See Thumbnails of SVG files:
Open Design Space, on the far left, at the bottom, choose "Upload"

Now at the top of the screen, you can change the size:

Print then Cut size is limited to 9.25 x 6.75. So the largest we can cut a circle is 6.75.

I'm using an Air 2, so I can only use white paper for print then cut projects. The Maker can read the registration marks on some other colors of paper, but on any machine prior to the Maker you are limited to white. (There are some work arounds, but I've never needed to print on anything but white paper or clear acetate - clear acetate works fine in the Air 2 as well. ) You can change the color of our object at the top of the screen, by clicking on the box beside linetype.
Next, Add Text

On the far left, choose the text option, type your text.
Change your font to whatever you would like, I use Obelix Pro here.
Keep in mind that Design Space does not properly read system font kerning. So if choose a script style font, it will space the letters all weird. You can read more about that, and how to get around it, here: https://fieldsofhether.blogspot.com/2018/01/using-fontlabpad-with-cricut-design.html
For this project, to keep it simple, I chose a simple font.
Then I decided it needed something, so I uploaded a laurel wreath svg - you can find that for free here:
Select All & Flatten
Here's the important step - select all, and flatten.

Flatten is for Print Then Cut Projects, so as soon as you select all and flatten, you will see in your layers panel to the right that it is now ONE image, and it changed itself to Print Then Cut.

Send To Printer
Now you can click "make it", and a screen will appear to send your item to the printer.

You can leave the bleed option alone. Bleed is meant for images that have color around the cur area. "Bleed" will bleed the color over the cut line, assuring that there is no white edge around your image. All of our colors here are well inside the cut lines, and our image is flattened, so no bleed will be visible. If you click make it, and on this screen all of your text is fuzzy - that is because you did not flatten your image. Every letter that is "fuzzy" - shows bleed - will cut out individually.

Lastly, Cut -

Place the paper that came out of your punter onto a mat, and insert it into the cricut. The machine will scan the image, looking for that black box, then it will cut.


That's it! One super simple print then cut decoration for on my divider page. I placed it on top of a piece of scrapbook paper, and added a tab to make it easier to find the division in my album.


Pin This:
No comments:
Post a Comment