It's really pretty simple. The graphics sets come in pieces.
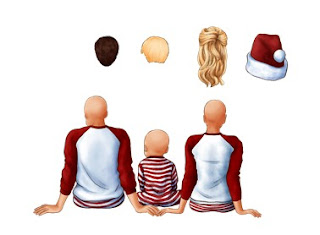
You upload hair, bodies, and outfits or accessories, all separately, then layer them together to create the combination that represents your family, or friendships.
Although you can upload each individual element to design space, it's tedious. It's much easier to add all the images to any other program - Microsoft publisher or even word will work, it doesn't even have to be a graphics program. Then once you have your design, either save it as a jpg or if that is not an option, screenshot and crop your image.
If you want to add a background scene, and the package you downloaded did not come with one, do a google search for Free Christmas Digital Wallpaper designs.
These are meant for print then cut [which includes sublimation] only - they are not suited for layering in vinyl.
Many of them come with backgrounds that make them perfect for designing your own personalized Christmas Cards
Or you can just add text, and use no background at all.
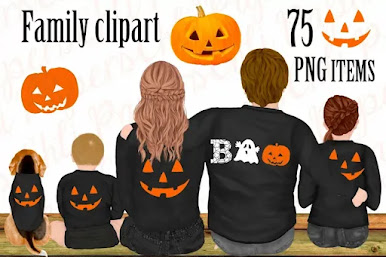
What is included in each set varies greatly. Some have limited hairstyles. Some have limited body shapes. Some include animals, some include backgrounds. Look carefully at the description and included preview photos, before purchasing, to know exactly what you are getting.
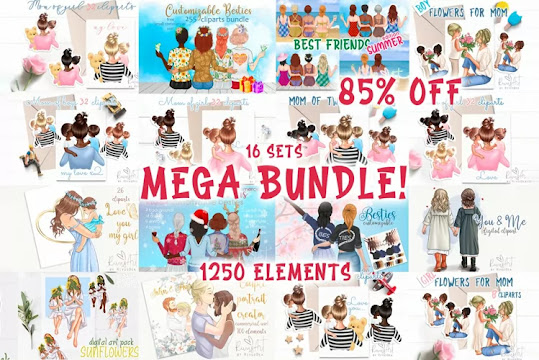
They come in all seasons and occupations - from military and nursing, to graduation, summer, and Halloween. I've listed a variety below, including some designers that tend to make a lot of these packages.
================
Although most of this blog is lists of where to find FREE svgs, these are neither free, nor are they svgs. Occasionally there will be a set of these illustrations offered free for a limited time, but it is much more rare to find these. They are almost always pngs - perfect for print then cut projects.
This one is just $2 right now, and includes a Moose
https://designbundles.net/pony/1012164-christmas-family-clipart-matching-sweaters-parents?ref=mno4va
This one includes dogs
This one includes angel wings
https://designbundles.net/arte-de-elenaz/1594201-christmas-family-clipart-matching-pajama?ref=mno4va
===============
HALLOWEEN
=============
Halloween Families
Halloween Besties
==========
DESIGNERS
============
============
Gaynore Carradice Designs has a selection of these images:
Katie Pretty Shop also has a selection
Pony has a large selection of simpler designs, with curvy versions included
https://designbundles.net/pony/best-friends-clipart-family?ref=mno4va
https://designbundles.net/pony/best-friends-clipart-family?ref=mno4va
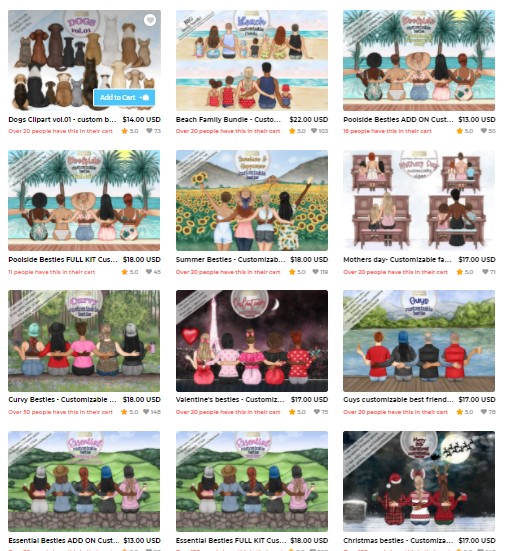
Chili Papers has a lot of options. When searching their store, try searching Friends, or Family, to narrow down the search results.
This shop has one of the largest selections I have seen


