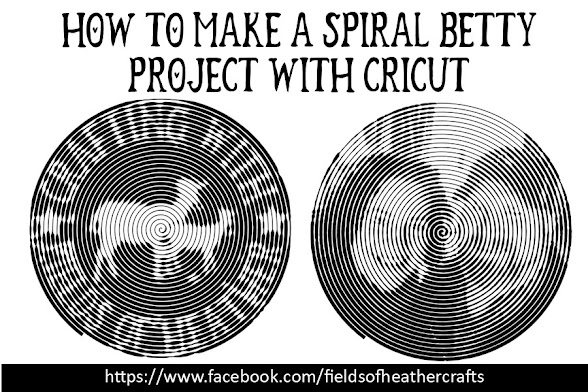
Spiral Betty projects with cricut are so much easier than they look. A website creates the photo for you, and then the eraser tool removes the white in one click - quick and easy! Here's a step by step with a couple of tips:
The website is:
Upload your photo, then choose the black and white option, second from the left, at the bottom of the screen. Although you can cut this from any color of vinyl, here you will want to choose the black and white option, to get the clearest cut lines.
There are 4 options you can play with, but be careful here.
Try to keep the "Rings" option at the half way mark or under - so move it to the left if you want, but moving it to the right will make the file much larger, and it's already a huge file. Same with contrast - the darker you make it, the more problems you may run into.
When you are done, click on that little download arrow to the right of your image, and it will download as a jpg.
Now upload this to cricut Design Space.
When prompted, choose Complex
I really thought this would be a pain to clean up, but it's not - just one click with the wand (all the way on the top left in this photo) and it erased ALL of the white.
Save as a Cut Image.
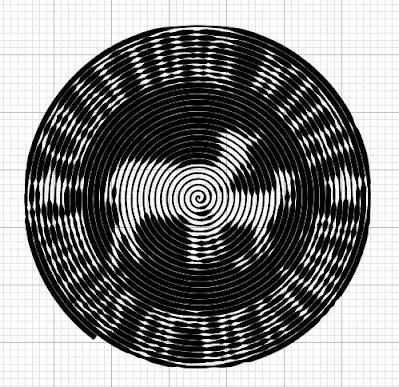
Here is my image as it looks in Design Space, resized to 6 inches wide. Note that it is darker than the original, because I have made it smaller. Keep that in mind when playing with the contrast option early on.
You can cut this from either regular vinyl, or htv - but HTV will be much easier to weed and transfer.
=======================
===================
Find More Cricut Project Tutorials Here:
https://fieldsofhether.blogspot.com/2019/04/cricut-step-by-step-project-tutorials.html
==========================


No comments:
Post a Comment