How To Use A Grunge, or Distressed, Effect To your SVGS
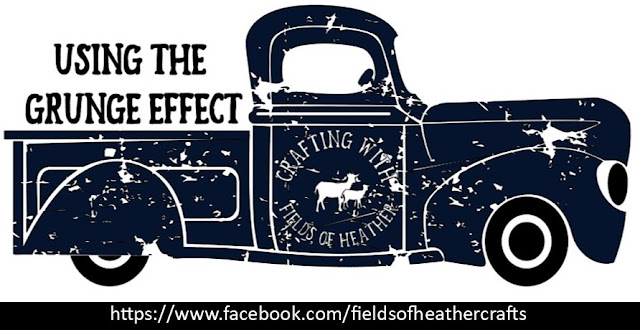
Here is both my image (truck) and the grunge svg, in design space.
When you upload the effects svgs, they are HUGE. You can size them down.
Now this is the important part.
IN DESIGN SPACE YOU CAN ONLY SELECT TWO ITEMS At ONE TIME TO USE SLICE.
No more, no less. So if I select all, the slice button will not appear, because this truck has tires, and a headlight. In the layers panel to the right, I clicked on the eye beside all of the "extra" pieces, and hid them. The truck body is one welded piece., so now I have two items.
If you are distressing text, you will need to weld the text first, to make it one item. Each letter counts as one item in design space. Even if the letters don't touch, once you select all of the letters and weld them, it becomes one item, and then you can slice.
Looking at the effect over the truck, I decided I would use the effect twice, rather than one large square. This was purely based on how it looked to me. I duplicated the effect svg, and rotated it, to get the distressing in the areas I wanted it.
Again, you can only select two items, so I selected the truck body, and one of the effects, and clicked slice. Drug away and deleted all of the unwanted pieces from the slice operation, then selected the the second effect and the truck body, and chose slice again.

Distressed images can take a long time to cut, and be a pain to weed, depending on the design... but they are a really popular look!.
FOR THIS PROJECT -
ATTACH WILL NOT WORK IN PLACE OF SLICE.
If you have seen my quick tip card on using attach instead of slice, that will not work for this. Well, it would, kind of, but it will waste a ton of vinyl, and the machine will spend a lot of time cutting the effect pieces around your item, which you don't need.
Find more quick tip cards like this one here:
https://www.facebook.com/fieldsofheathercrafts/
Facebook Group- For Questions, Support, Sharing Projects,
and LOADS More Free SVGS in themed posts with links in the comments
https://www.facebook.com/groups/1121399284857845
==================
Facebook Group- For Questions, Support, Sharing Projects,
and LOADS More Free SVGS in themed posts with links in the comments
https://www.facebook.com/groups/1121399284857845
==================
An Index Of All Of My Cricut Related Blog Posts


Did you ever find a permanent free version?
ReplyDelete