How to Re-Size & Assemble
When I downloaded it in early January 2024, it was $3.90, and the code: SHADOWBOX3DCRAFTS made it FREE. But as I said, I do not know how long that code will work.
I am SO in love with this tab construction for shadow boxes! Perfect spacing, without layers of foam tape! It is fantastic!
I resized this slightly, so that I could better cut two copies, on 12x12 sheets of paper. And I made this two ways - one with just one piece of the box, all glued together - and one with the slide together box style, WITHOUT gluing them together - so theoretically I could switch out the inside scene. All of those modifications are below, but first, here's the designers video for assembly:
It's pretty quick and to the point - but I'm not certain why the back piece of the box is glued in? I did not glue mine. Theoretically, by not gluing it, I could change out the inside scene..
============
RESIZING
=============
ORIGINAL
Dimension Valentine Gnome Shadow Box:
- Height: 25,5cm | 10.04 inches
- Width: 16,5cm | 6.496 inches
- Deep: 5,5cm | 2.165 inches'
RESIZED -
My completed version is not much smaller at all. But it was enough to get two copies on one 12x12 sheet of paper.
- Height: 10 inches
- Width: 5 3/4 inches
- Deep: 2 inches
The quickest and easiest way to resize this project is to upload all of the svgs [both the frame and the inserts] then ungroup everything.
This is important - UNGROUP EVERYTHING.
Now select all, and Align Center.
Fore more about how to use the align & distribute features in Design Space -
With all of the pieces ungrouped and aligned center, select all and resize to 9.27 x 6.33
When you click make it, and change it to make two copies, Design Space will still send each piece to it's own mat. But you can move them and fit two on each color!
To move items to another mat, click on those three dots in the photo above. Here's more details on how to move between mats, if needed:
This is how I moved the lighter colored gnome pieces to fit them all on one sheet.
==============
ASSEMBLY
================
Pieces for the back of the frame
Assembled
The box , and the gnome that goes on the front piece of the box
Completed box frame
The insert, with all the pieces tabbed together
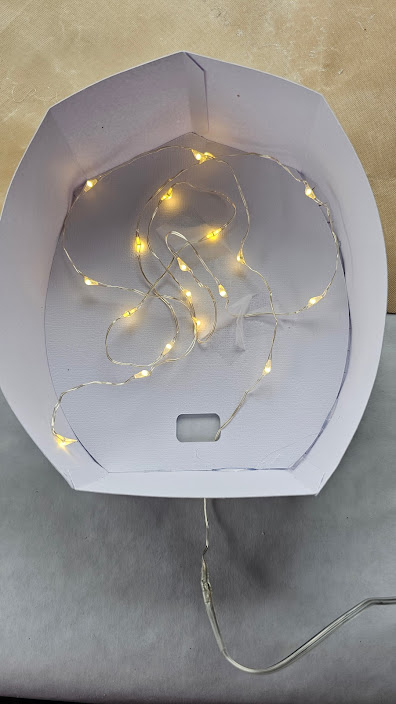
Running the lights was challenging for me. I tried running them around the outside, tried stringing them through the layers.. in the end, I rolled them into a circle and placed them in the back of the box.
On one version, I didn't use the back "love" piece. I don't love that layer - I feel like there is too much going on here, and the tree blocks the words anyway.
Reminder - I'm an affiliate for Amazon, so if you click on this link and make a purchase, I may earn a small commission. It will in no way change or effect the price you pay. :-)
The lights I like for projects like this -
==================
ANOTHER VERSION
==================
SVG Nation has a FREE Christmas version, with the same style of assembly


No comments:
Post a Comment