
Preschool Christmas Cards - Working On Simple Scissor Skills
My head crafting assistant will turn 4 years old here in a couple of weeks. He's VERY excited when he receives mail, so recently we took a trip to the post office, and learned about how it all works. It's common for us to make things here on the farm and then let him mail them from our mailbox to his own home.
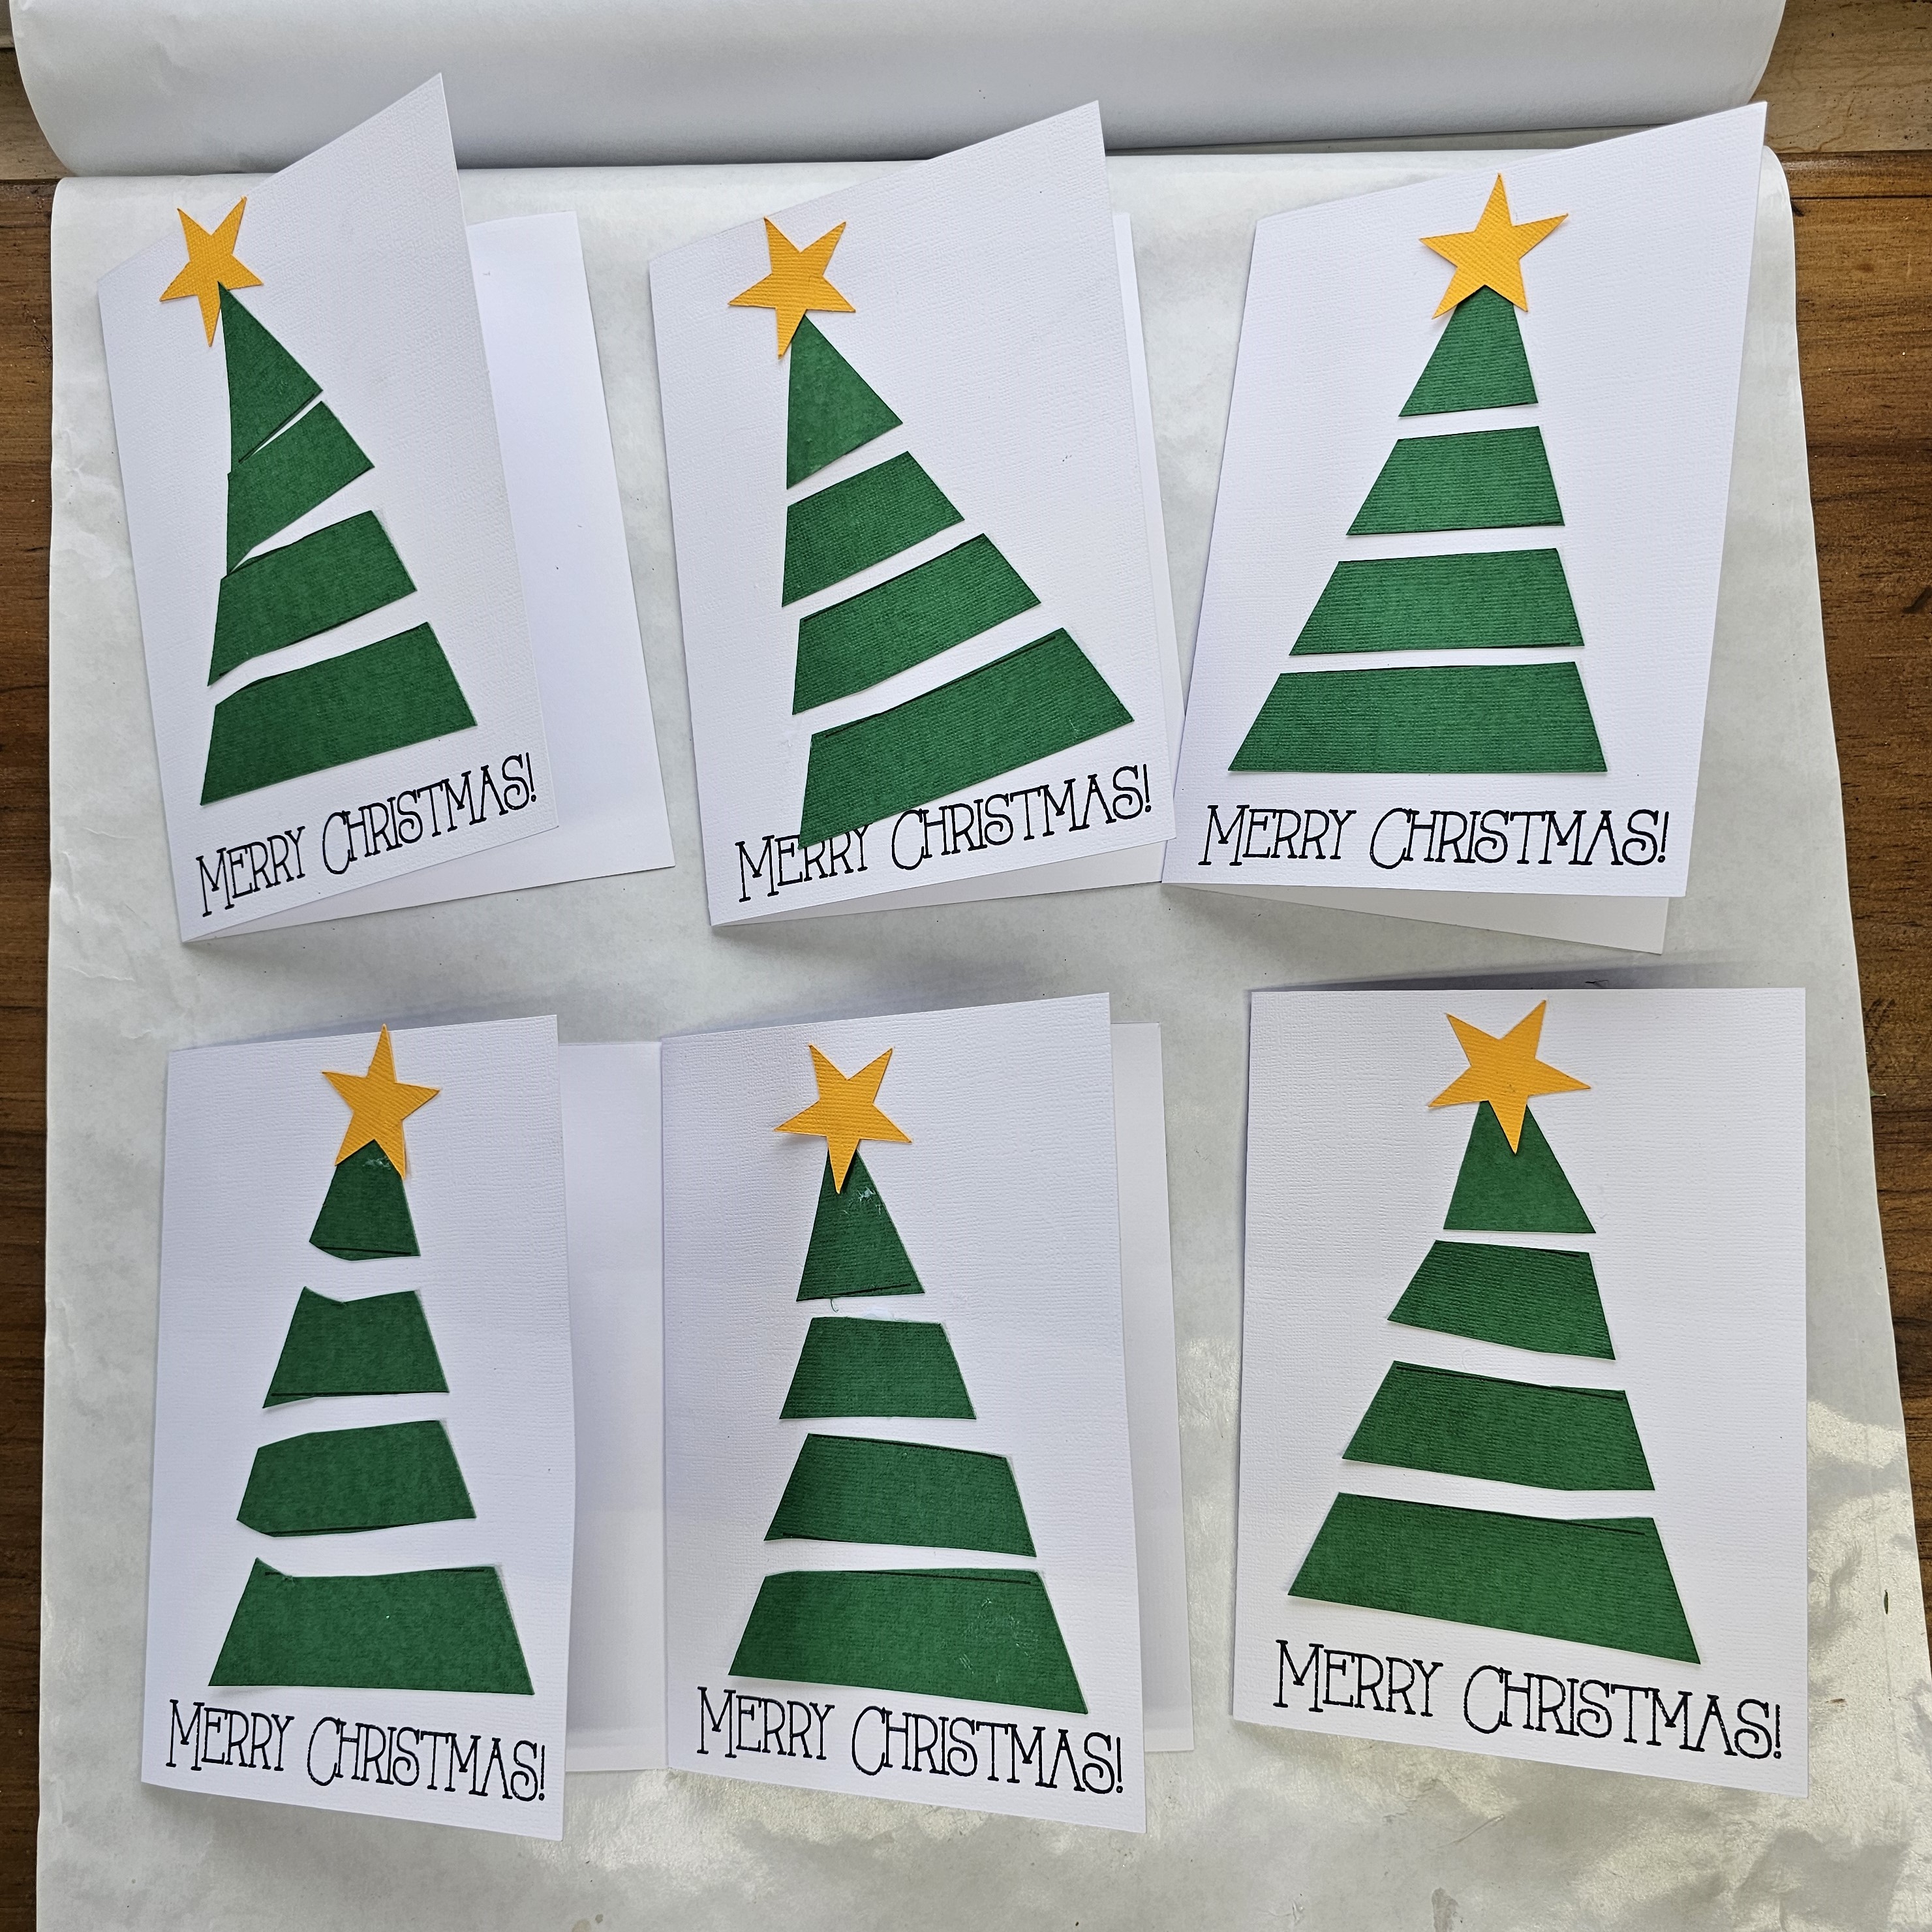
So obviously, he wanted to make his own Christmas cards.
There's no svg for this - it's just a rectangle for the card base, a star, triangle, some score lines (most changed to "draw") and some text. You can easily make this by hand with no machine at all, or create it completely yourself in Design Space. Or, you can access my public, shared, Design Space Project here:
NOTE - The Text I used is in the Font "ALWAYS HERE" - which you can find free on Dafont. I used it because it's a great free font that works with the pens in Cricut, drawing without bubbling. For long lists of FREE fonts that work with the pens in cricut, go here:


While making these, he said "Grandma, I'm getting a little tired. You may need to help me. All the people will be sad if they don't get my Christmas card." LOL! "All the people"??? I don't know how many he thought we'd be making, but I limited him to 6 family members today. Maybe we'll make more another day. "All the people".... this kid!
We did make stickers for the inside of the cards. He chose the photo, I used the free background remover website: https://www.remove.bg/

add an offset behind the text, which overlapped the photo.
Turned the offset to white, sent it to the back.
Chose Select all, and then chose Flatten.
No comments:
Post a Comment