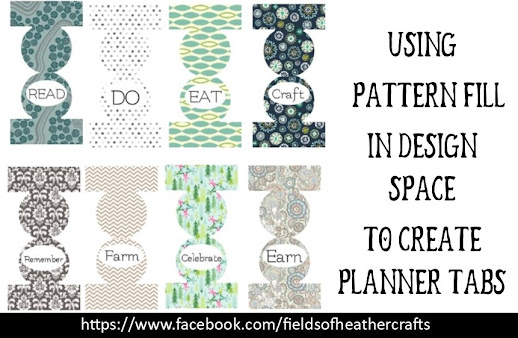
I use print then cut to cut my planner tabs on sticker paper, then coat the sticker paper with clear contact paper before placing on the mat for cricut to cut them out. (I use the cardstock setting and cut twice)
You can use any shape, and weld them together.. or download a set of free tab svgs.
Upload to Design Space, Resize.
I used 1.624 wide
At the top of the screen, under fill, choose Print
Then click on the box to the right, and choose pattern
Now get ready to lose some time. You can scroll, and scroll, and scroll... there are SO many options!
Choose Filter and you can select colors to narrow the choices down.
Then I used the shape tool to add ovals for behind my text
And the Text Tool to Add Text. Select all three parts, and align horizonally.
Then FLATTEN.
You always need to flatten for print then cut. If you do not flatten the text to a shape, each letter will be cut out. Once all three parts are flattened into one image, cricut will print, then cut out just the shape of the tabs.
Once printed, I cover them in contact paper. The same clear contact paper I use as transfer tape.
I used the cardstock setting, and when the machine was done, rather than click the arrow to eject the mat I clicked on the C again, so that the machine repeated the cut.
I should have used a ruler and spaced these evenly, but the reality is, I'll add sections throughout the year, and tabs will overlap. I'm ok with that. It's much less noticeable when this is being used, than it is in this photo. :-)
===========
See More Of My Planner Here:
==================
An Index Of All Of My Cricut Related Blog Posts


No comments:
Post a Comment